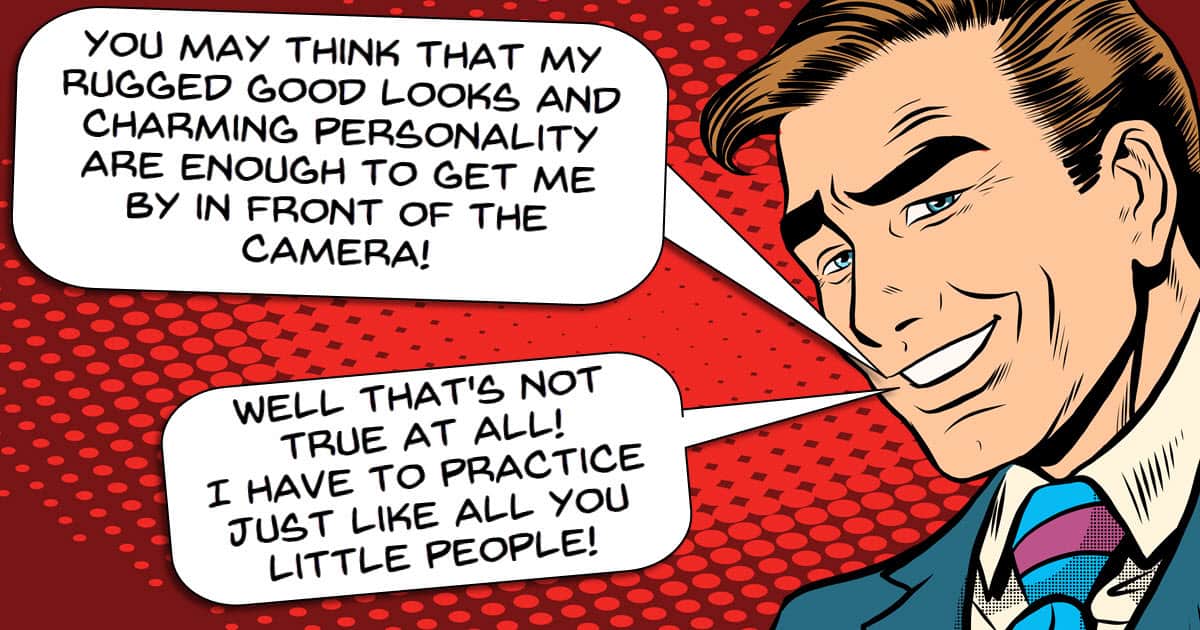
After Filming 1,000s of Presenters – The Confident Ones All Did This.
Some people seem to be able to get in front of a camera or phone, hit the record button and off they go!
Smooth, effortless, totally engaging all with the ability to maintain the presence of mind to deliver the message clearly.
I am not one of those people and in fact I have come across very few of those people in my own life!
Now also over the years I have posted a number of tutorial videos from creators covering how to appear natural in front of the camera.
I know that they were all helpful in some way but this week I came across a truly excellent video on the subject.
Its from a former BBC Television cameraman, Chris Goor, who has had the opportunity to observe thousands of people both pro and amateur in front of the camera.
His observations on the subject are incredibly insightful and this guide to appearing confident on camera is probably one of the best I’ve seen.
5 Teleprompter Mistakes Beginners Make (Avoid These!)
I have actually spent the better part of the past few weeks checking out teleprompters because the one I have been using is a bit old now.
Of course it is not as though suddenly the glass on the prompter has worn out or anything like that!
The reason it has become a problem is that when I first bought it, the intention was (and still is) to use a mobile phone to scroll the text.
However over the past few years, mobile phones have gotten larger as far as screen size goes so that prompter has become a bit difficult to deal with.
We have to keep re-sizing the text down to fit the teleprompter screen but in doing so, the text gets harder to read.
So all of that has led down a seemingly endless teleprompter rabbit hole… but that a whole story in itself for another day!
Anyway, regardless of whatever difficulties may occur with them there is actually a whole world of techniques connected to using them so here’s a little advice on the matter.
The Exact YouTube Strategy for 2026!
The guys at Think Media are currently running at about 3.4 Million subscribers on YouTube.
That tells me that when it comes to setting up and running a YouTube channel, they probably know what they are talking about!
One of the basic truths of YouTube is that the basic truths of YouTube are ever changing and evolving because of two main factors.
The first is monetization because at the end of the day, YouTube is a Google product and Google has to show both growth and profit for its shareholders.
The second is that human interaction creates stresses and applies forces to what is popular and what people are looking for and that circles right back to point number one!
Show me the money!
In light of that here’s an updated for 2026 start up strategy for YouTube as well as great tips for an already existing YouTube channel.
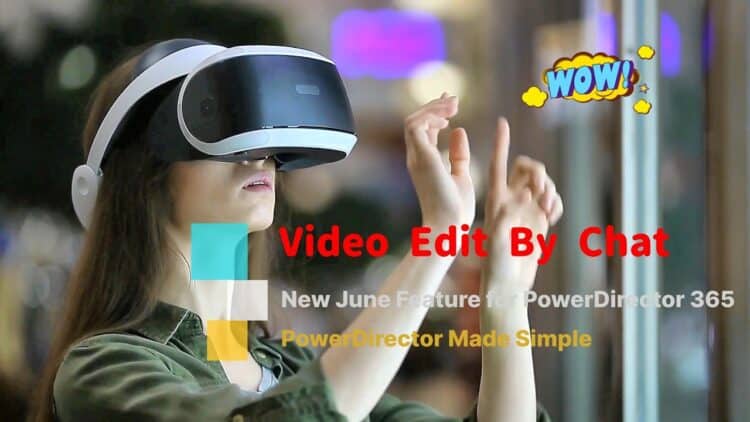
Two Methods to Apply Facial Blur to a Video Clip in PowerDirector
Like most things in most video editing software these days, there is always more than one way to skin a cat.
So here’s a tutorial on a couple of ways you can blur out a face, or anything for that matter, in CyberLink PowerDirector.
How to Master the Euphoria Aesthetic – Movavi
Just a quick little tutorial video here from the folks at Movavi.
It simply shows how to create the Euphoria effect that is so popular these days but also there is something else to take note of for any editing software.
You will see they add and effect then add another on top of that.
Finally they adjust the settings of one of the filters to achieve the final result.
The reality is that many, many inbuilt effects and filters these days have settings that you can adjust which can completely change what the effect is doing.
It is always worth the time to have a play with any filter or effect controls to just see what happens!
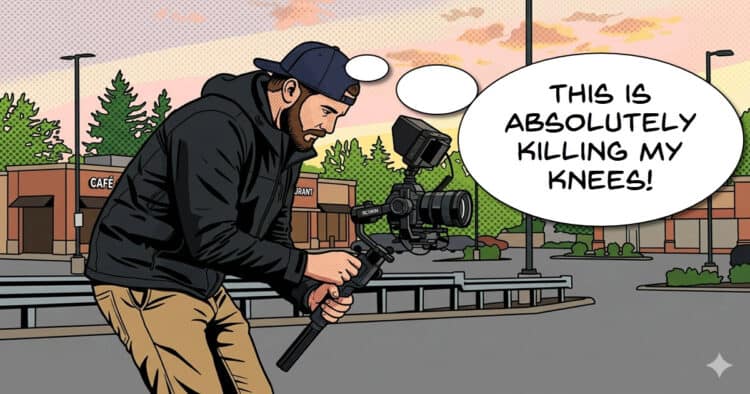
Pro Videos With Budget Gear? Here’s How
One of the technical aspects of shooting videos especially with a decent camera is that you have to get the setup and especially the lighting right.
In some ways, shooting with a smartphone is way easier because there is a basic difference between how a phone shoots and how a camera shoots.
The phone shoots on the basis of how it should be.
It uses internal software to attempt correction on the fly and give you the best result possible based on what it “thinks” is the best possible result!
The camera shoots on the basis of how it is.
It is assuming you know what you are doing and whatever or however you are shooting, that’s what you want!
At the end of the day, if the smartphone didn’t get it right, you have limited ability to correct.
If using the camera you didn’t get it right, you have greater freedom to correct due to a larger amount of data being recorded. (Even if you recorded it a bit wrong!)
Correcting footage that is not quite right is an art and science in itself and trust me, there will be tears before bedtime before you get good at it!
However to be honest I have started to cheat a bit using one of the newer tools in Filmora called Relight.
Check it out in the video below but essentially it works like a color correction/grading tool that can be applied to specific areas of a video without having to mask and track.
How To Make Money on YouTube With a Small Channel
This is probably one of the most comprehensive and complete rundowns on exactly how you can generate income from a YouTube Channel.
Usually creators like this are pretty secretive about actual numbers and like to make it all seems way better or easier than it really is!
Refreshingly, this video is quite upfront about the amount views you need to generate income from YouTube ads (Adsense), sponsorships, affiliate links and digital products.
How to Color Grade a Documentary in DaVinci Resolve (Step by Step)
If you have ever thought that your project was getting a bit too complicated and things were beginning to spin out of control, check this out!
One of the steps I often refer to in any project is that of getting yourself and your assets organized.
I know I bang on about this because I am already thinking to myself, “Have I typed that exact sentence before?”
That’s how you can tell you are repeating yourself!
Anyway I wanted to add this one to this weeks Roundup because it illustrates just how important that organizational step really is.
Even a small project will spin out of control without it so look at this project and imagine what the result would be!
DaVinci Resolve 21 FREE – New Features Effects you don’t want to miss
So since DaVinci Resolve 21 came out of Beta and into full release most of the talk around town has been confined to the Studio (Paid) version.
Recently the Free version was similarly updated into full release mode so here’s a rundown of whats new and improved in that version.
Key Takeaways
- Tips for engaging confidently in front of the camera while effortlessly appearing natural.
- Common teleprompter mistakes beginners make and technical advice for better usage.
- YouTube strategies for 2026 highlighting the evolving nature of monetization and viewer engagement.
- Tips for shooting professional videos emphasizing lighting and camera setup, comparing smartphone ease with traditional cameras.
- The latest features of DaVinci Resolve 21 are reviewed, focusing on improvements in the free version.