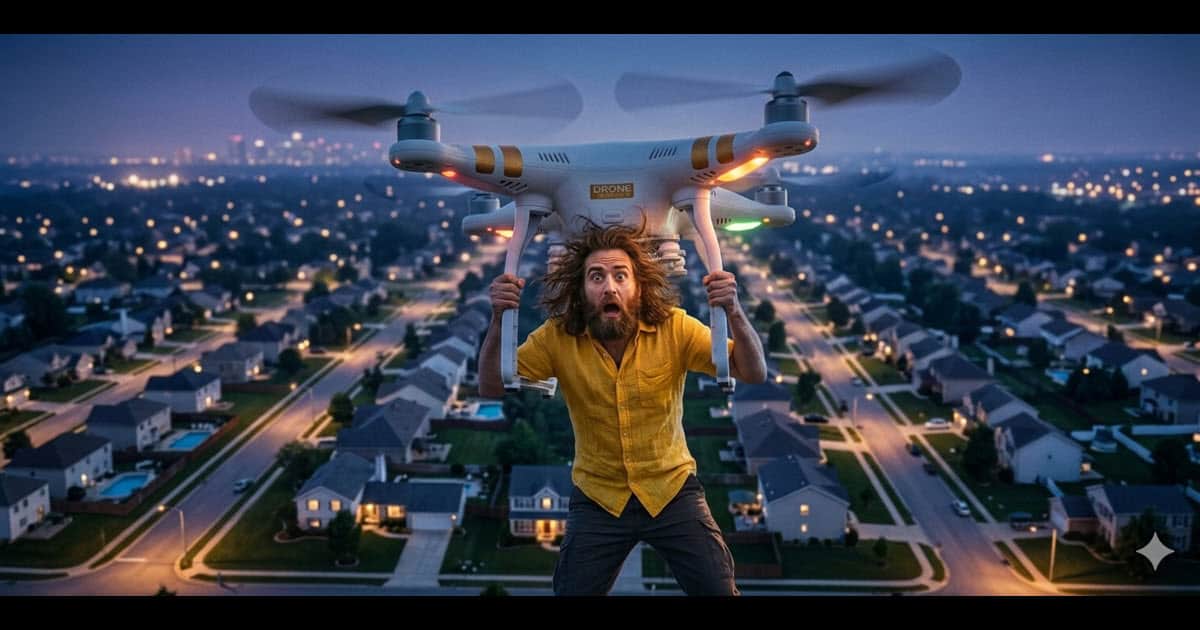
5 Drone Tips for Photo & Video
Not only are drones pretty common these days but they are also in that stage of development where prices are dropping and quality is rising.
The thing with drone footage is that from the outside it looks pretty spectacular at times and seems to be a matter of sending one up, hitting record and we are good to go!
Of course the reality is that there’s a lot more to it than that especially when you factor in that probably for the first six weeks you will just be learning to fly it and not crash!
If you are interested in getting into drone footage for yourself then this video below is a good starting point.
It covers some basic terminology you will need as well as laying out what you will need to learn as you go.
What’s New in Filmora 15.5 – Features That Save Hours
Well it’s another week gone by and of course that means another update from the folks at Filmora!
In this update they have added the ability to customize text that is displayed for either titles or captions.
Now you can isolate text like that by moving it to it’s own track then customizing from there.
An example would be to have one speaker’s subtitling to be of a completely different style than the other’s.
Another update is to the titles module where now you can keyframe around 13 style points you can apply to the text .
So for example you can assign the text to have a 2px outline at the beginning of when it is displayed and by the time it finishes displaying that outline can have expanded to 10px.
Anyway, the full rundown is in the video below.
Text Typing Effect in Filmora 15 – YouTube
OK so this one is not a wildly technical tutorial but like a lot of tutorials I use, very necessary!
The problem with most modern video editing software (at least for me!) is that I know it can do what I want it to do.
In fact often I know I have done it in that program before… I just can’t remember where that dang button, or switch or setting is!
The video below from Jacky is one of those.
It is not so much HOW to create the text typing effect but more how to locate the setting that will do it for you!
How to get started with Paint Designer in PowerDirector
The Paint Designer in CyberLink PowerDirector is actually one of the original modules that was introduced in PowerDirector way back in the day.
At that time it and a number of other modules now accessible under the “Tools” menu were almost free standing items that were called “Rooms.”
It is essentially a basic painting module that you can use over any video or visual asset that is on the timeline.
It is not a tool that I would see anyone using every day but it certainly comes in handy when you need something fast and simple.
With all the marketing these days being very firmly aimed at the latest and greatest in A.I. it’s easy to forget there are a lot tools besides that in PowerDirector and programs like it.
Here’s a closer look at what it can do.
How to INSTANTLY Remove Objects from Video with AI – PowerDirector Tutorial
This is just a very quick demo of how to use the A.I. Object Removal tool in CyberLink PowerDirector.
Not much else to say about it really!
Corel VideoStudio is it still worth in 2026?
Many (too many!) years ago the very first video editing software I purchased was Ulead VideoStudio.
I think the version I stepped onboard with was Ulead VideoStudio 7 and although it may not have been when dinosaurs roamed the earth, it was only a few years later!
Anyhoo, I continued using VideoStudio for many years after that even after it was taken over by Corel and in fact, still have a copy on my current computer.
I came across this video from from Gripps who was always my “go to” guy for when it came to VideoStudio and it led me to thinking about the theme of it.
You can watch it for yourself below but the gist of it is to ask exactly what is it that current video editing software programs are offering that an older program is not BUT… with one caveat.
That caveat is, “Would you actually use those features that are on offer in the latest programs?”
If you look at the bare bones of what you actually need from a video editor and then delete all the wizzbang A.I. stuff, you pretty much end up with something like VideoStudio.
On top of that if start with a bare bones program and need some A.I. work done, it is just as easy these days to just go to the relevant A.I. site and do it there.
5 Pro Video Angles in One Simple Room
For anyone intending to regularly create content for something like a YouTube channel or an Instagram account, one thing becomes clear very fast.
One of the most important things for you to get into place early is a dedicated space for shooting that content.
Having to repeatedly setup your shooting space turns into a buzzkill so fast it takes your breath away!
On the other hand very few of us really have a large sized room just lying around “spare” that we can turn into a sort of studio!
What is very often the case is that we have a tiny little room or even a tiny space in a room already being used for something else that we can use.
Setting up in something like this can be quite challenging and it is very easy to get locked in to seeing the arrangement of it one way.
Very often a new set of eyes may see that situation differently with different possibilities.
So with that in mind here’s a look at how Gabriel VIP took a very small space available to him and turned it into quite the little studio setup.
5 EASY Steps For Sounding Better
In my opinion there are two main areas of video creation that newcomers have the most trouble with.
Of course any newcomer has a world of pain in front of them but these two stand out because really, they don’t stand out!
Those two points are sound and lighting and the reason they don’t stand out is because the audience only gets to experience the result of what went on, not what went on.
The video below doesn’t go into lighting at all so if you like you can check these articles here on the subject of lighting:
But right now check out this video covering the basics and some great tips on getting your voice-overs right.
How to Make ANY Footage Look Correct in DaVinci Resolve (Color Explained)
One of the advantages to moving away from smartphones to a dedicated camera for videos is greater control.
This especially comes into play when you are choosing a video shooting format that allows for an enhanced ability to manipulate those files in editing software.
When I say file format I don’t mean .mp4 or .mov or whatever, I mean the shooting profile chosen “in-camera” that it used for capturing the original footage.
Now I don’t want to go all uber-technical on this but there is a whole bunch of science that goes into how the information captured by your camera sensor is then interpreted into images by the software in the camera.
This results in a few different types of video files such as RAW, or S-Log or even Rec. 709 all of which appear in numerous iterations.
Each has it own advantages and disadvantages which I won’t go into now but one of the main differences is the degree to which you can apply color correction and grading to those captured files.
In reality they pretty much all come out as an .MP4 file but the underlying color information will be very, very different.
That’s why you can aggressively change an S-Log video file and have it come out looking great but try to do the same to a Rec. 709 file and the whole thing falls to pieces!
If you are making a move towards some of these less compressed and color grading friendly shooting profiles the very first thing you need to get under your belt is color management in whatever software you are using.
Here’s a great intro to color management and different color spaces in DaVinci Resolve and because it is Daniel Batal, a lot of explanation as to why things are the way they are.
Key Takeaways
- With drones becoming more accessible beginners need to practice flying first for better footage.
- Filmora 15.5 introduces new text customization features that enhance title and caption editing.
- PowerDirector’s Paint Designer offers simple painting tools for quick video enhancements.
- The AI object removal tool in PowerDirector allows for easy and effective video editing.
- Choosing the right video shooting profile significantly impacts the quality and editability of footage.