I used to love to go to the card section in the store and look at all the cards, but over the past couple of years, they are just so ugly and tacky. Many of the greeting cards are so offensive, showing things that a godly person runs from, that I started to feel very uncomfortable just being in that aisle.
It definitely doesn’t bring me joy to shop for a card anymore, but I also want to treat my friends and family and show them that I care with a card.
So, I started making my own cards!
Cards that don’t offend.
Cards that have great design.
Cards that are super cute, easy to print, and best of all…FREE!
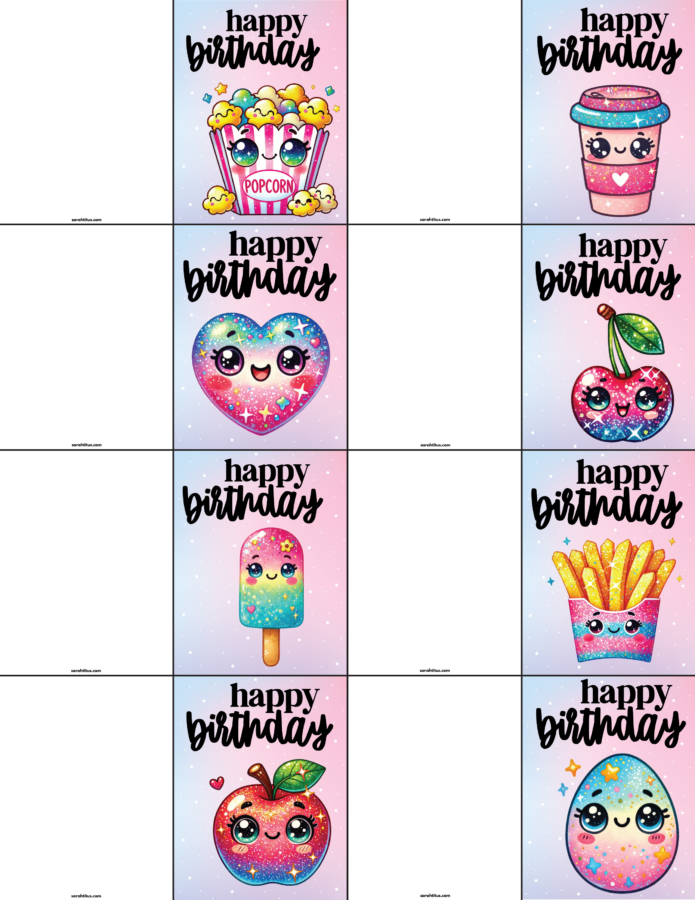
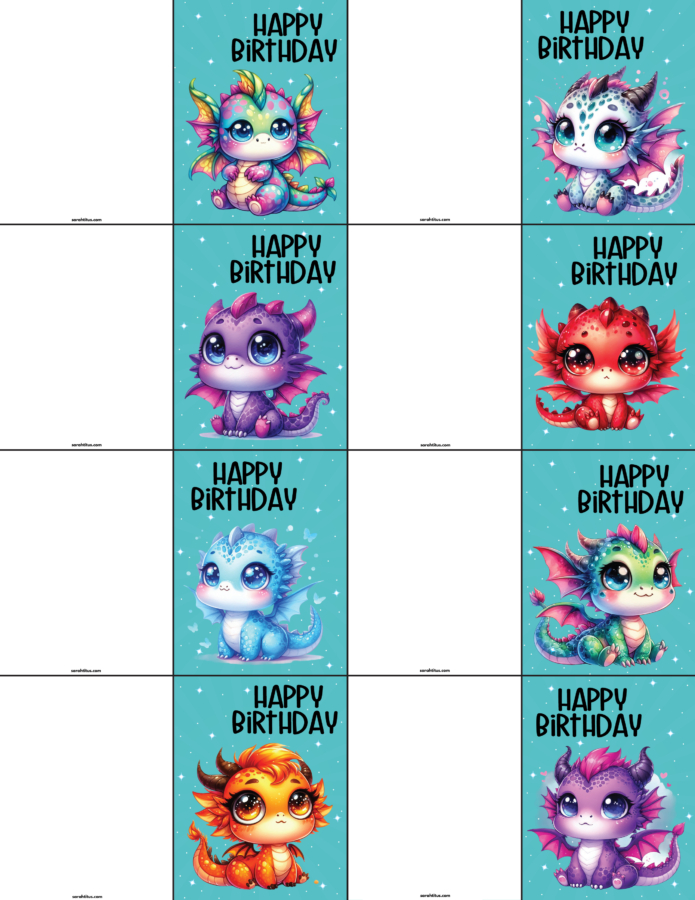
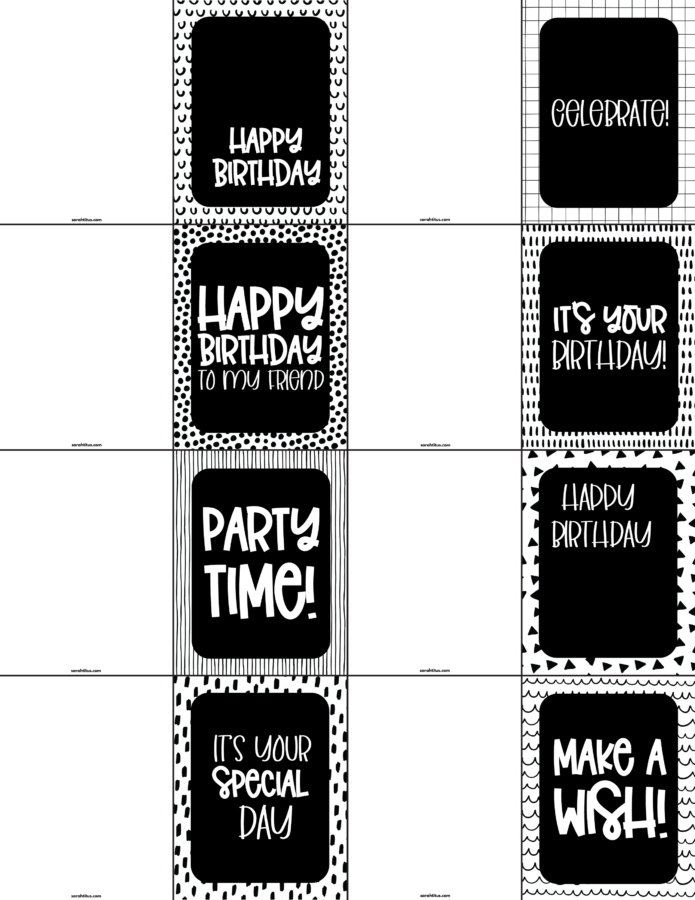
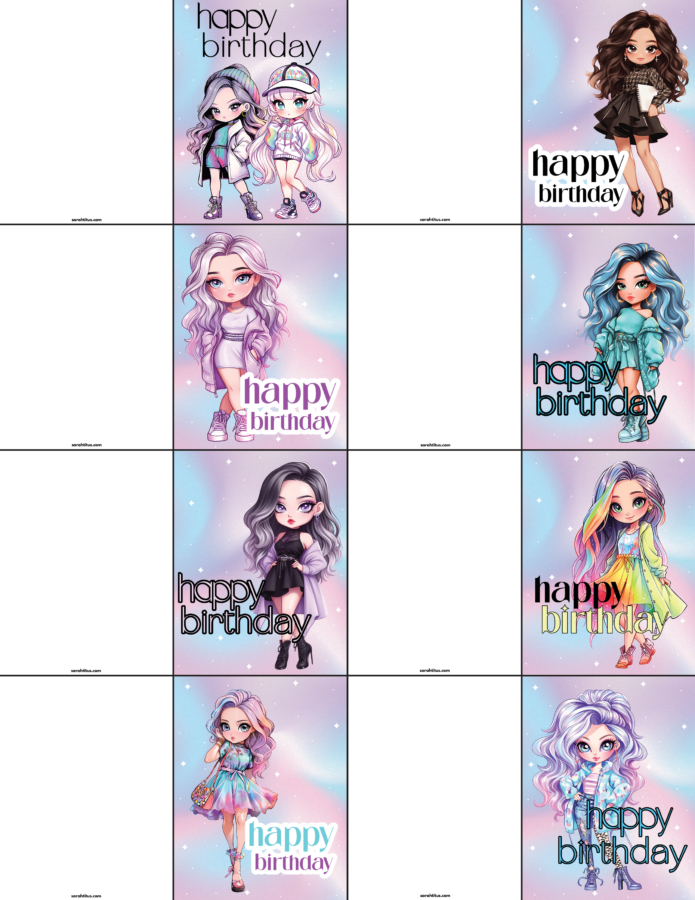
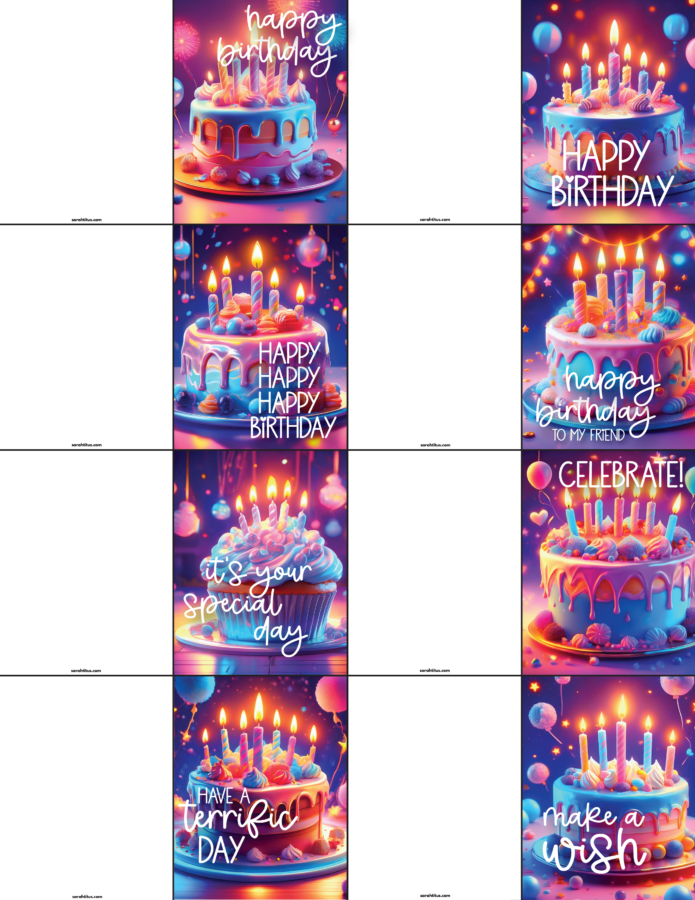
Take a look at these 100+ free printable birthday mini cards! You’ll fall in love with them!
100+ Free Printable Birthday Mini Cards for Kids
Birthdays are more than just another day on your calendar. They’re an opportunity to celebrate life, love, and the people who matter most to you in your life.
A heartfelt and cute b-day card can turn simple wishes into lasting memories, ESPECIALLY when you match it to their personality!! ❤️
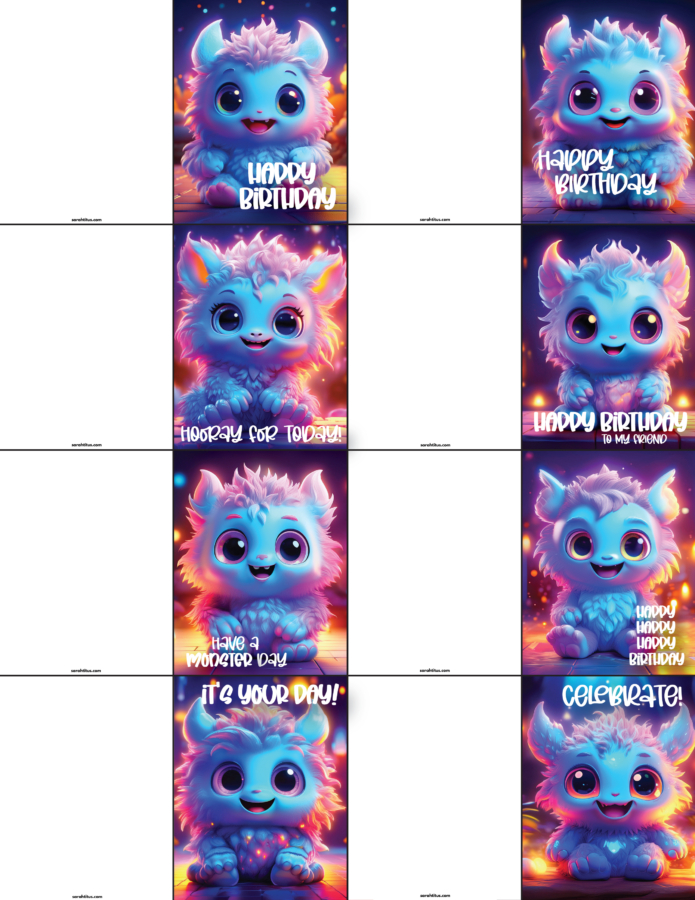
Does someone you know love monsters? Great! Grab them a monster card and they’ll cherish it forever.
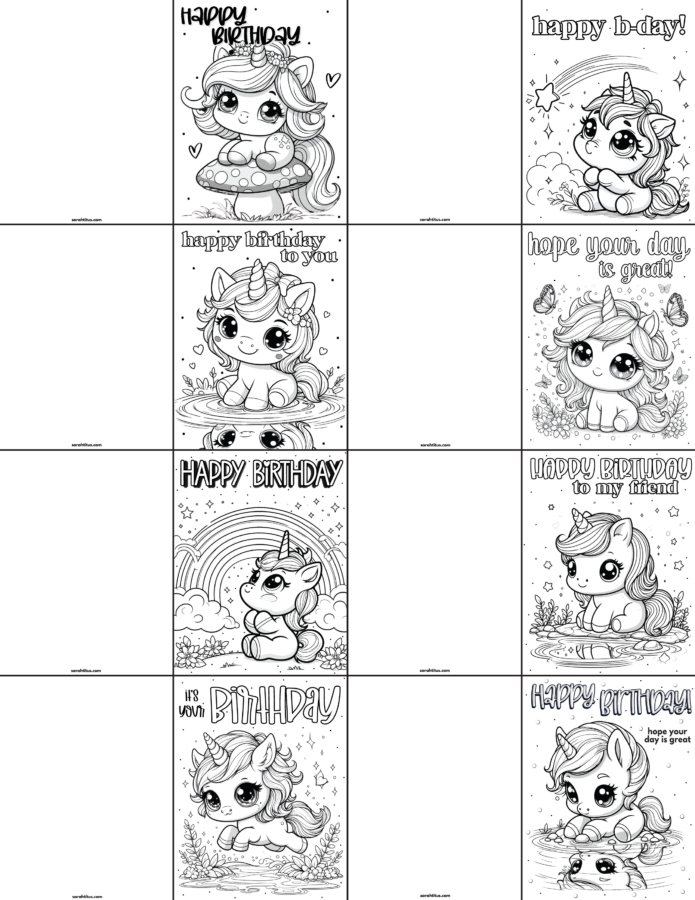
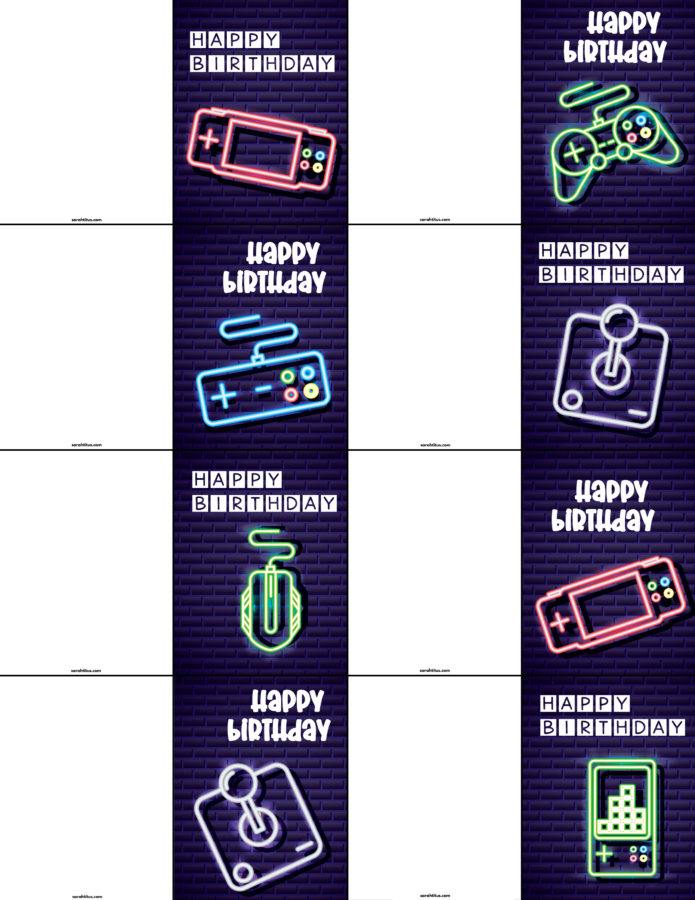
Maybe someone loves video games or unicorns. Awesome! Give them a gaming birthday card or a creative COLORABLE unicorn greeting card.
They’ll be so excited to see that you are giving them a card that is perfectly tailored to THEM! It’s much, much more personal!! 🥰
These free printable birthday cards are perfect for:
Want MORE fast and easy printable V-Day cards to give your kids classmates this year??? I have a BUNCH of different ones for your family to choose from. Click the links below to download and print them.
I started using thicker paper recently and it makes them so much better!! I have a ream of this paper and use it for a bunch of different things, so I already have it on hand. I wouldn’t buy a ream just for these cards as a one-time thing, but if you already use it or need it for other purposes or are printing these cards year after year, here’s the one I use. It’s like cardstock and prints well in a printer.
It’s a great opportunity to remind our loved ones that we love them! I’m really huge on doing this all year around, but I love we can make it extra special for one day of the year!
If you are like me – a mom who likes to be unique and loves to save money, these Free Printable Valentine Cards for Kids are for you!
Free Printable Valentine Cards for Kids & for Adults
I have this pet peeve…
Valentine’s Day cards for my kids.
See, I have two children. As hard as I try to find gender-neutral cards, like puppy dogs or something, they never have enough in stock wherever I go and I end up having to buy two genders cards…a boy and a girl.
Well, of course manufacturers PURPOSELY set the amount of cards in the boxes to be odd numbers, so you have to buy TWO boxes (per kid!) and then you’re left with extras you’ll never use. It’s around $2.50/box so it’s $10 for something that doesn’t even include a treat or small gift…something that will get thrown away in 5 seconds after kids get out of school.
It has irked me to no end FOR YEARS.
Well…two years ago, I got smart! We started making our OWN Happy Valentine’s Day cards!
We first started with some glue heart Valentine cards crafts (you can find that tutorial here).
The kids in my daughter’s class LOVED them! We already had the materials here at home, but glue is like 25¢ on sale. Not a lot of money to spend. My daughter was the hit of the day because HER cards were UNIQUE, fun, and seriously COOL!
This year is no exception. I wanted something fun, unique, and creative. Something that both my son and daughter would love to use. I asked my 9 year old son if these cards looked “too girly” and he said, “No.” But if you want, you can print them in greyscale.
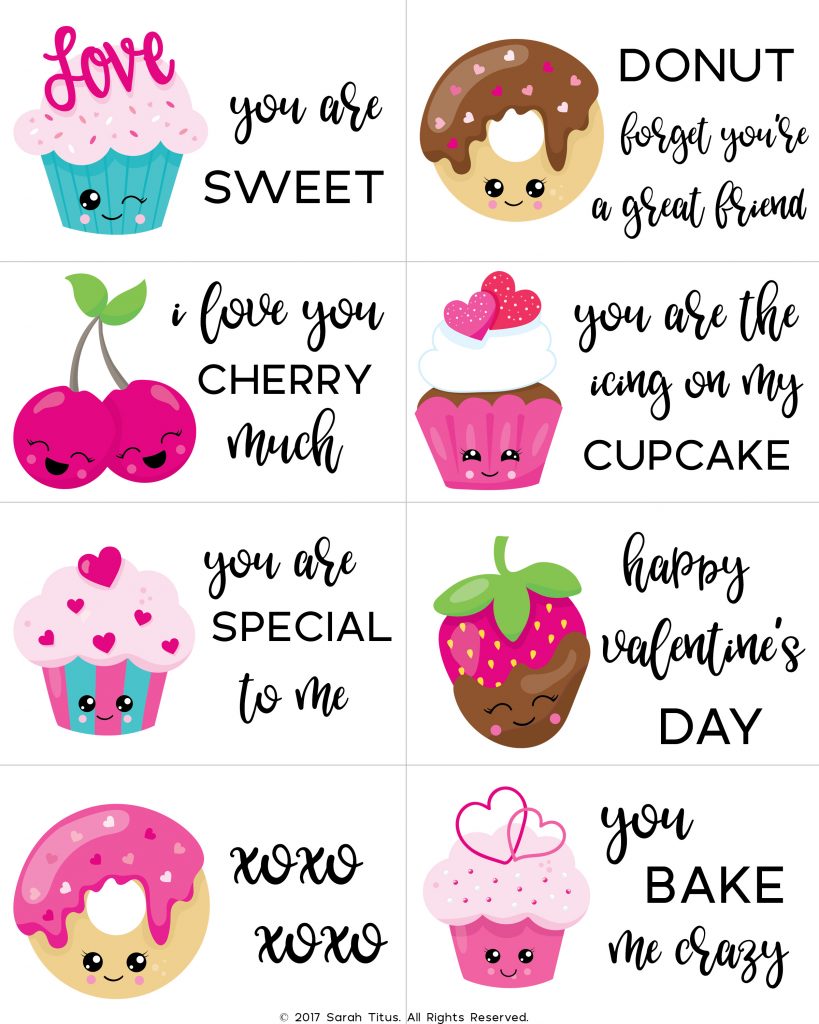
Your kids and their friends are going to love these sweet treats Valentine note cards printables so much, plus they also have super cute and funny phrases on them.
Perfect:
for kids
for students/classmates
for your husband
for your wife
for co-workers
for teachers
for friends
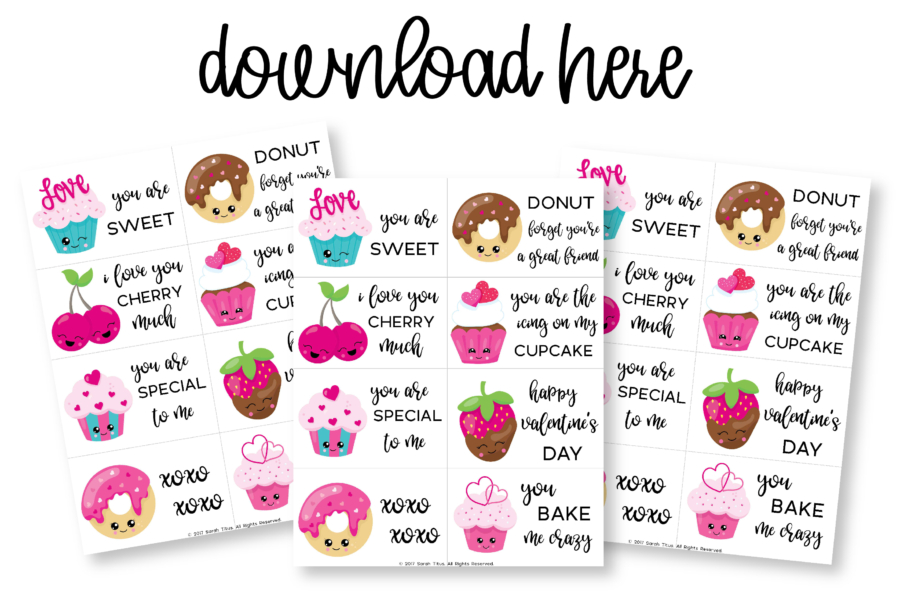
Download Here
Download the Free Printable Valentine Cards for Kids PDF Template here.
100+ More Valentine’s Cards
Want MORE fast and easy printable V-Day cards to give your kids classmates this year??? I have a BUNCH of different ones for your family to choose from. Click the links below to download and print them.
I started using thicker paper recently and it makes them so much better!! I have a ream of this paper and use it for a bunch of different things, so I already have it on hand. I wouldn’t buy a ream just for these cards as a one-time thing, but if you already use it or need it for other purposes or are printing these cards year after year, here’s the one I use. It’s like cardstock and prints well in a printer.
Looking for Valentine cards that are super CUTE and MODERN?
I used to have to work 80-120 hours a WEEK because I could just never organize my life. As a single mom, I spin a LOT of plates. But I started creating binders when binders weren’t even a thing, and they seriously just changed my life forever!
Now I’m so organized (I only have to work part-time now because I’m so laser focused). I literally have a binder for everything in my shop and today, you can buy my super popular household binder!
If you’re an organization freak like me who just loves having everything all nice and tidy in one spot, this household binder printables set is for you!
The organization binder printables will organize your life in an incredible way, making sure that you can find and get to your most important information quickly. Because who doesn’t hate paper clutter? And paper clutter seems to be the #1 monster in so many homes.
This home management binder is one great way to tame your clutter. Just grab some baseball card sleeves to store your debit cards, SSN cards or coupons and print out the sheets you need to organize your life!
There are different size spine templates to fit whatever binder size you have on hand…no need to go out and buy another binder. Just use one you already have and you’re good to go.
If you do need a binder, here are the appropriate ones on Amazon:
Being a girl who loves to print printables all day, every day, I need a printer that won’t cost me a fortune. I literally change my ink once every 2-3 months, not kidding. I’ve been through a LOT of printers and this one is, by far, my absolute favorite.
It has print, scan, fax, copy, and web features. I haven’t used the fax or web portion of it, but for everything else, it does an amazing job for sure!
For paper, I use regular copy paper, however, sometimes I’ll use the thicker cardstock-y paper. Sometimes they have it on Amazon, sometimes not, but it’s the best brand and I only use that one.
It lasts me a super long time, as I still have 1 3/4 packs left and I last bought it 2 years ago!
For dividers, I actually just use the cardstock-y paper above and put little tabs on the sides. I feel like this is the absolute cheapest way to go and I can customize it how I want.
For a hole punch, I use and love this one (the light turns green so you know you’re lined up properly!)
What Do You Put In A Household Binder?
A household binder should contain categories, sections, and content that matches YOUR exact needs for running a streamlined home. You don’t need to include certain information or categories just because it’s generally what you’d find in a household binder. You want to make it all unique to you. It’s a guide to help your run your home smoothly without the chaos, so it should only contain what you personally need to achieve that. Some ideas for categories you may want to include are: finance, cleaning, goals, meal planning, contacts, children, family, and health.
Be mindful of getting the balance right of how much information you really need to include. If there’s too much unnecessary information then it just becomes overwhelming and hinders the management of your home (plus, you won’t wanna use it; it’ll overwhelm you), and if it hasn’t got enough information then it isn’t going to do it’s job of helping you! It’s a balance.
What Is A Household Binder?
A household binder is a structured and organized way to store all the details and information for your household in the one handy spot. You can have categories for each of the areas that go towards managing and maintaining a well run home, so that you can view any important information and the necessary tasks for each area. If someone needed to step in a help your household for a while, it’d be the go to place to quickly understand what it takes to keep your home running smoothly. It’s essentially your manual for a calm and chaos-free home and family life.
How Do I Make a Household Binder?
If you want to really organize your life so that it’s not spinning and crazy all over the place, here’s what you’ll need!
Naturally, the first thing you’ll need is a binder to house all your content. Next, you’ll need paper to write and organize your information into categories (dividers are all included in my Household Binder, so not to worry! You don’t NEED sheet protectors but they are a great investment to keep your papers safe and it also makes it easier to flick through the binder, so I’d highly recommend.
If you would like a gorgeous ready made household binder with everything you need to manage your home like a boss, my Household Binder here is the perfect solution!
Why Have A Home Binder?
A home binder is the perfect way to collate all important information and tasks into categories to keep your home and family life running like clockwork. It’s a handy place to keep all your household details, tasks, and goals in one place, so everything you need is at your fingertips. Home binders are especially important to have in times of emergency when you need to reference information quickly. As a single mom, I use my household binder weekly to get through life and keep everything systematized and calm. 🙂
Check out the video below of what categories are included…
This home organizer binder sells (like hotcakes) in my store! Everybody absolutely loves it!! 🙂
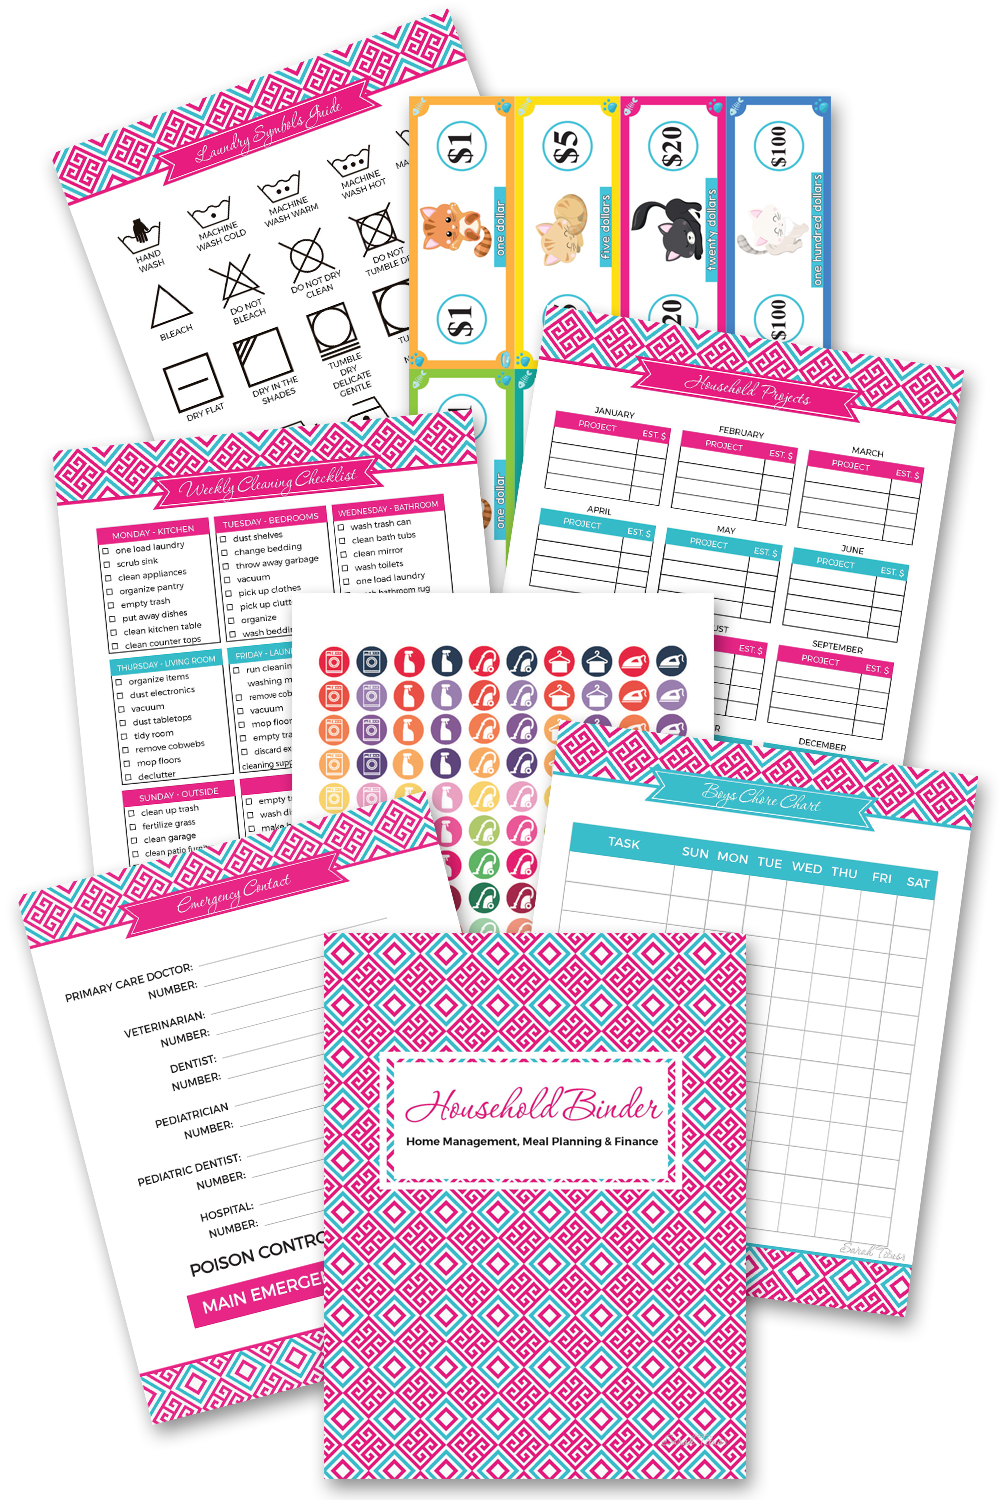
It’s kind of hard to choose my favorite pages of these home binder printables because they are all helpful, but I do have a few. 🙂
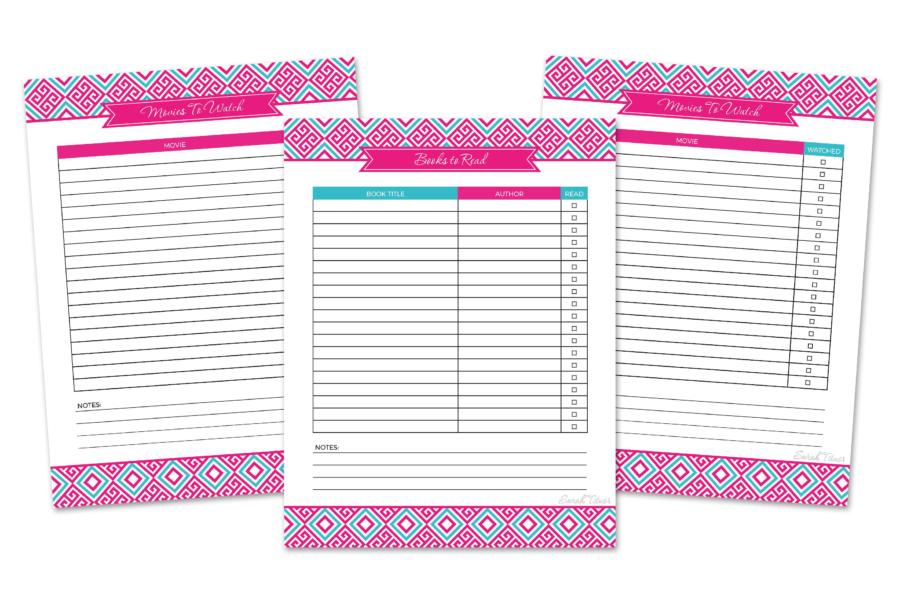
I really like having a printable to keep track of books I want to read and movies I want to see. I love reading, and am always hearing of books I think I really would want to read, but if I don’t write it down, I’ll forget all about it. It’s the same way with movies. Writing things down helps to reduce some of the constant brain clutter!
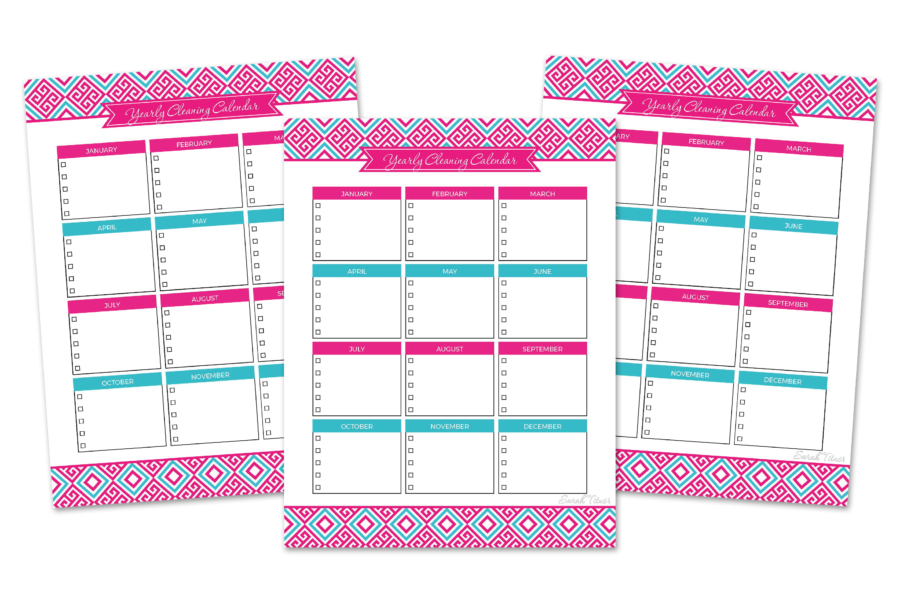
The yearly cleaning list is extremely helpful for reminding me of those things that need to be done regularly, like changing the furnace filter or cleaning out the gutters. All those things that help our homes run more efficiently, but can be easy to forget without a checklist.
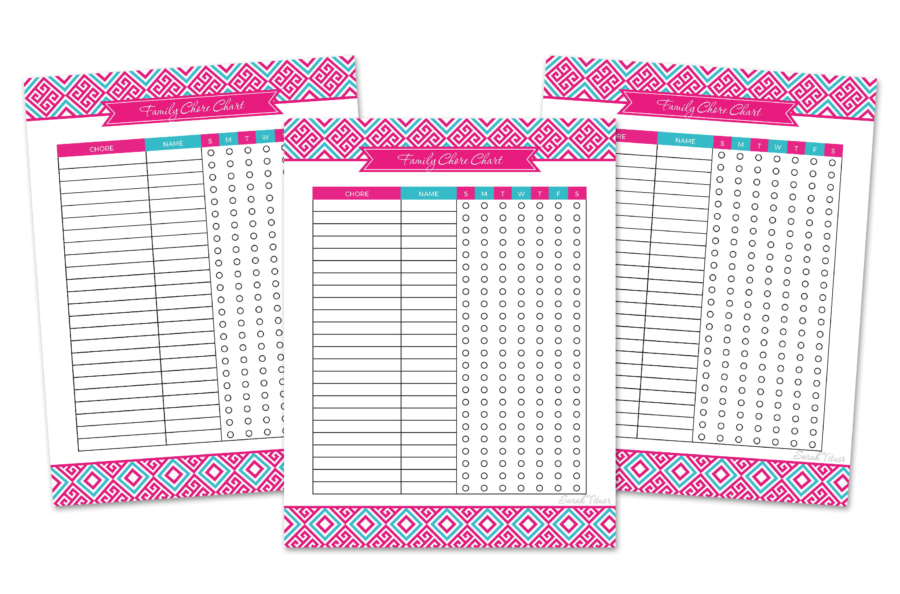
Having a family chore chart is another necessity! Am I right!? We certainly can’t do it all as parents, and we need to teach and train our children how to do things because one day they will be out on their own.
The cleaning checklists for each room help my kids and me, remember all the items to tackle in each room as we’re cleaning, so nothing gets overlooked. I love these worksheets!
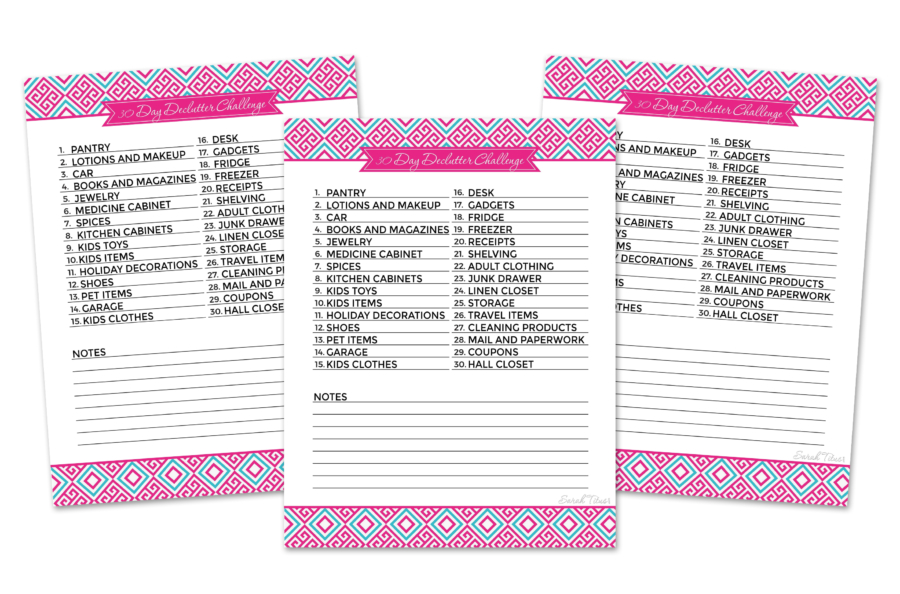
The 30 day declutter list is a wonderful way to get a quick jumpstart on reducing clutter and simplifying things around the house. It’s hard to imagine how much better your home can look and feel in just a month’s time.
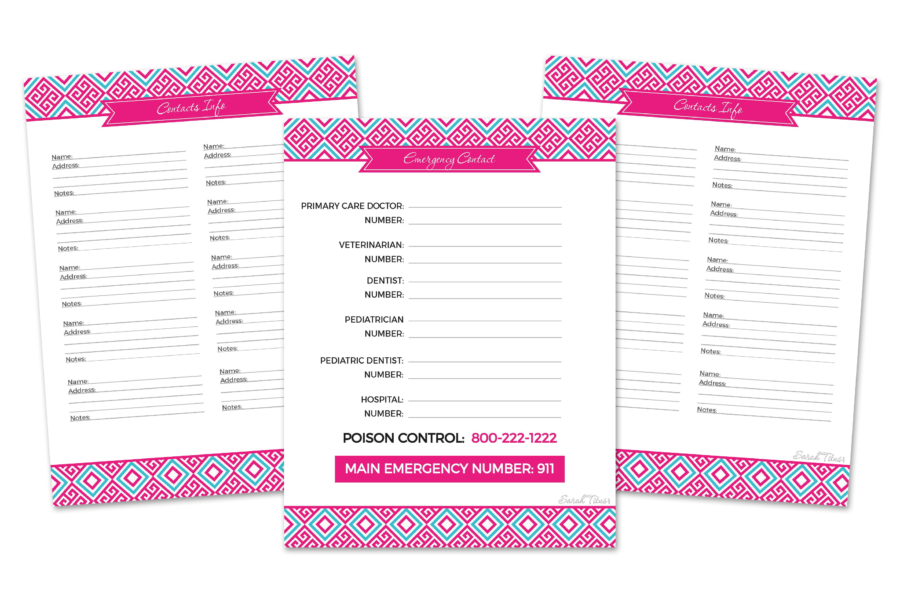
The contact sheets may very well be one of the most important sections of the binder! When there’s an emergency, you certainly don’t want to be floundering about for numbers. And if you’re on the other end of the situation, you want to be reached quickly and efficiently to know what’s going on!
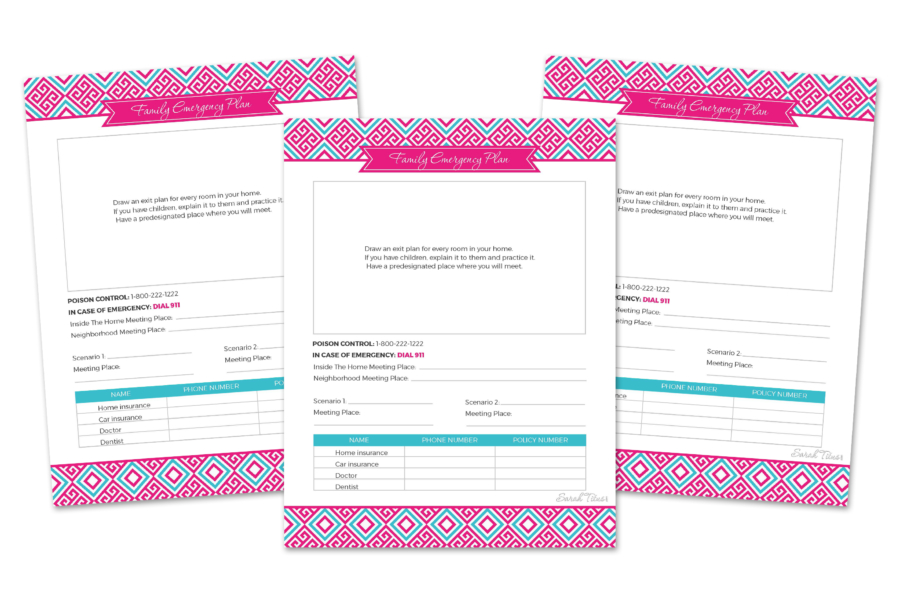
Along those same lines as having emergency numbers ready, is have a family emergency plan ready to go. Unfortunately, many people don’t even think about this until it’s too late, and they’re in a situation where they desperately wished they had been prepared.
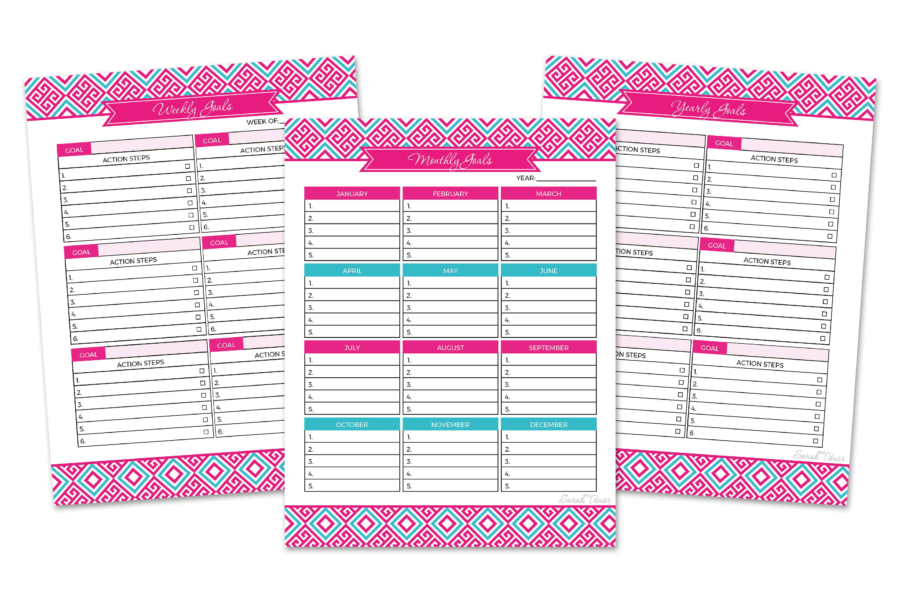
Do you realize how much havinggoals can change the direction of your life? I’ve heard it said, that if you don’t aim for anything, you’ll hit it every time. Unfortunately, that’s so true. Just think how much more you could get done in a week, a month or year, just by having a list and working towards it. Even if you get derailed at times, you’ll still probably make loads more progress than you would have without having specific goals and aiming for them!
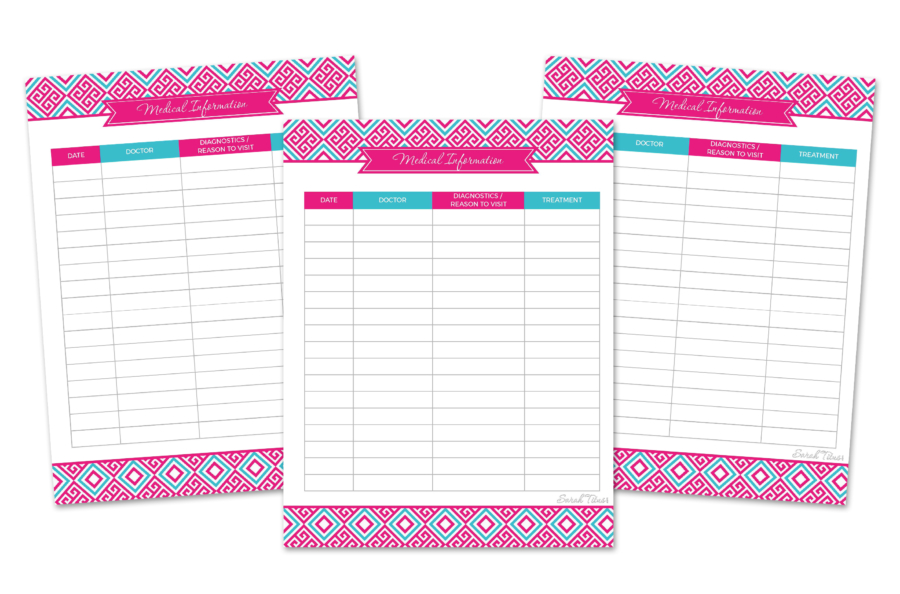
Medical information is another item that’s super important to track, whether it’s when you saw a doctor, who you saw, what they said, what medication they prescribed, any allergic reactions you had, etc…
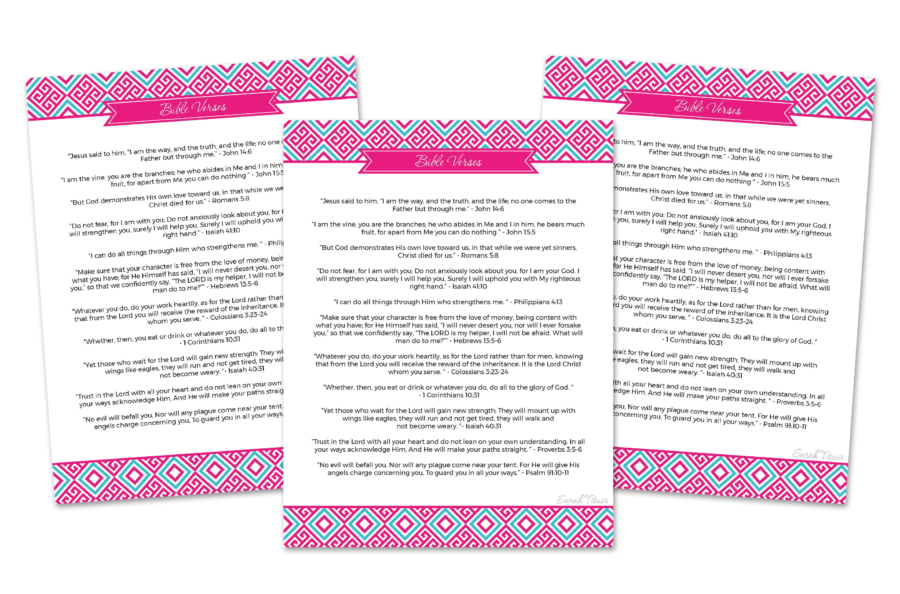
The Bible is where I go to find encouragement and wisdom. That’s why having some of my favorite Bible verses together in the inspirational section is so valuable. When I’m struggling with something or need to be reminded of God’s love, that’s such an essential!
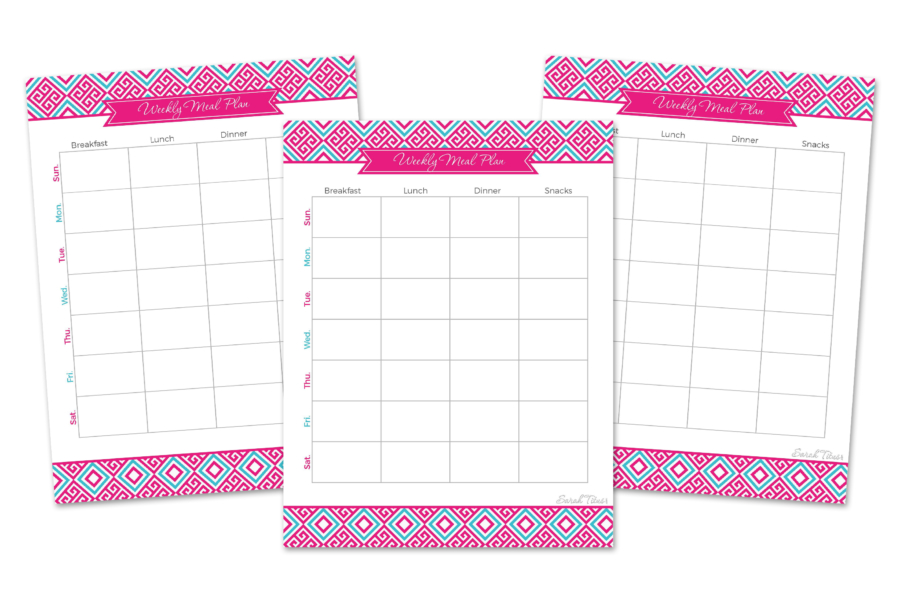
Even though having a weekly meal plan takes a little time upfront, it ends up saving SO MUCH TIME during the week when things can get a little crazy. I always know what’s for dinner and that I have the groceries on hand to prepare it!
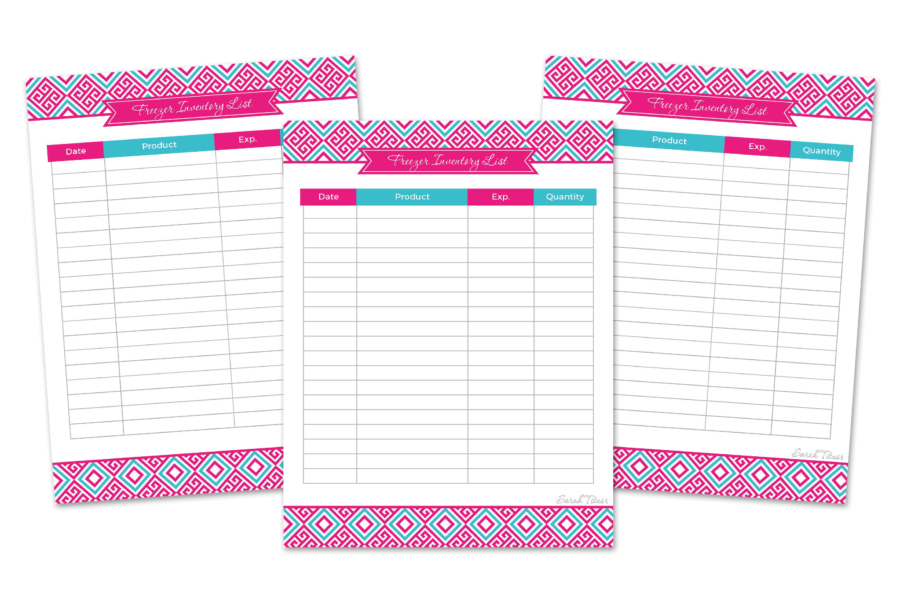
Also, the freezer inventory list is super helpful because who wants to go digging around in the back or bottom of the freezer just to see what’s available?
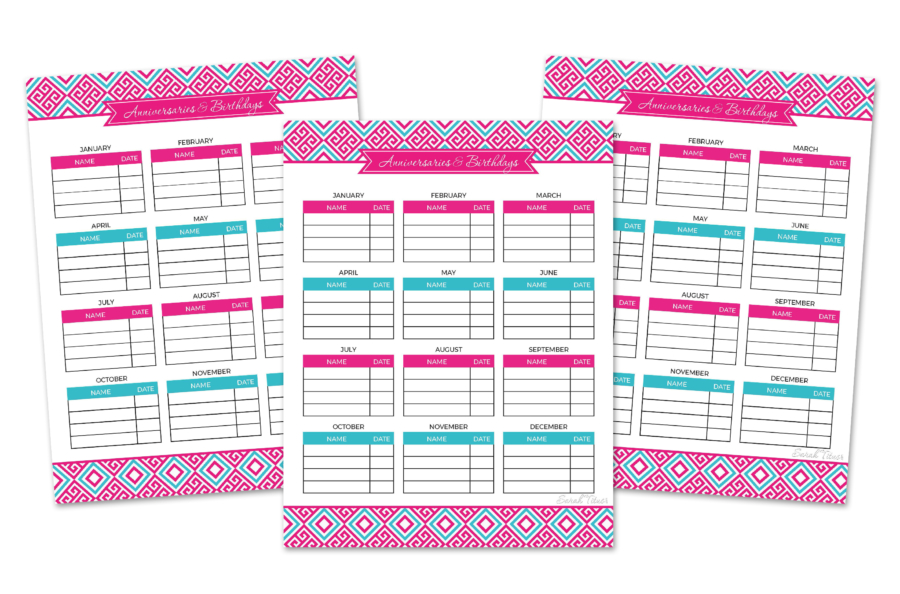
I love giving gifts, so for me, the anniversaries and birthdays printable is a must-have! I can easily glance at it to remind myself of any upcoming important dates that I cannot forget! 🙂
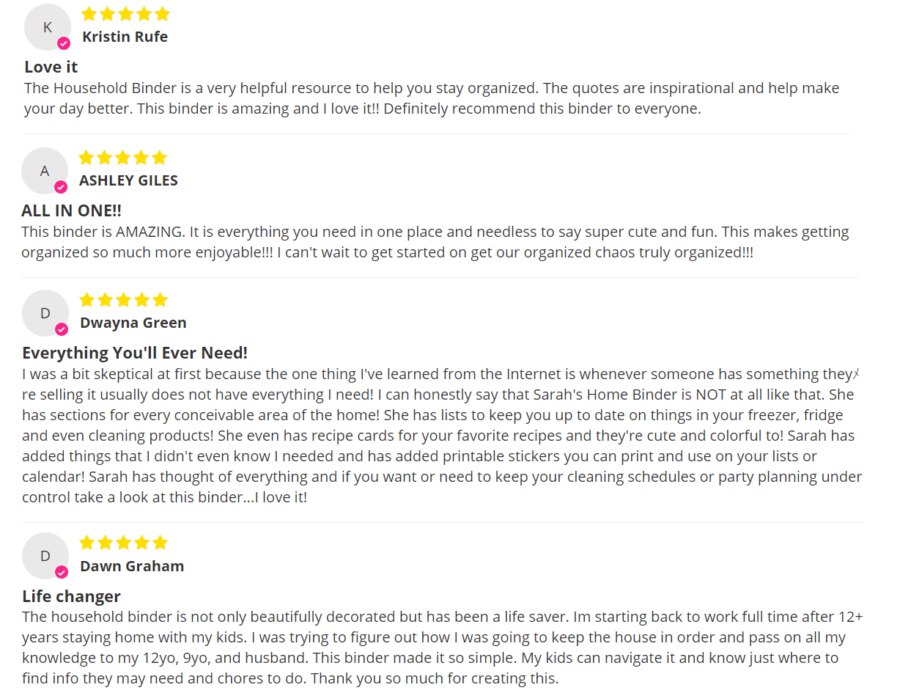
See what others are saying about the binder…
So there you go! Get yourself more organized than you thought possible! Get your Household Binder here!
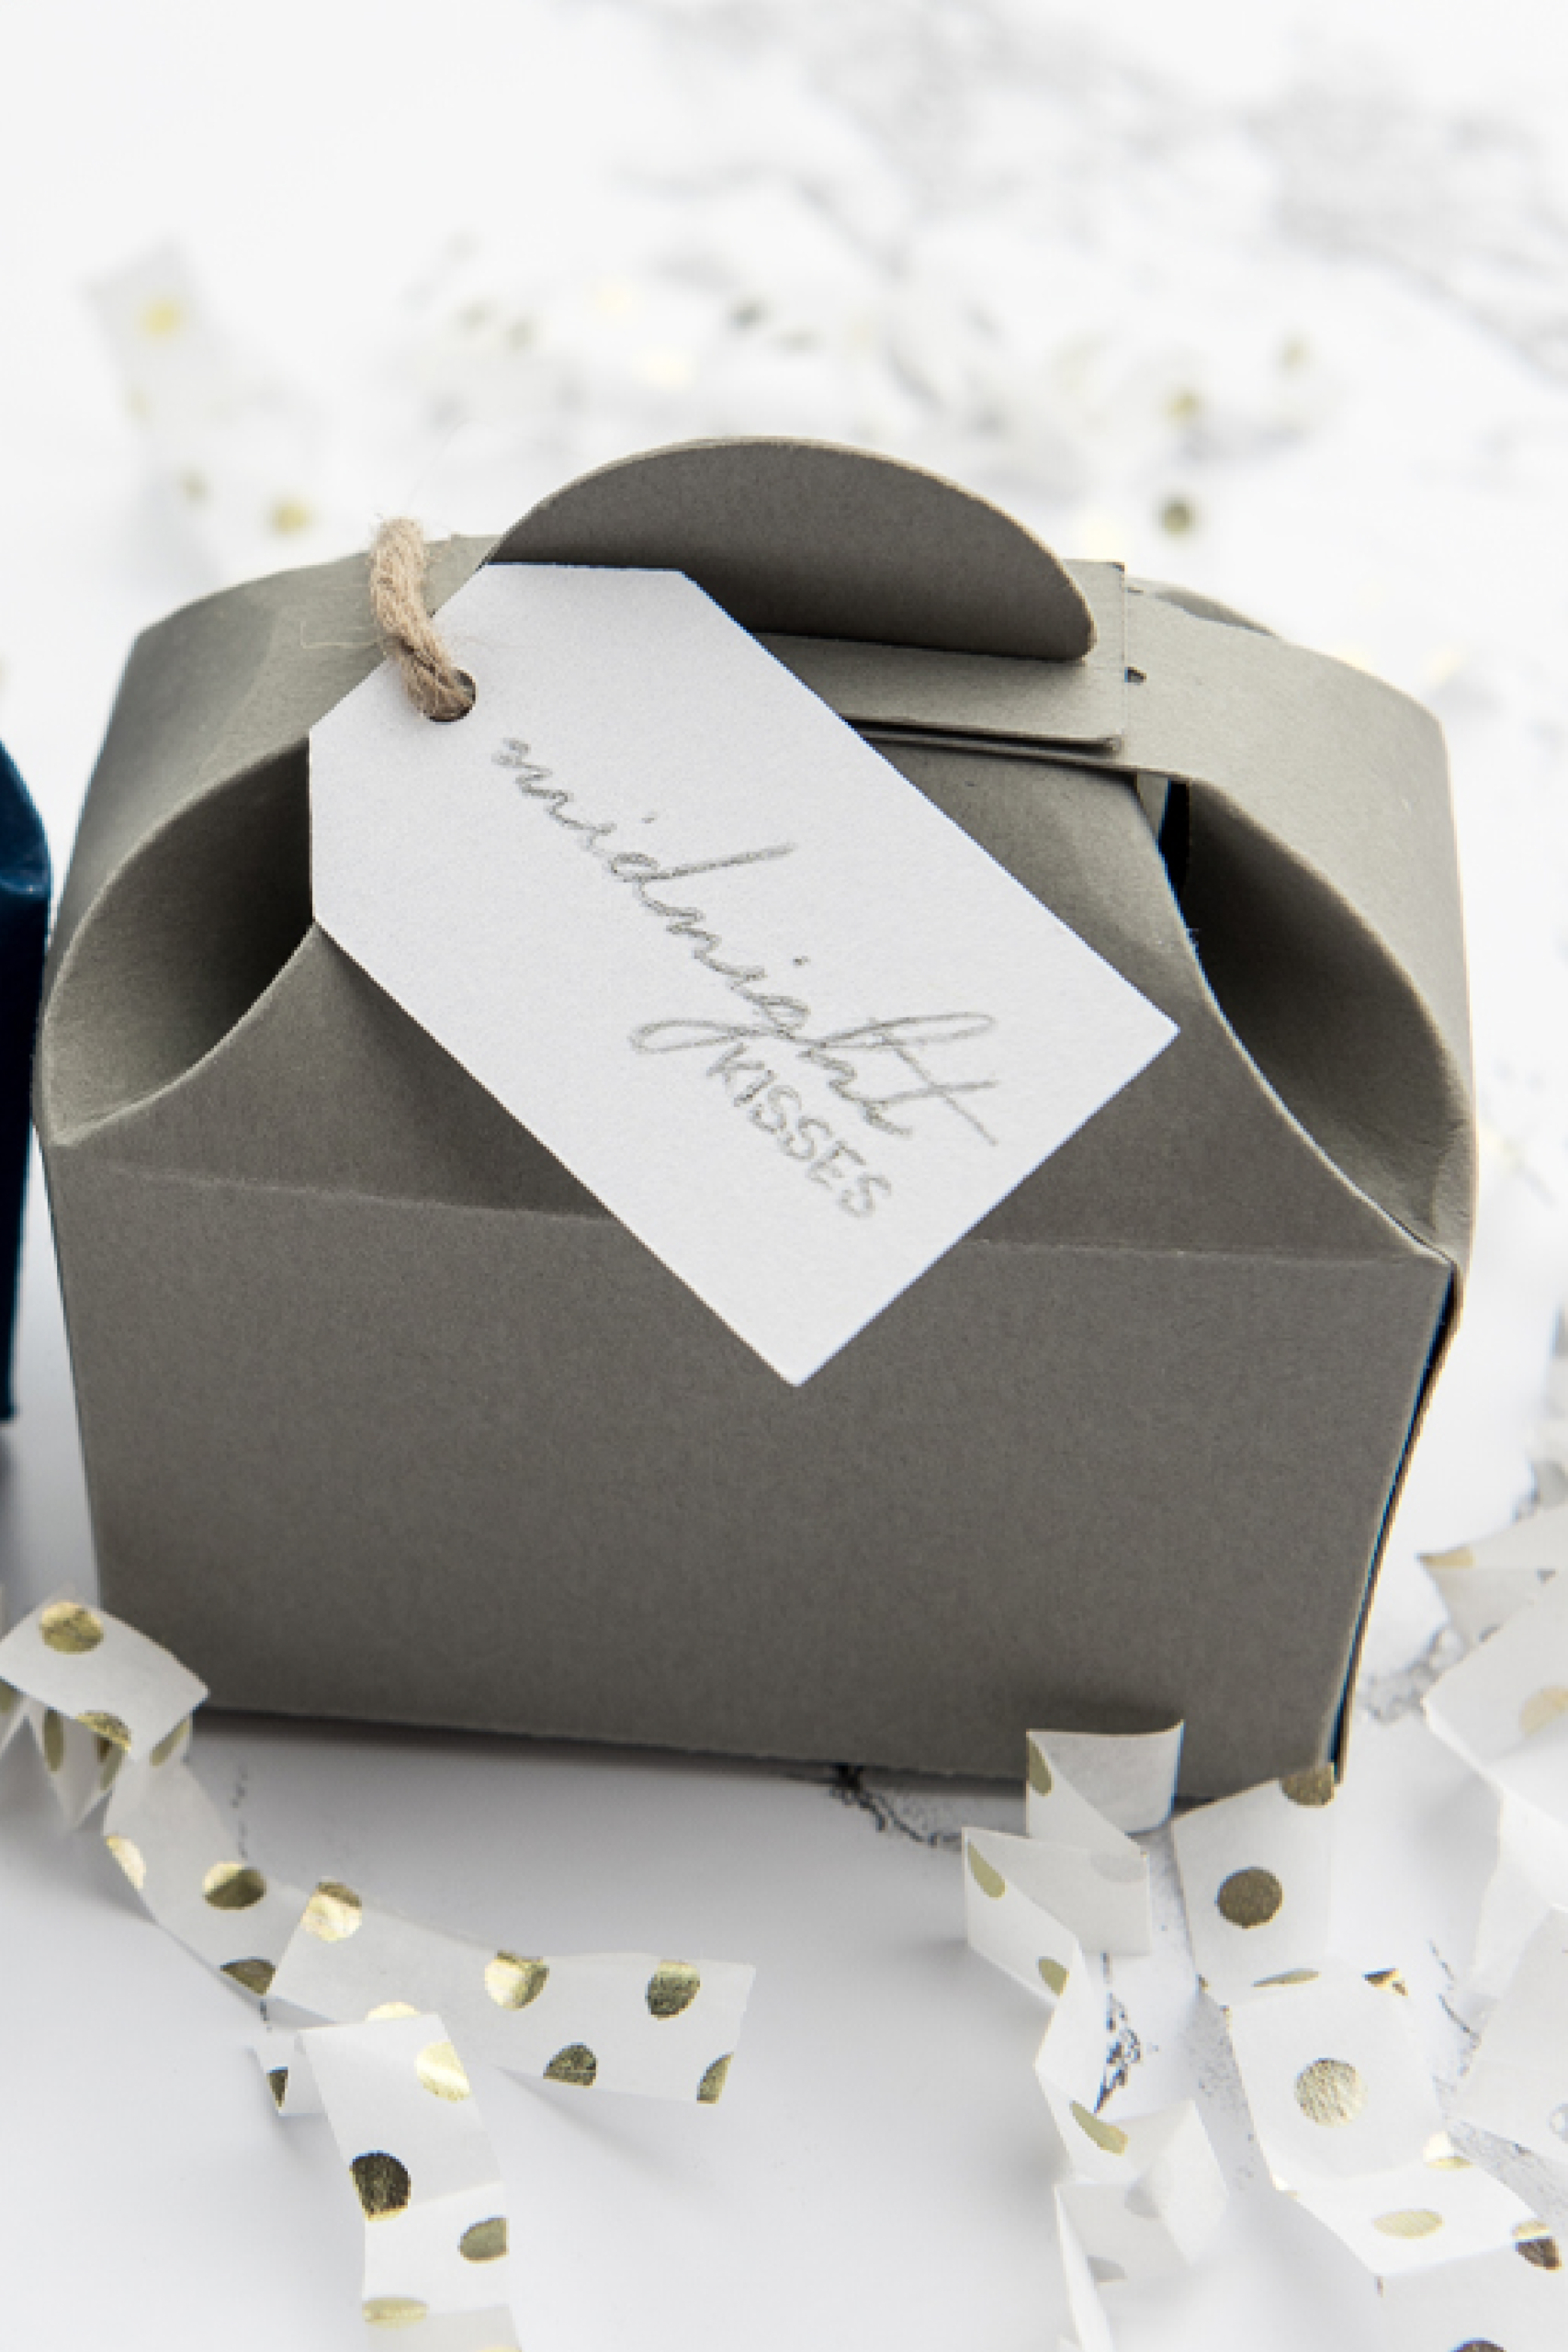
Do you happen to have the PERFECT gift to give to your loved one, but maybe you just need a super cute box to put it in? Don’t worry, I’m here for you!
This super cute DIY surprise gift box will be your new favorite way to wrap your tiny gifts. 🙂
Cute DIY Surprise Gift Box Cricut For Your Loved One (+ SVG)
Do you ever get tired of buying bags that are way too big for small simple gifts like gift cards? Or maybe you want to really give something to your loved ones that you made and has your whole heart wrapped up in it. <3 Trust me, I get it. I was too! These boxes are not only really cute but practical, and can be used all year round for special occasion gifts or even “just because” gifts.
This DIY gift box is super easy to make and the design means it has a built-in lid! I’ve got a step by step instruction list for you to follow, and once you get the hang of it, you’ll be making and using these boxes for gift ideas all the time!
These gift boxes are perfect for little gifts such as gift cards, candies, love notes, and tons more! And these aren’t just for a special someone (husband, boyfriend, wife, girlfriend etc), but also for your kids. You can fill these with little jewels/treasures, stickers, kid-friendly candy, and other little treats that they would love.
These boxes are a great way to remind someone how much you love them and are thinking of them. 🙂 Alright, let’s get right into it!
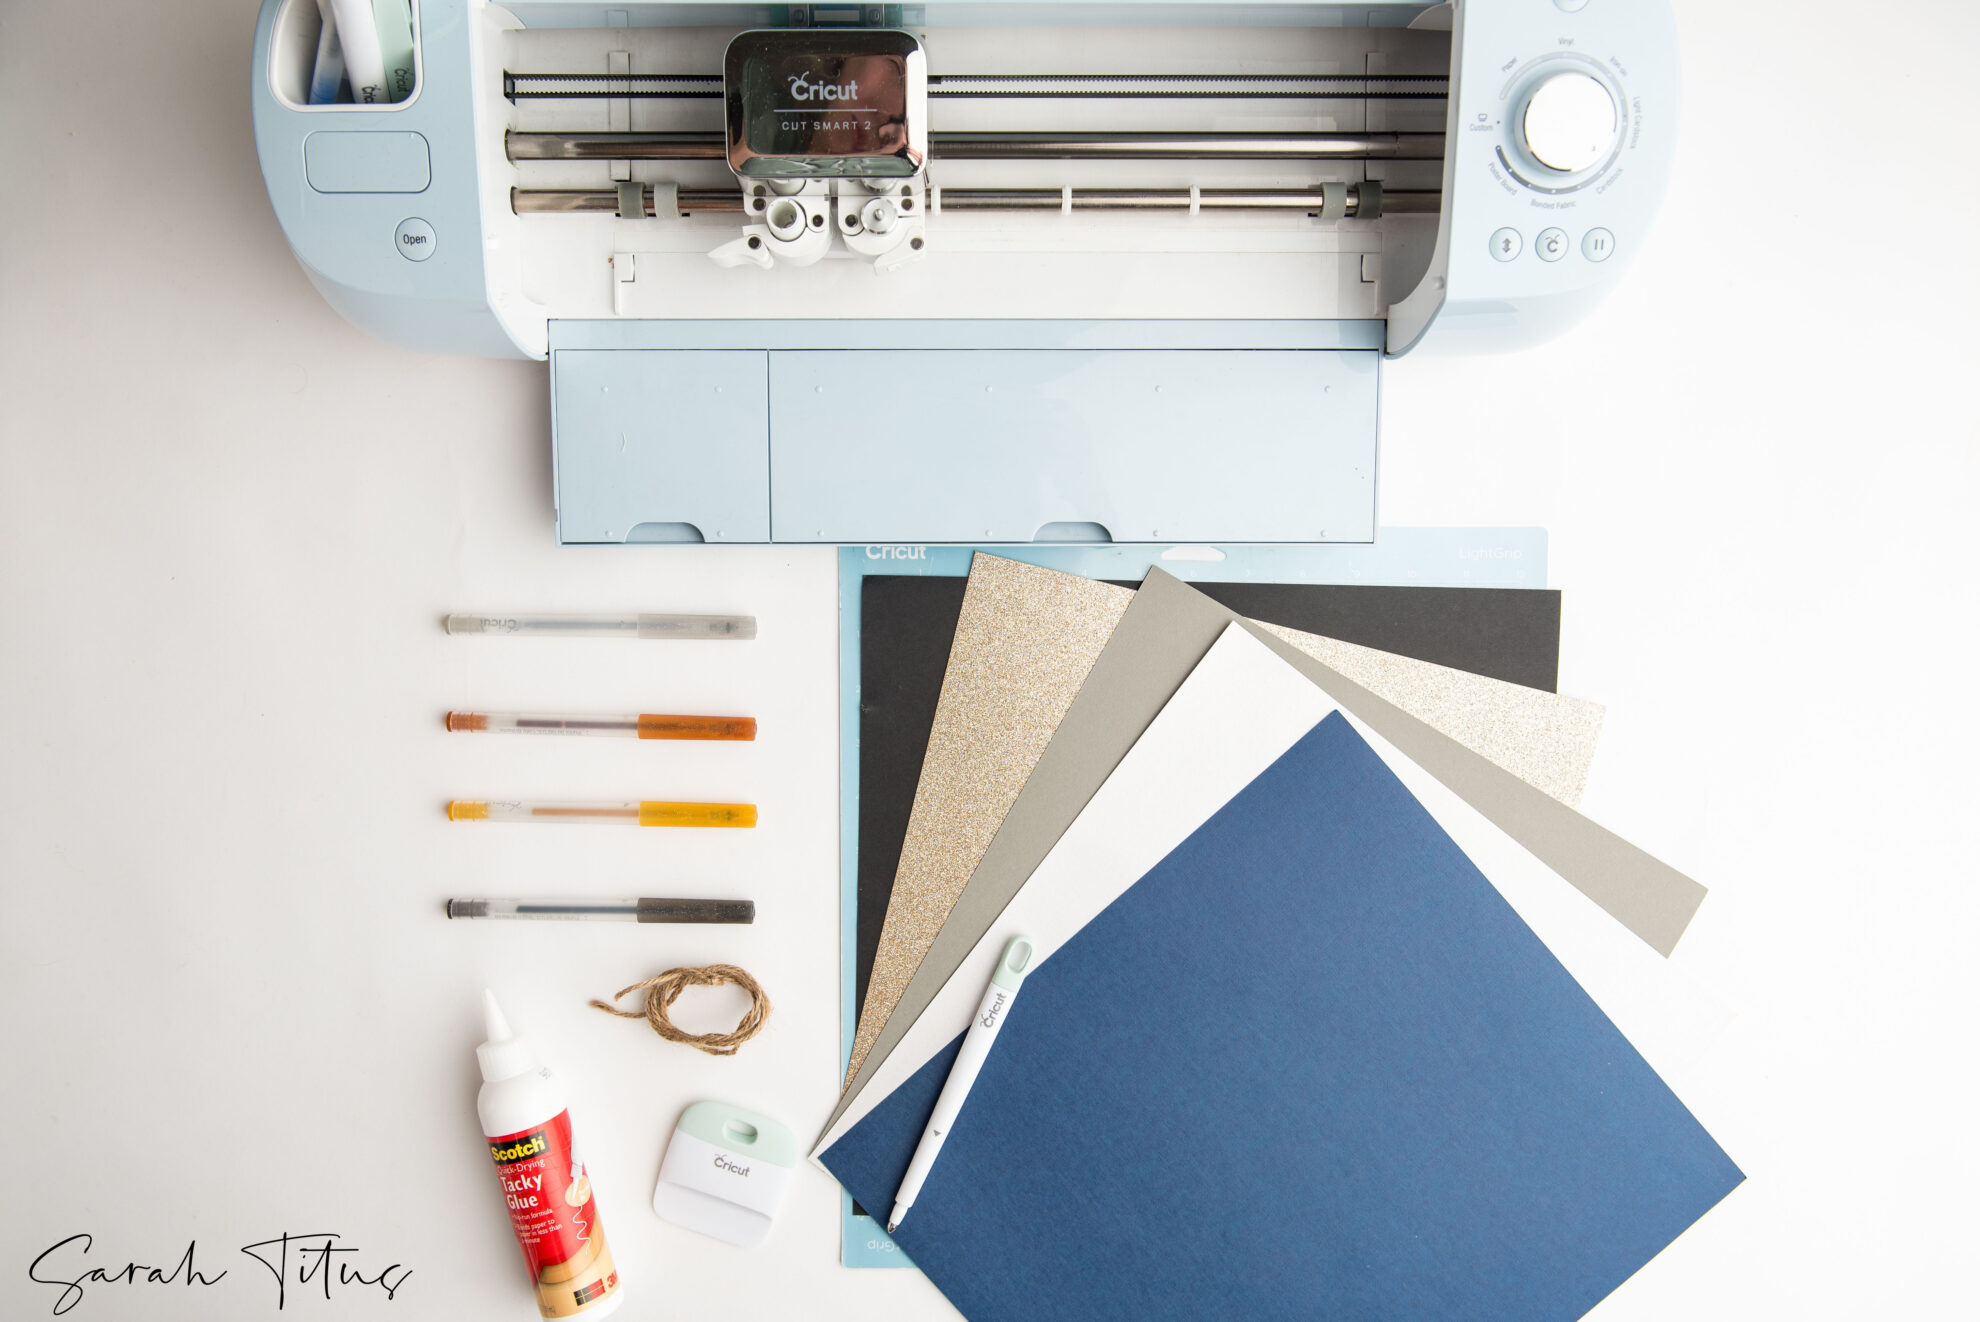
What you’ll need for this tutorial:
Any cutting machine (Cricut, Silhouette, etc.)
At least 2 sheets of card stock (12×12 works the best – one box per sheet)
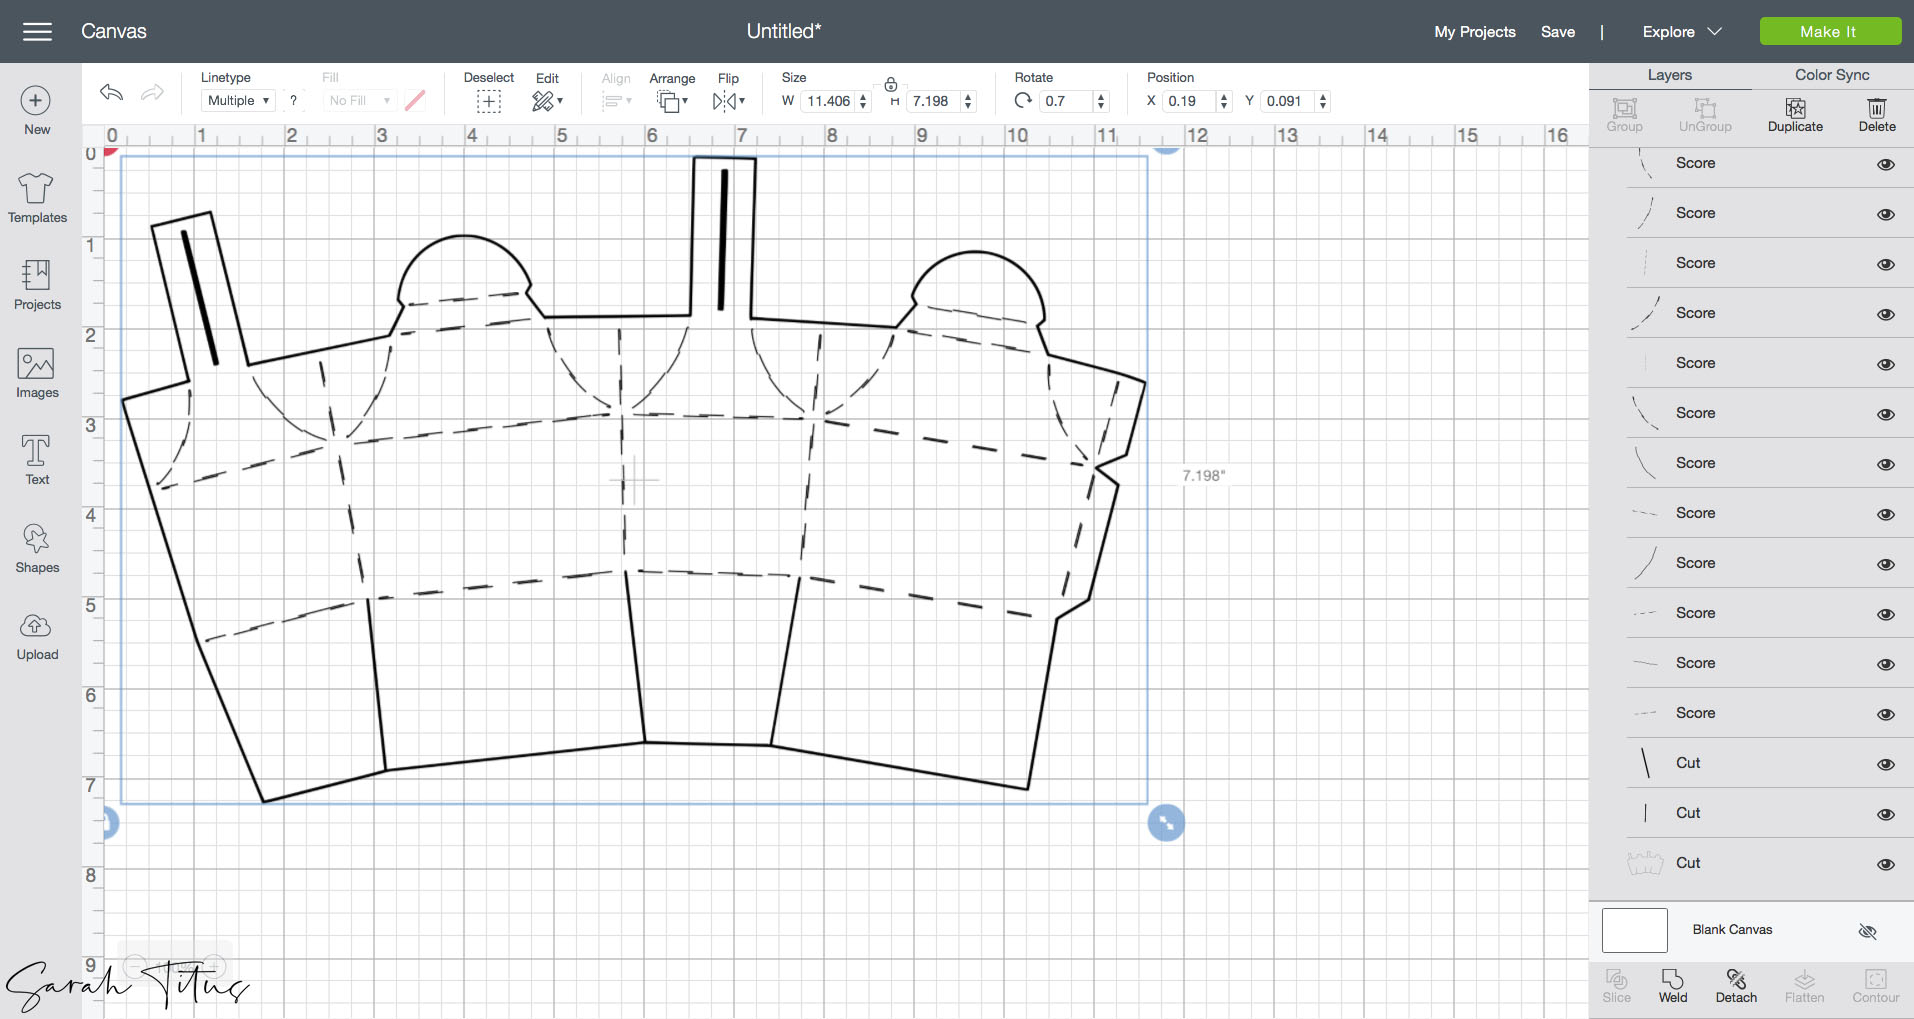
Adjust the sizing of your file to a width of 11.406” and height will auto populate to approximately 7.198”.
For this next part be sure to see the design space screenshot as well as the instructional guide (below) to be sure to change all lines needed for scoring. These will eventually serve as your fold lines.
In design space, be sure to highlight all the fold lines. On the toolbar click the down drop menu titled “line type” and change the fold lines to “score”.
BE SURE TO HIGHLIGHT ALL LAYERS ONCE SCORED AND HIT “ATTACH TO” BEFORE CUTTING. THIS IS IMPORTANT (otherwise, design space will want to cut all lines separately rather than all together).
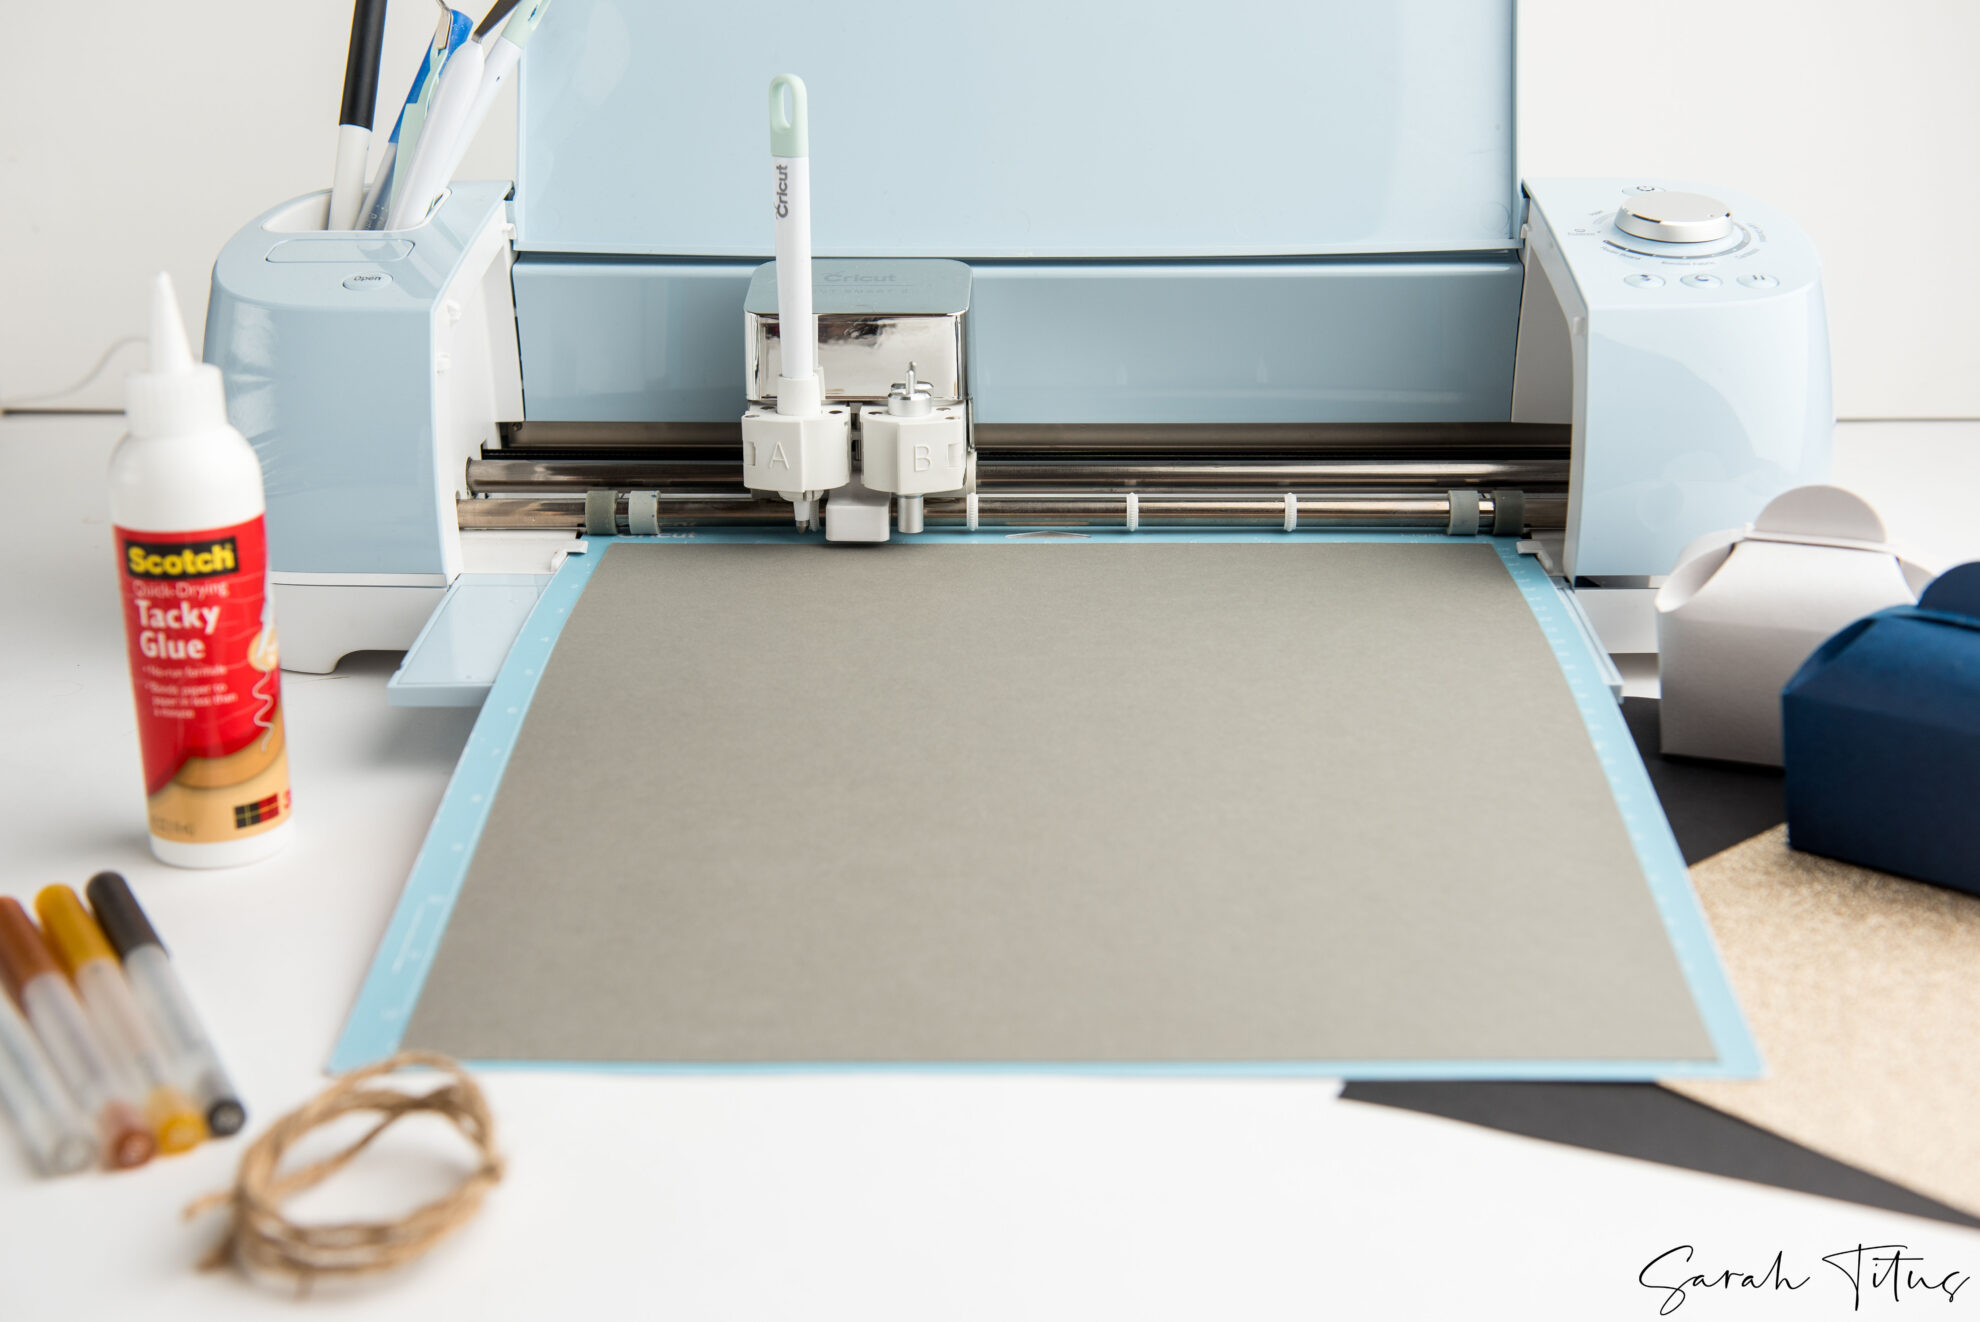
Load your paper on the light blue grip mat and your scoring stylus into the machine’s clamp A.
Adjust your material dial to card stock. If using a heavier weighted card stock make sure to adjust pressure.
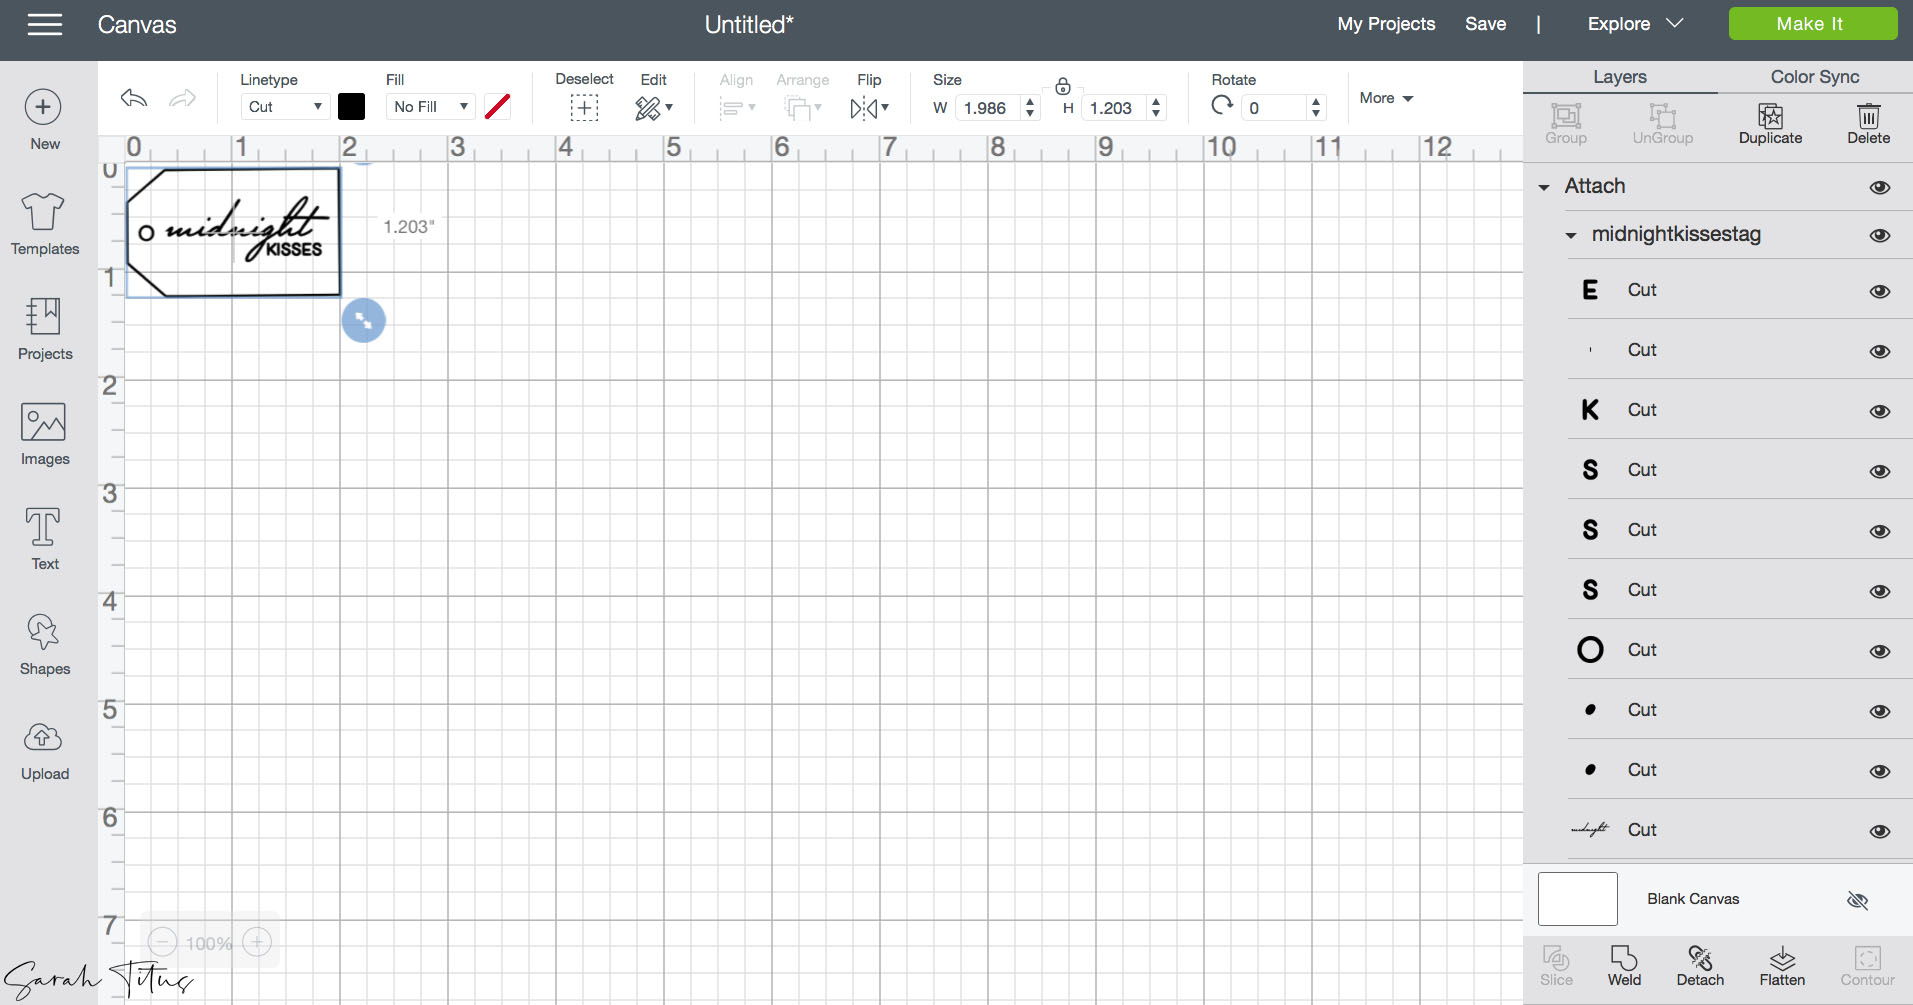
Tag – Cut and draw (optional)
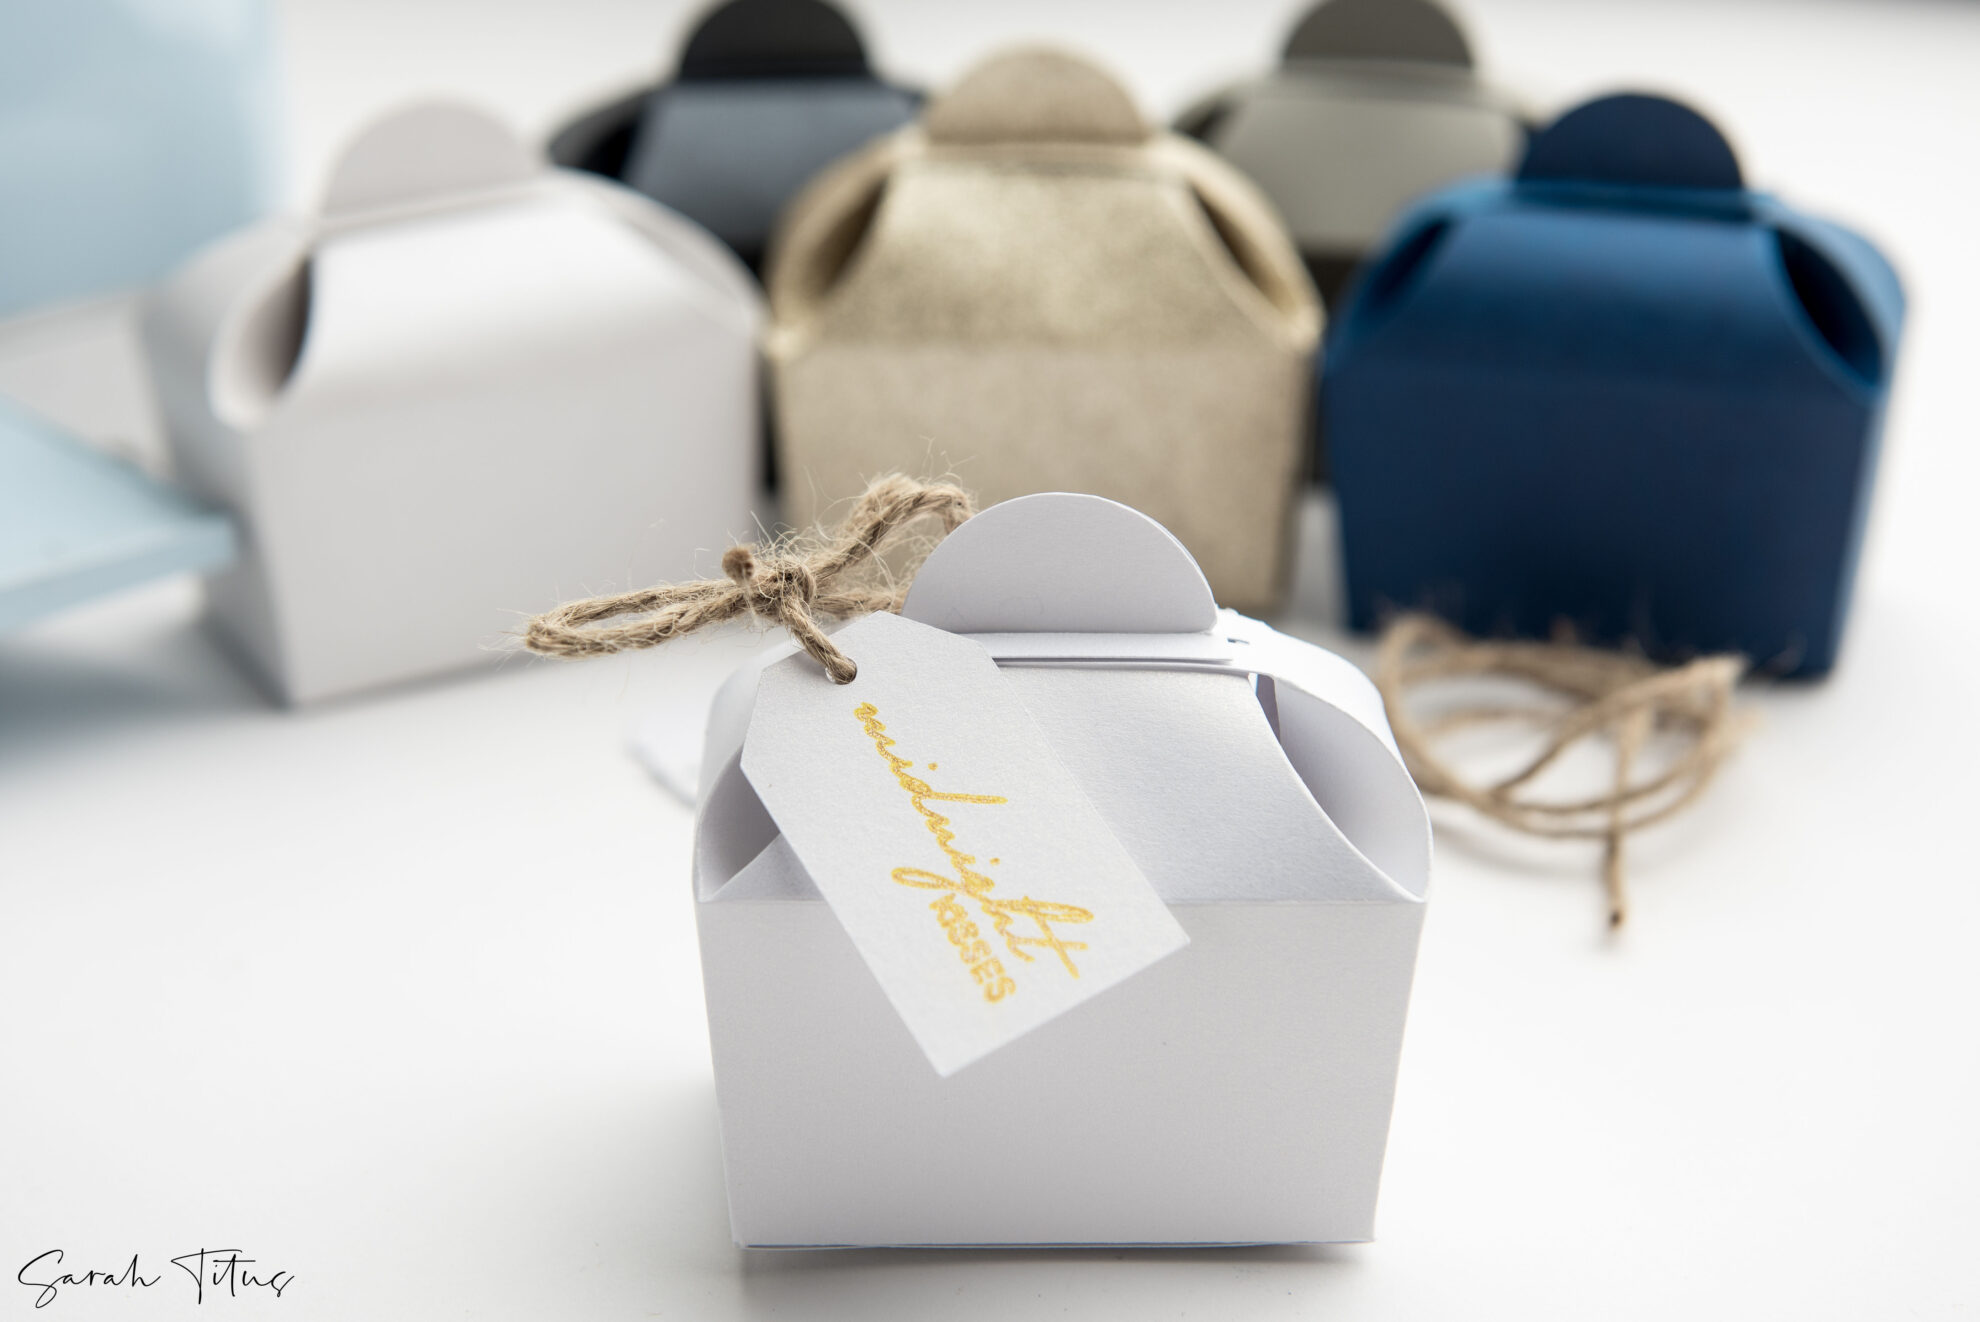
If adding a tag (here’s the template), repeat the same steps above. Once your blank tag SVG is uploaded you’ll adjust the size of the tag to approximately 1.9” wide and 1.203” tall.
Add any writing font that you would like for your tag and move to the middle. Be sure that it is a skinny writing font (If you would like to know what fonts I am using, they are Mr. Sheffield for the word “midnight” and Helvetica regular for the word “KISSES”). You can get Mr. Sheffield (for commercial use here and free for personal use here)
Highlight the font layer and on the top toolbar change the down drop menu titled “line type” from cut to “draw”.
BE SURE TO HIGHLIGHT ALL LAYERS ONCE SCORED AND HIT ATTACH TO BEFORE CUTTING. THIS IS IMPORTANT (otherwise, design space will want to cut all of the lines separately rather than all together).
Duplicate this for as many tags as needed.
Load your paper on the light blue grip mat and load your pen into the machine’s clamp A.
Adjust your material dial to card stock. If using a heavier weight card stock be sure to adjust pressure.
Assembly
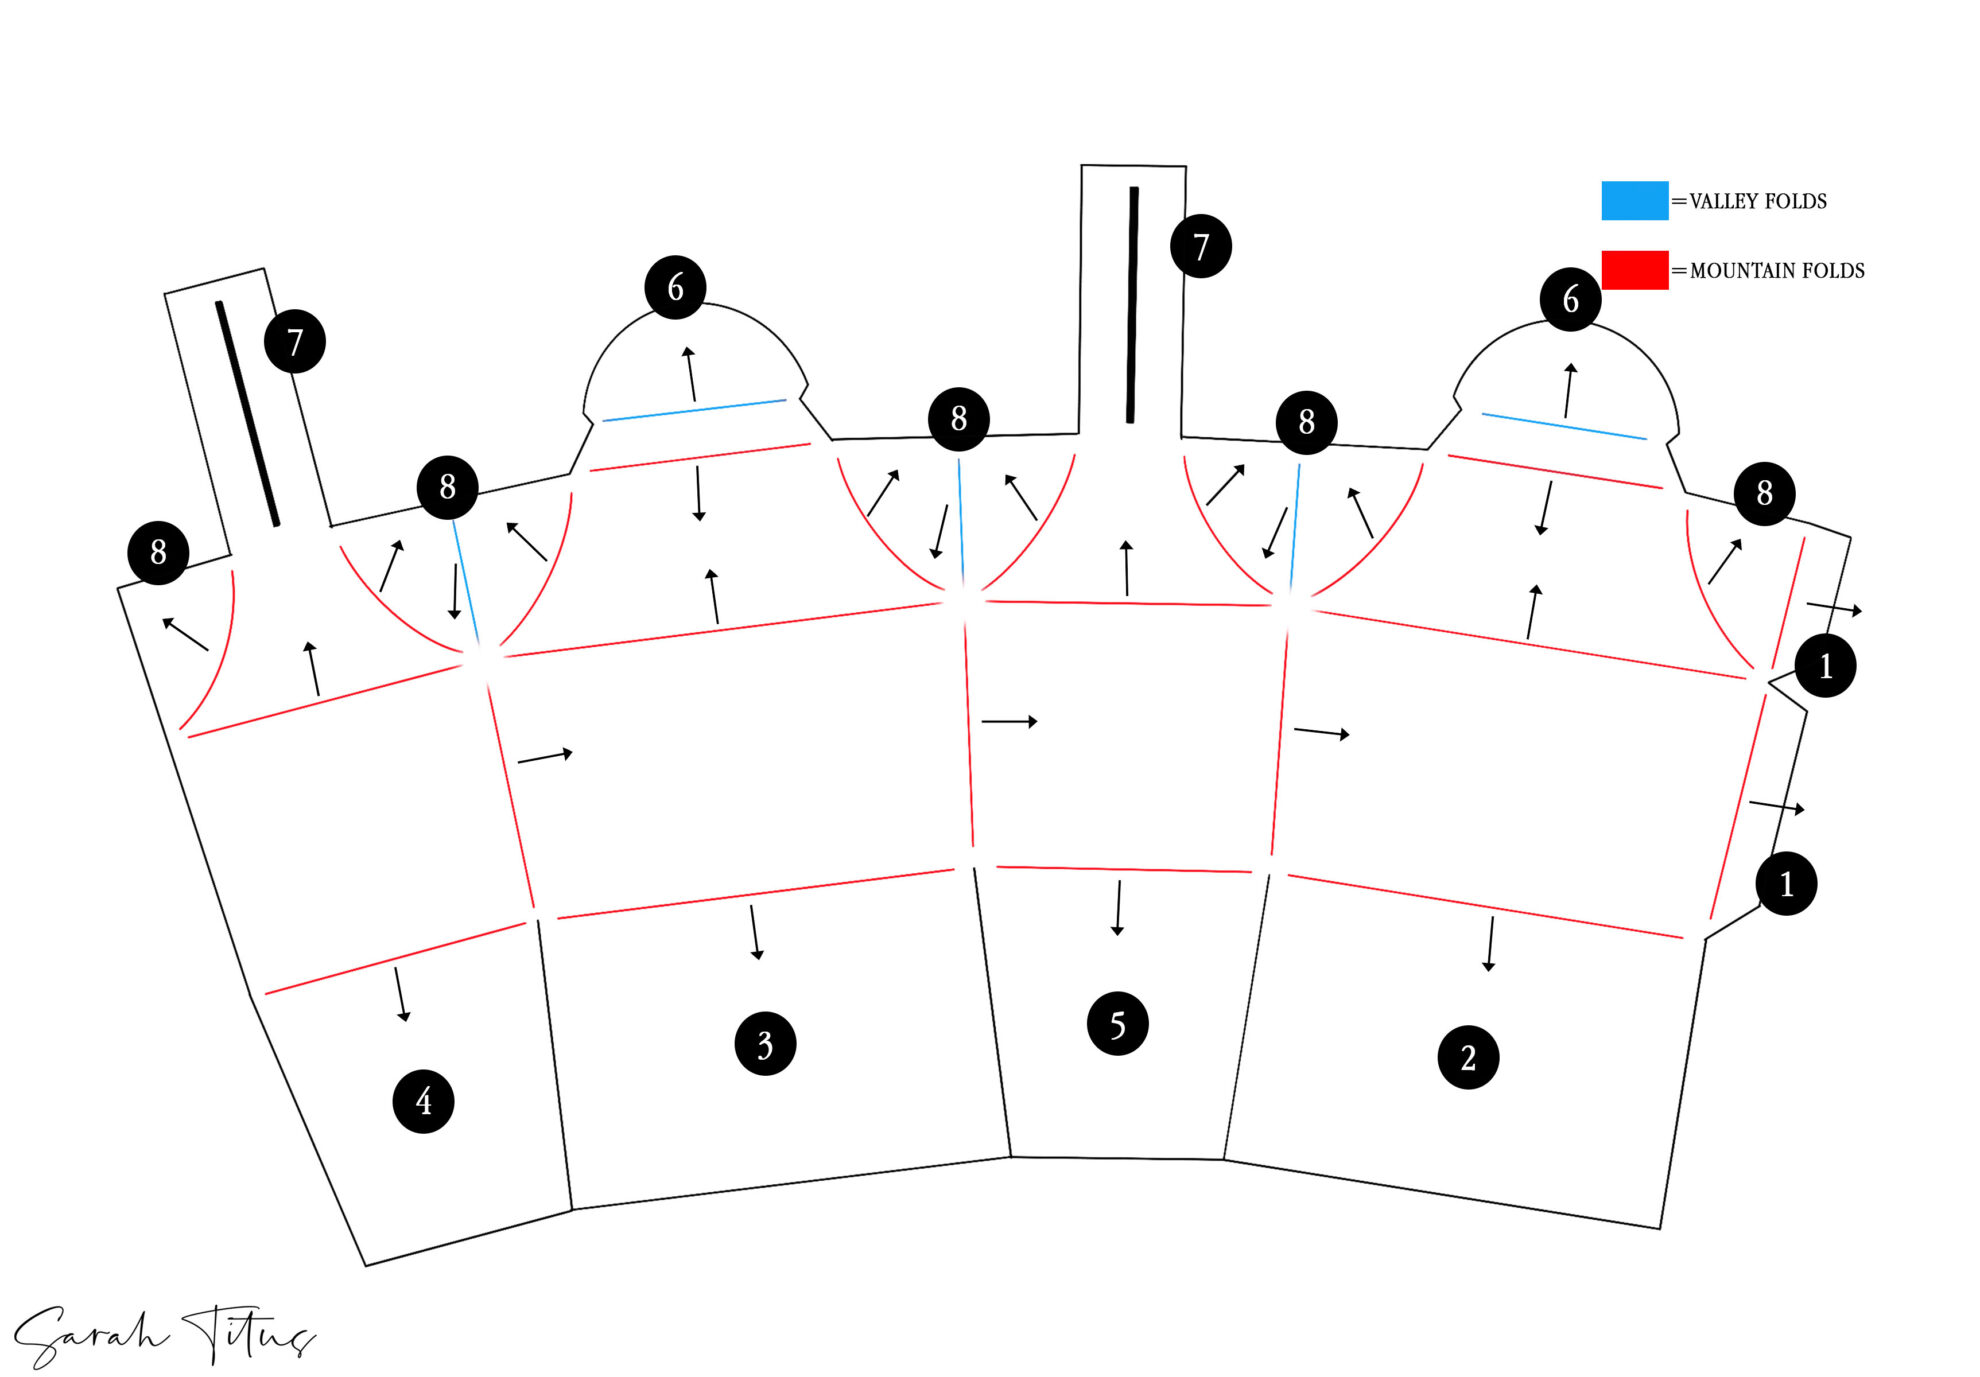
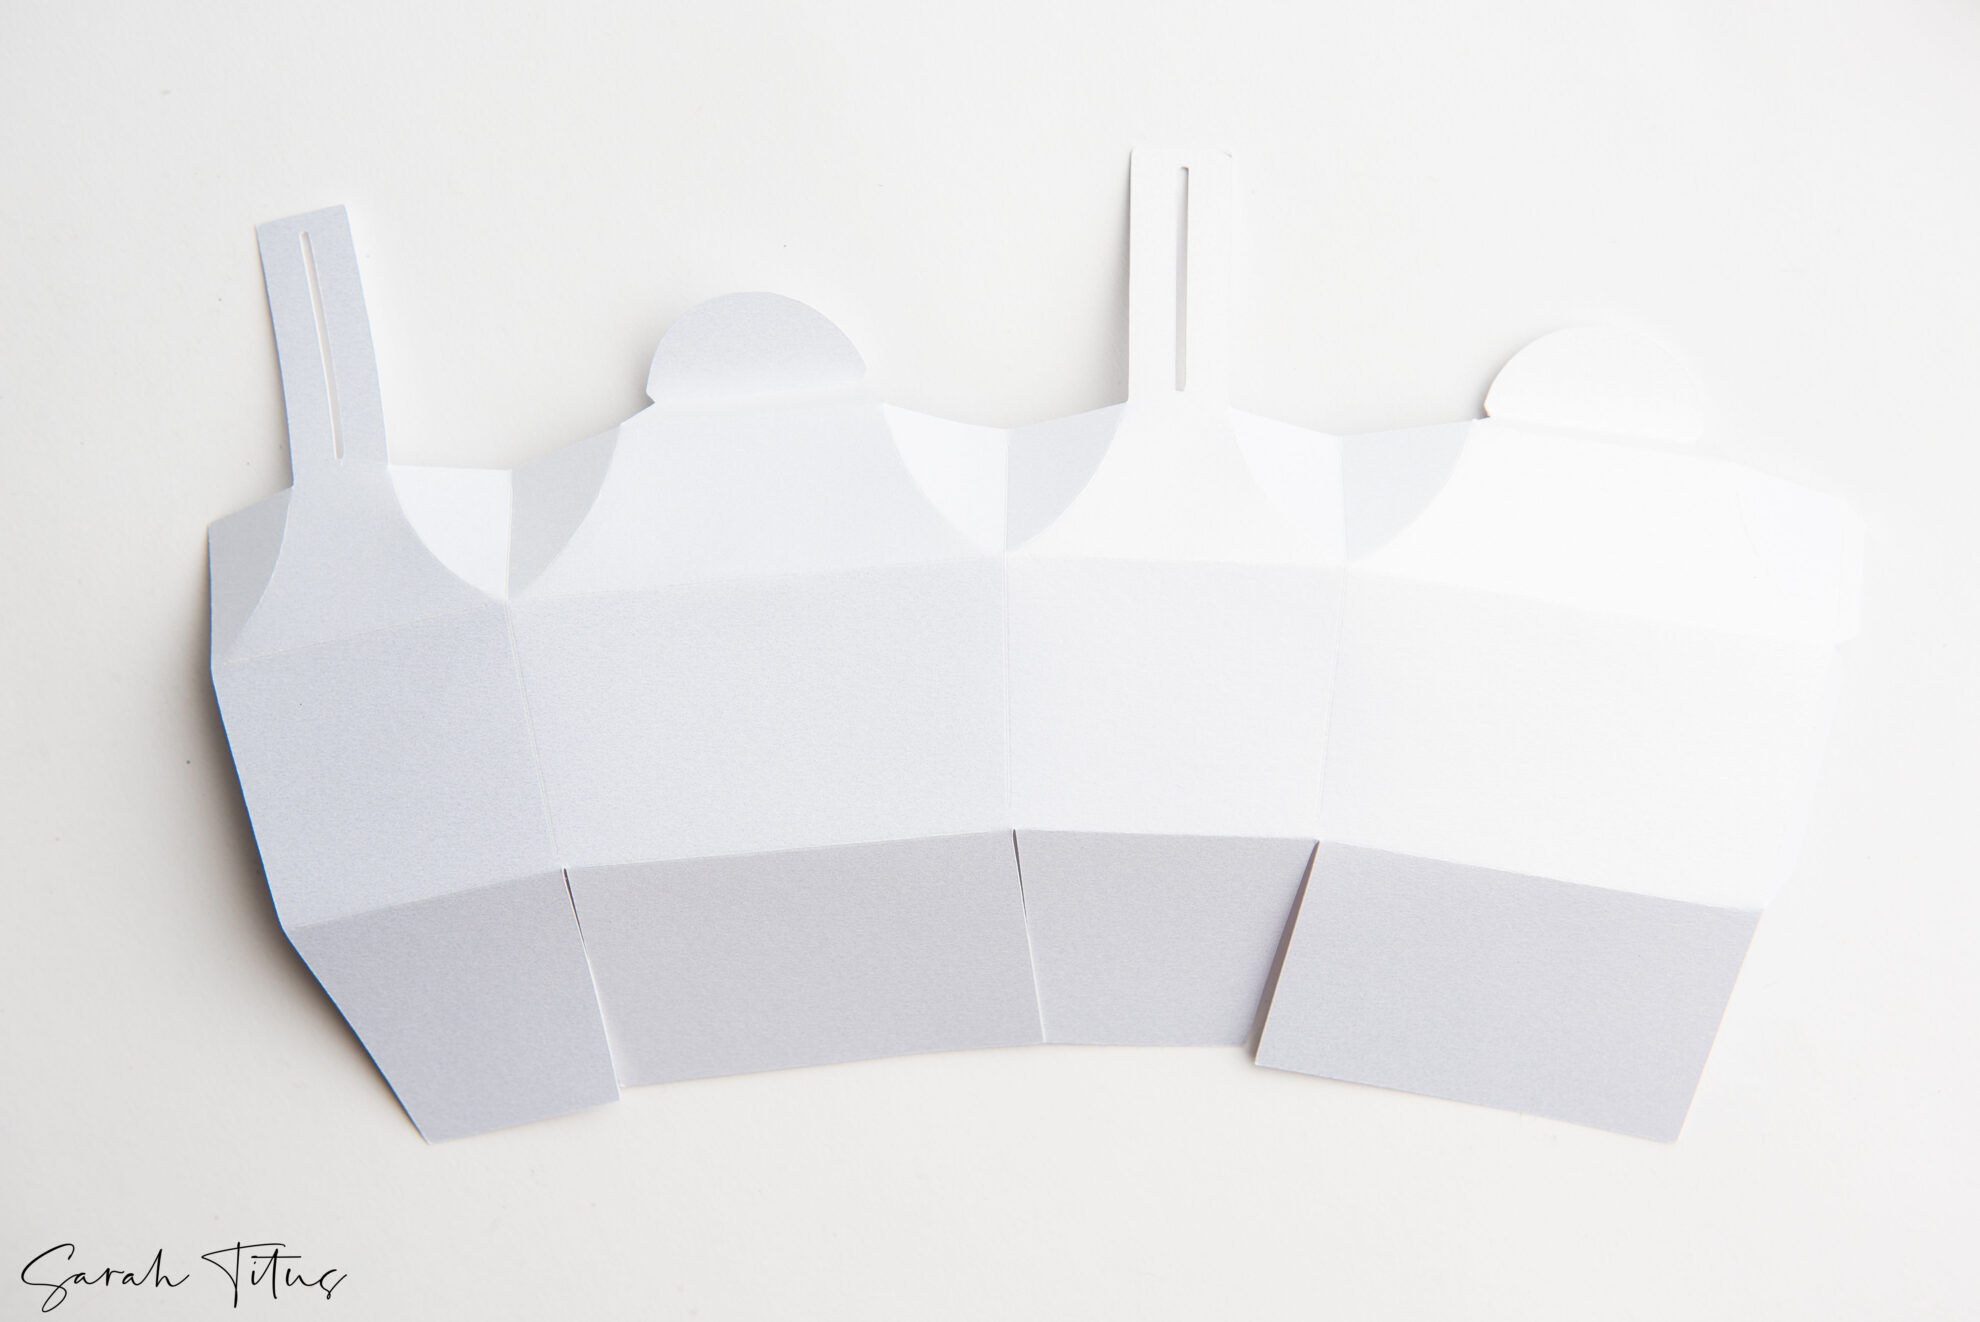
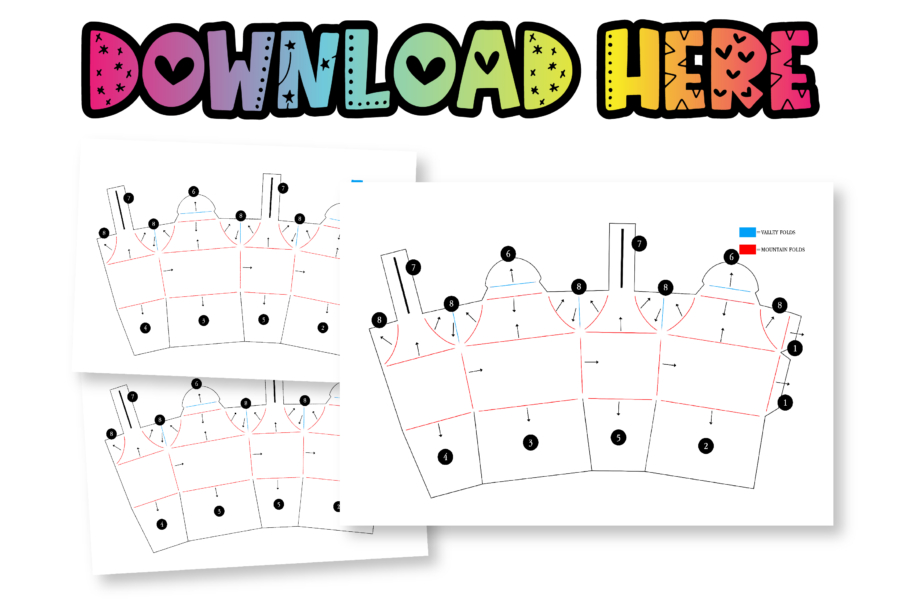
Follow the instructional guide on how to fold the lines. It is very important to follow each number as labeled first.
• Once your project has cut, begin to fold all your lines (see guide). The sides of the box (step #8 on the guide) when folding will have 2 mountain folds and 1 valley fold in the center creating a fortune cookie effect.
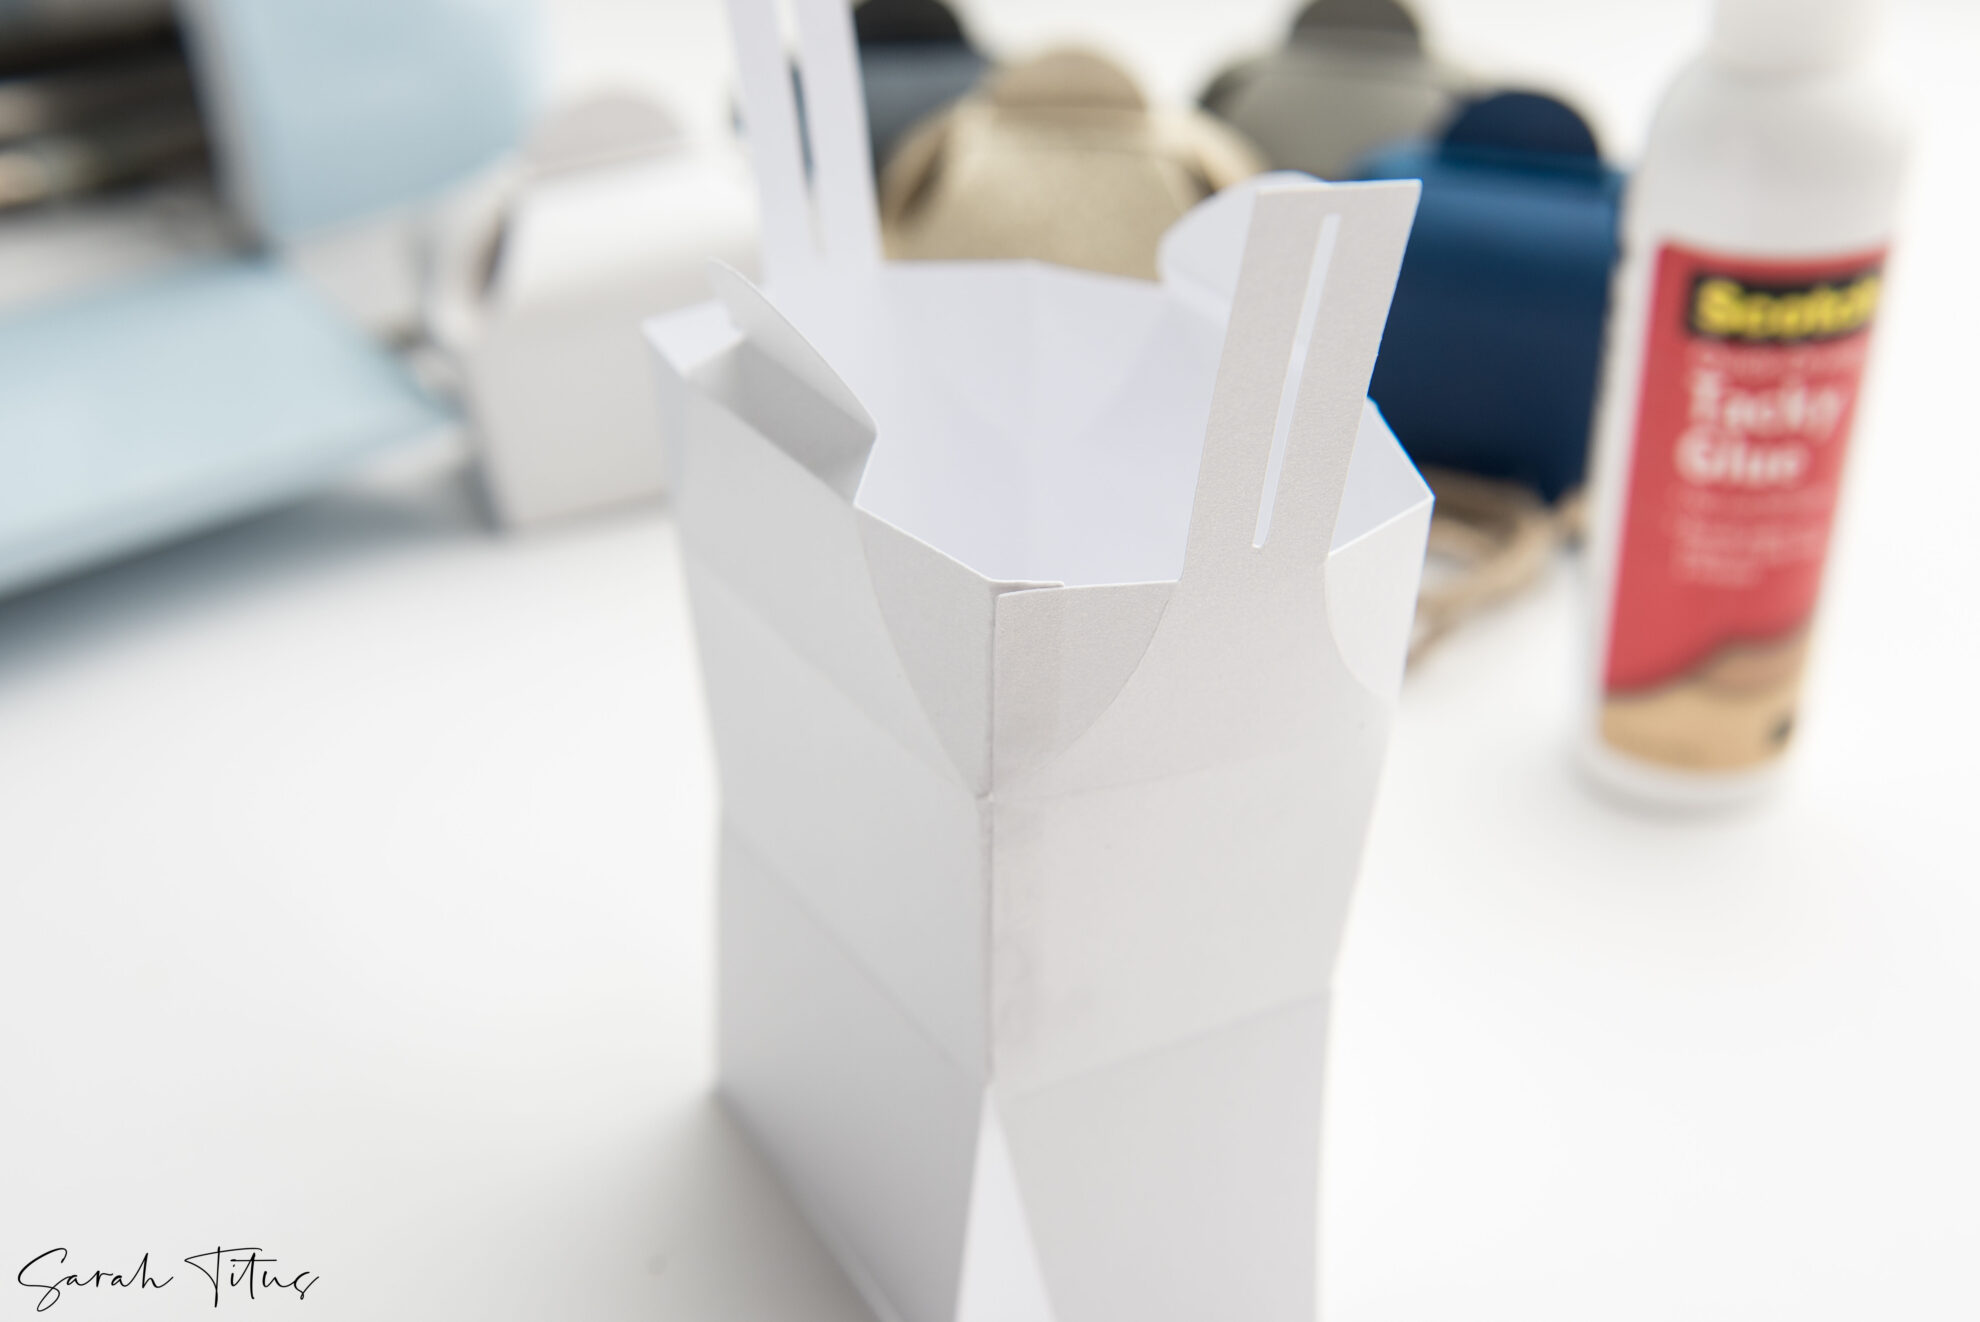
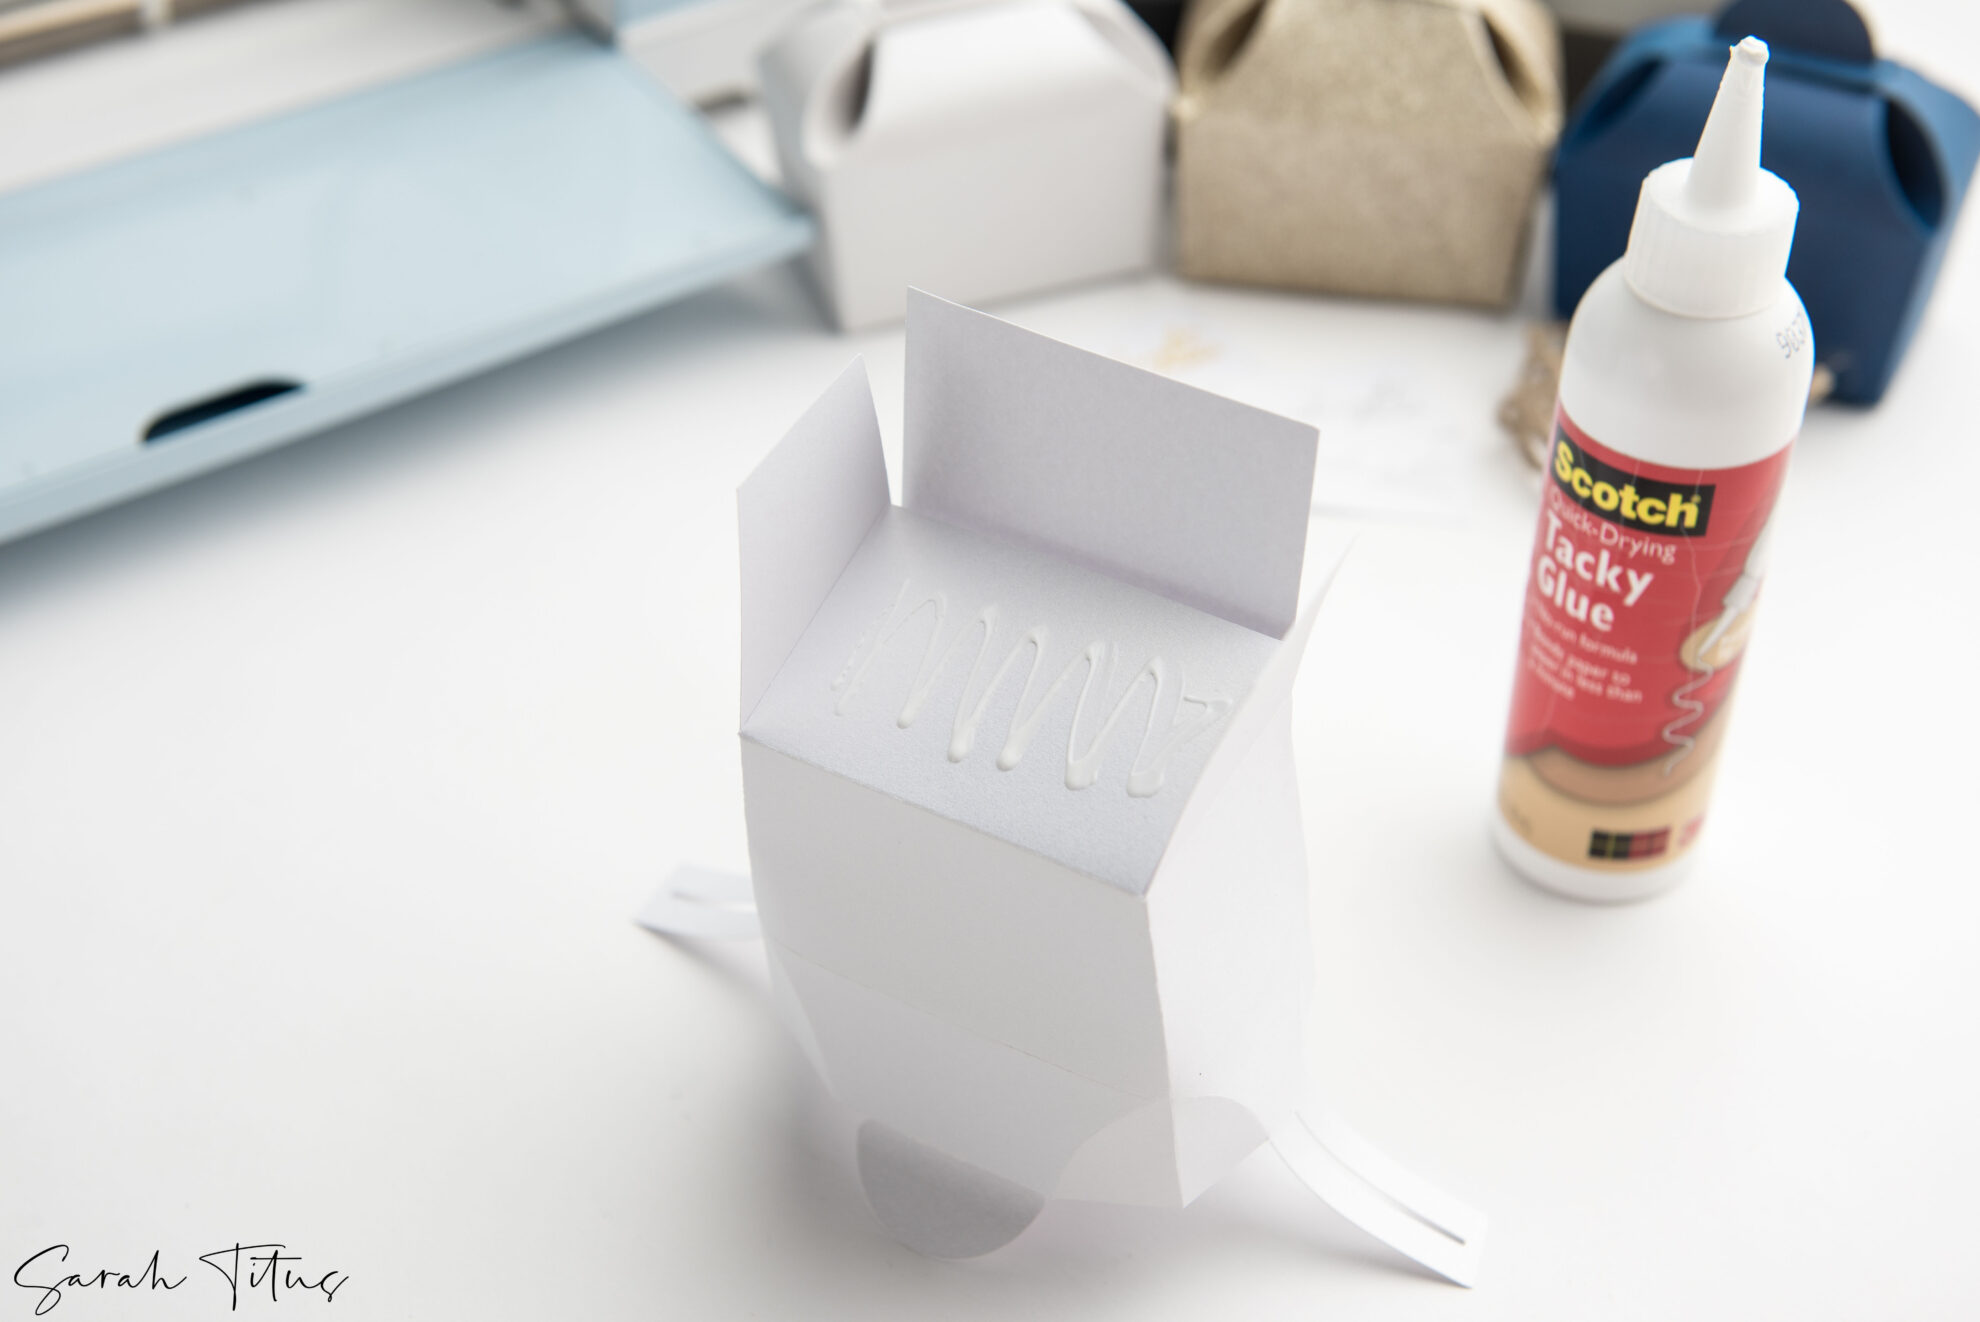
• Once folded, begin by gluing step #1 to the opposite side to form a box shape. Be sure that the score marks line up together to avoid the box from being crooked.
• Next, fold bottom flap #2 inwards and add glue to the top. Fold bottom flap #3 on top. This will begin to create the bottom of the box.
• After, add glue on top of bottom flap #3 and fold in bottom flap #4. Add more glue on top of bottom flap #4 and #3 while folding down bottom flap #5. At this point, the bottom of the box should be created and able to hold objects.
• Let the glue dry and fill your box with some candy or gift.
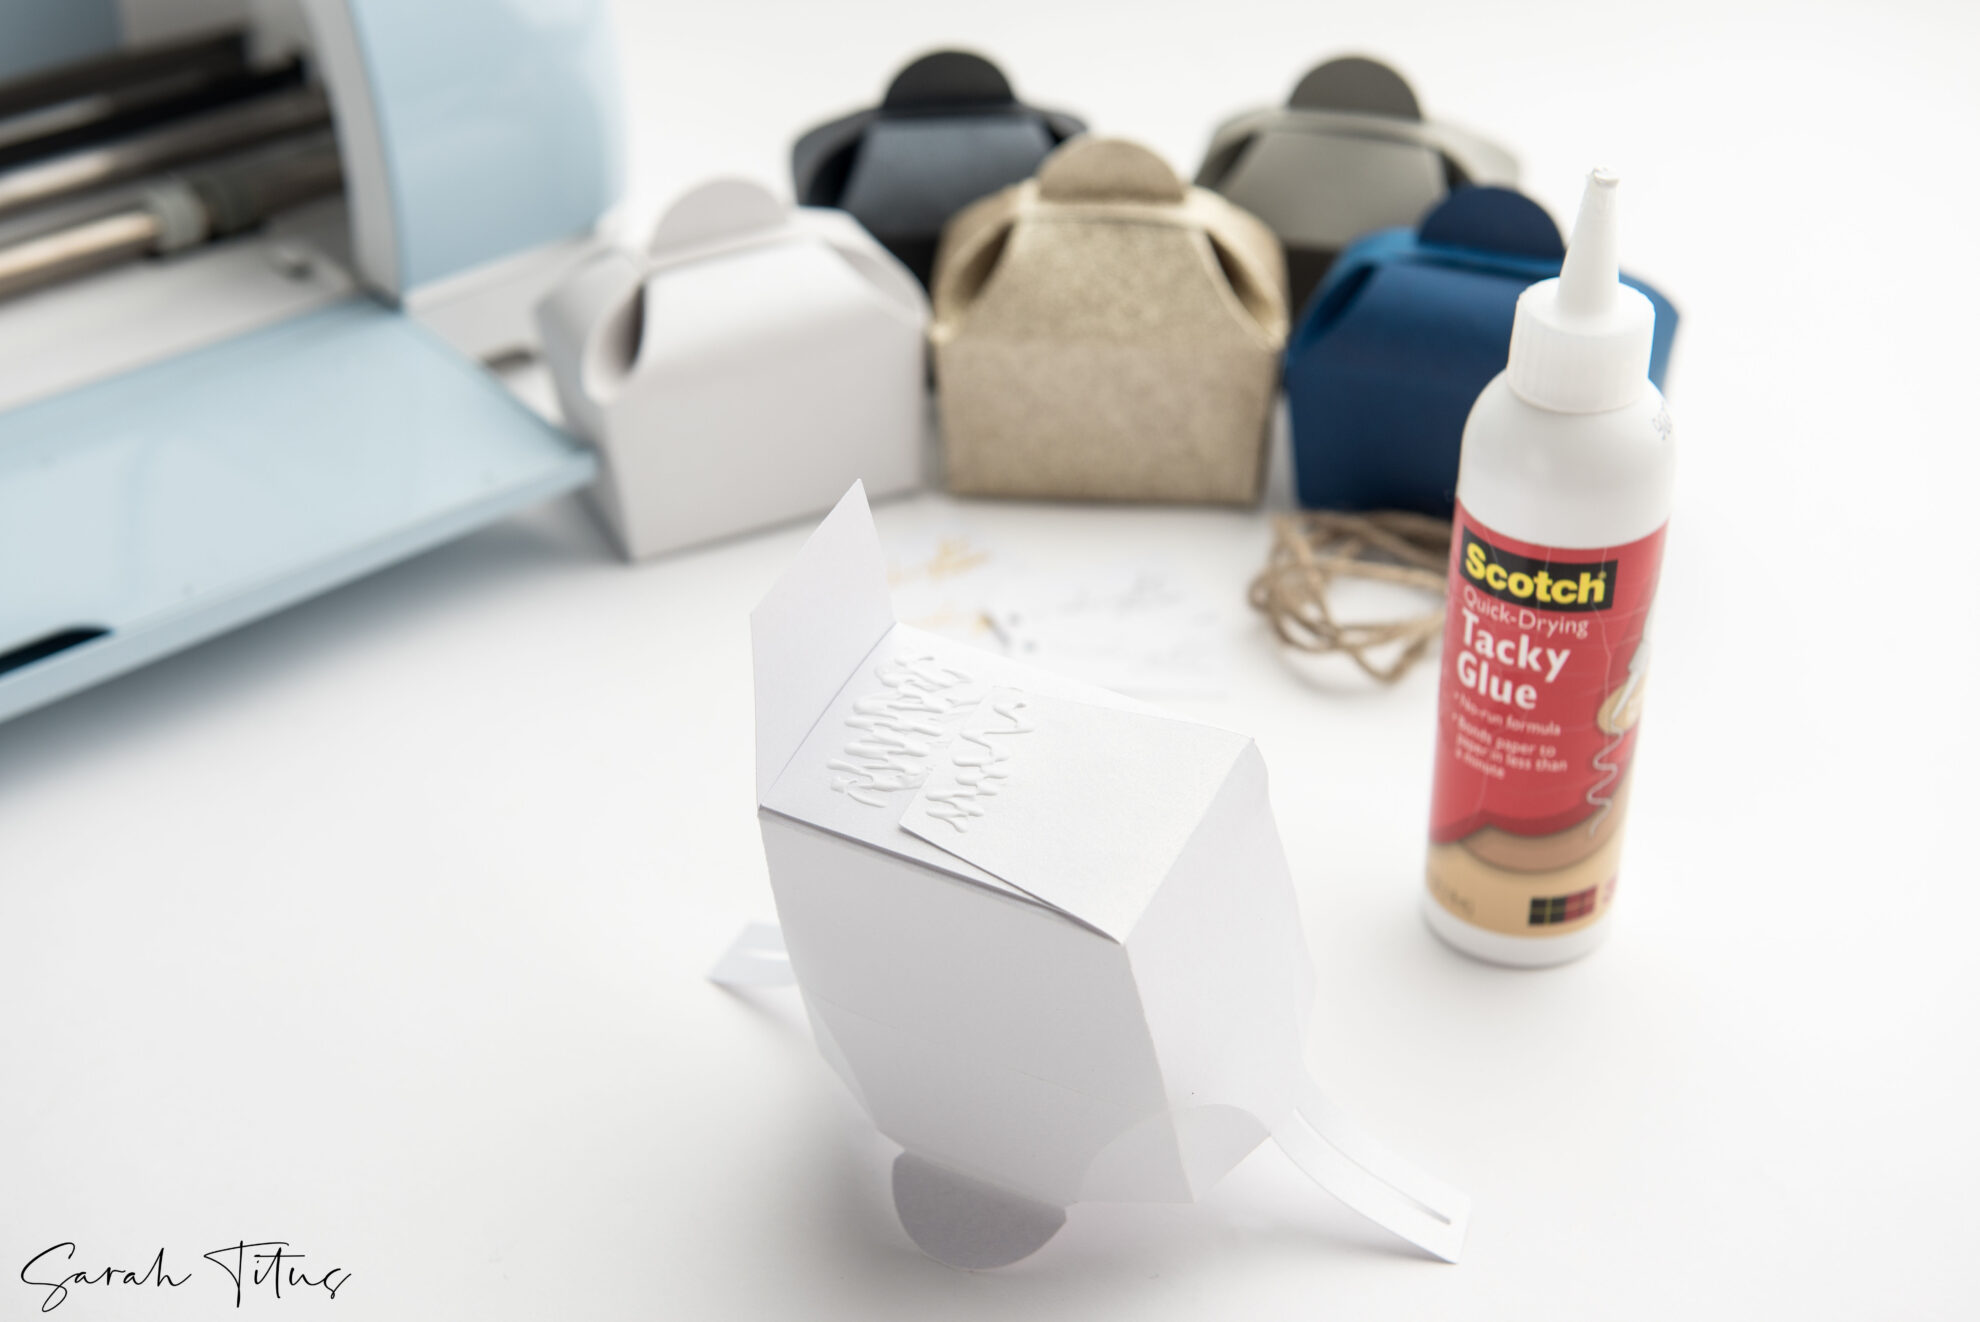
• To close, place both pointer fingers and thumbs on all flap #8 and help the box to collapse inwards.
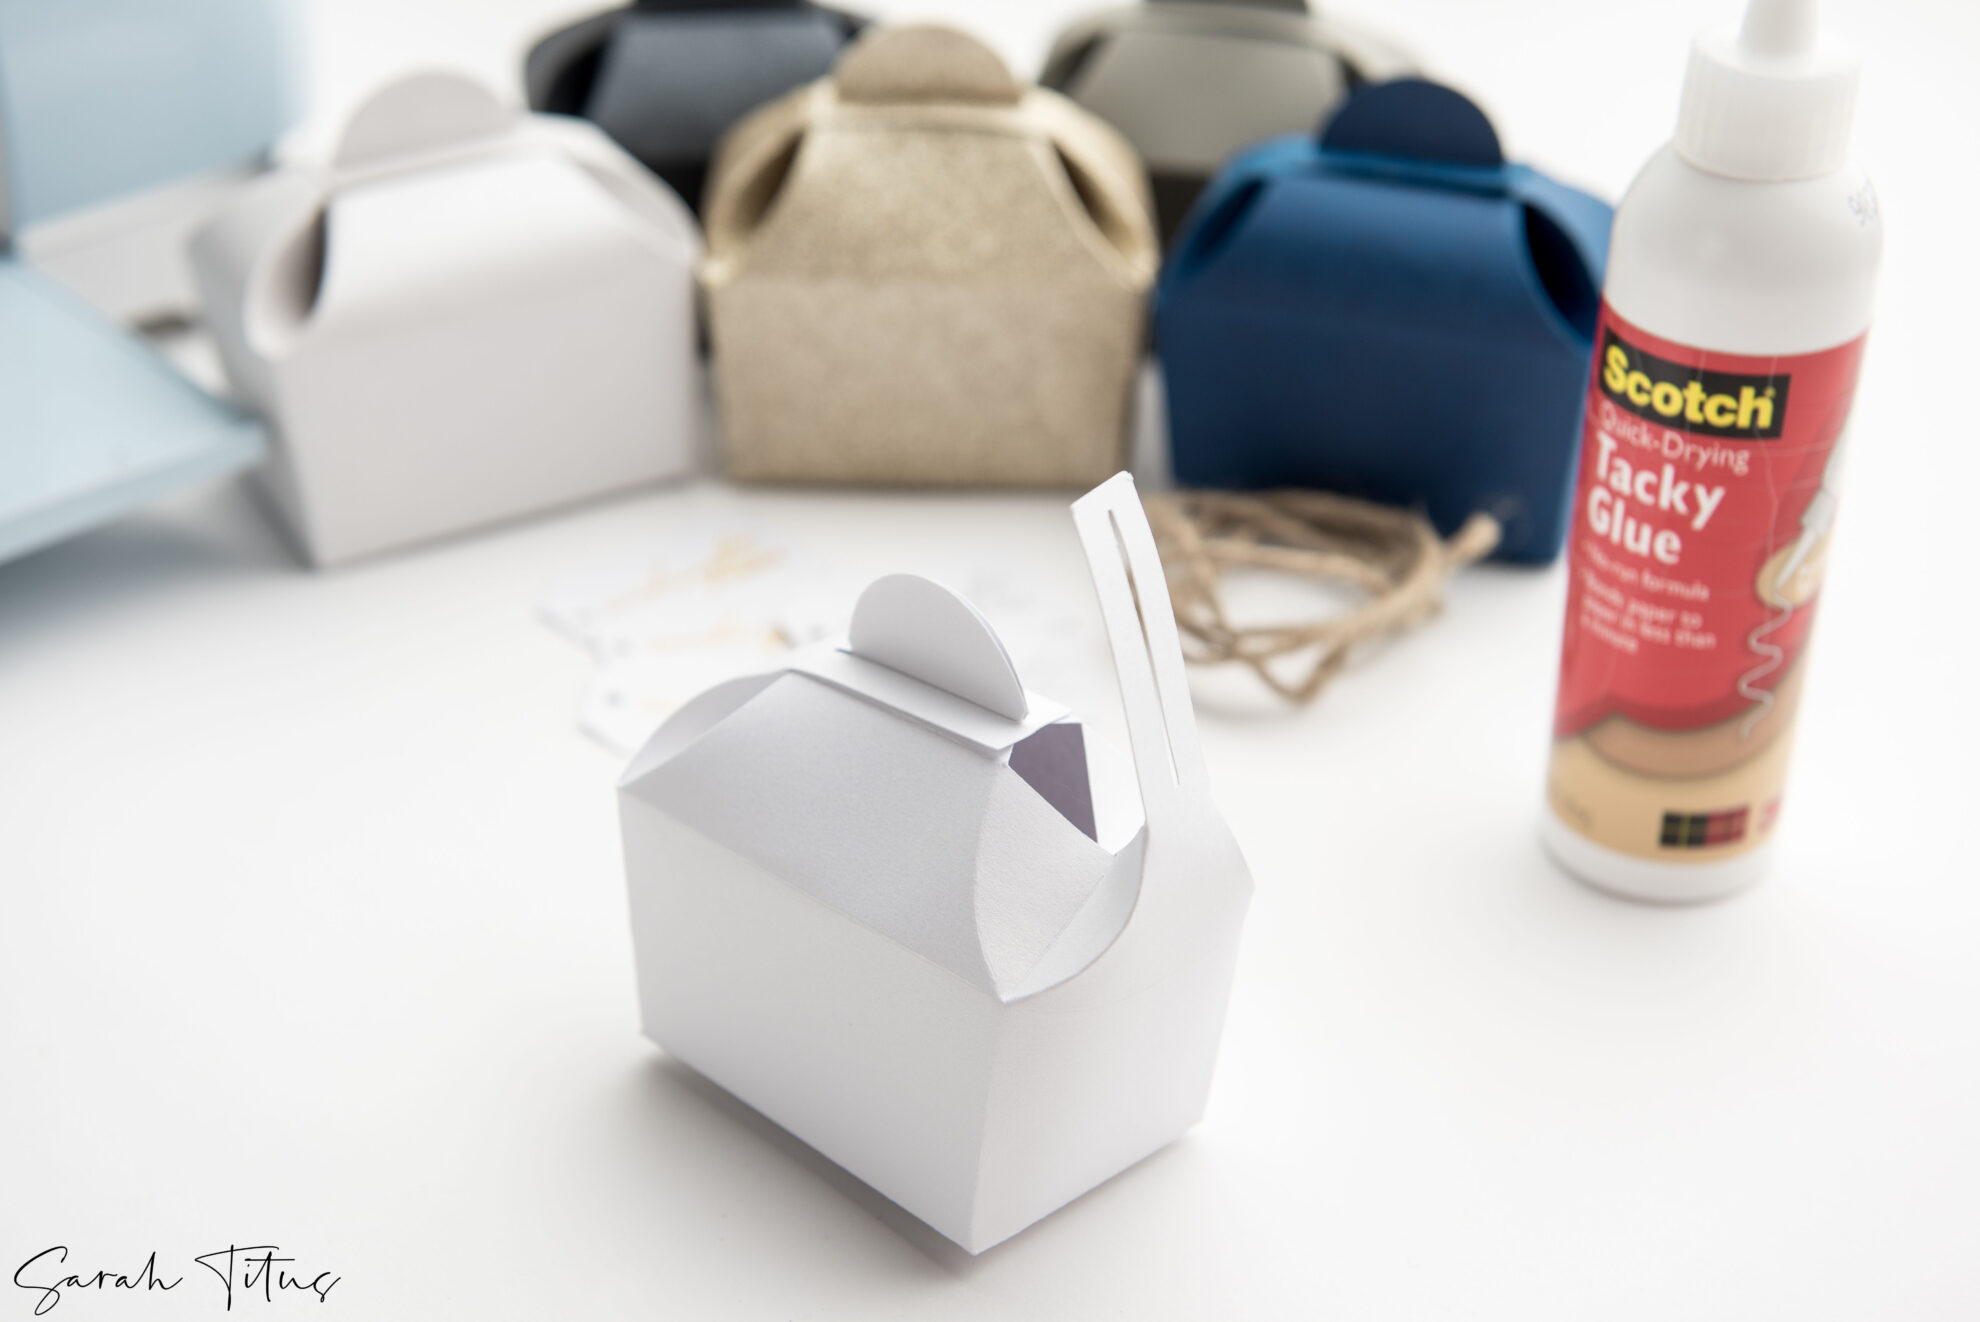
• Grab both flap #6 and hold them together in one hand as you grab one of the #7 flaps and bring the slit down and over top of both #6 flaps. This will hold them together in place.
• Before completely closing your box, add a ribbon to your tag and hang it from the last #7 flap (OPTIONAL). Repeat and bring the last #7 flap down and on top of the previous flap #7 and both #6 flaps. This closes your box and keeps all contents inside like a lid.