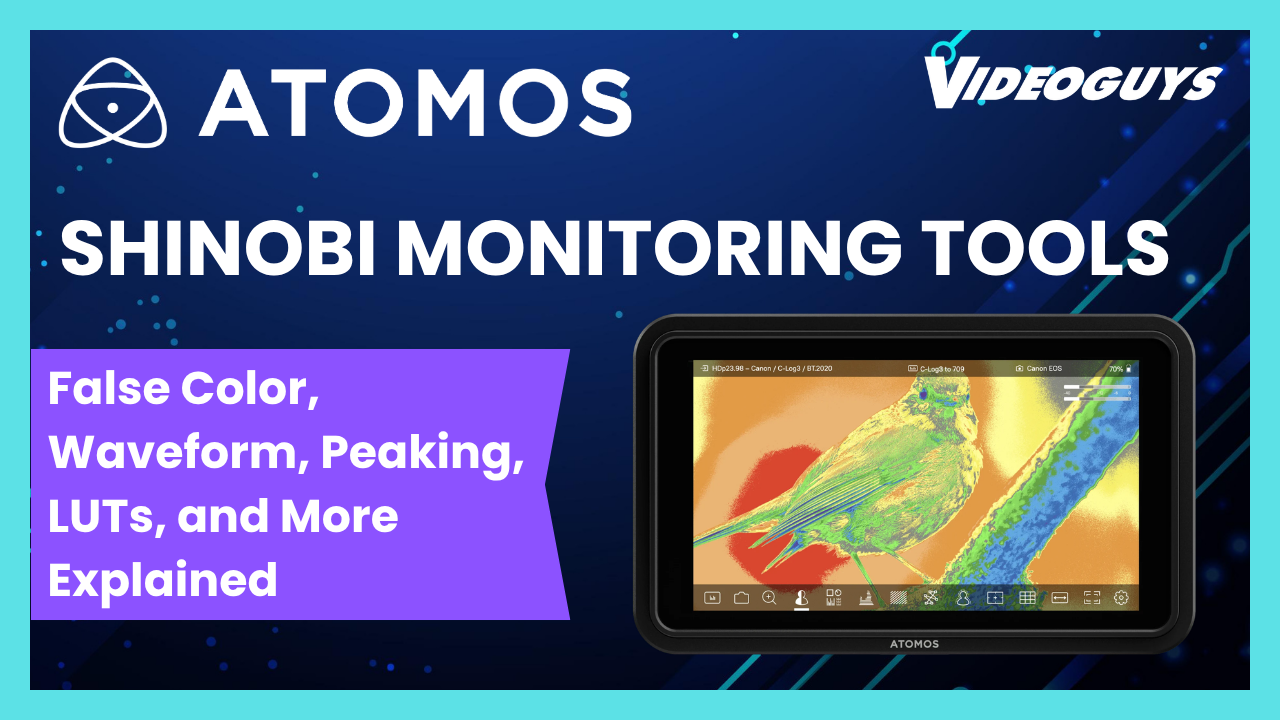

A camera’s built-in LCD is adequate for basic framing. The Atomos Shinobi is a professional monitoring tool — and the difference comes down to the monitoring features it provides that camera LCDs don’t. Here’s what each tool does and when to use it.
🎬 Watch the full breakdown: Atomos Shinobi monitoring tools on Video Guys Live →
False Color — Expose Correctly Every Time
False color is the most important exposure tool on the Shinobi. It replaces the image with a color-coded map where each color represents a specific exposure range:
- Red/Pink — overexposed, clipped highlights with no recoverable detail
- Yellow/Amber — approaching overexposure, valid for bright highlights like windows
- Green — correct exposure range for skin tones (typically 38–42% luminance)
- Blue/Purple — underexposed shadow areas
In practice: point at your subject, enable false color, adjust exposure until skin tones read green. Confirm highlights aren’t clipping to red. Confirm shadows aren’t crushed to solid blue. You’ve now exposed correctly without relying on the visual appearance of the monitor in ambient light conditions.
False color is particularly valuable in challenging lighting — bright outdoor locations where a monitor can look darker than it is, or heavily contrasted interior locations with mixed practical lighting.
Waveform — See Your Full Exposure Range
The waveform monitor displays a graph of the luminance values in your image from left to right across the frame. Shadows sit at the bottom of the graph, highlights at the top.
Unlike false color which helps you expose skin tones, the waveform gives you the complete picture of your exposure — you can simultaneously confirm that shadows are holding detail (not crushed to zero) while highlights are not clipping (not spiking to 100%).
The waveform is also useful for matching shots between cameras or across different setups — if both cameras are showing the same waveform shape for the same scene, you know your exposures are consistent.
Vectorscope — Color and White Balance Reference
The vectorscope displays the color information in your image as a circular graph. Neutral (no color) sits at the center. The further a pixel plots from center, the more saturated that color is. Target boxes around the circle indicate where specific colors should fall — important for ensuring your camera is calibrated correctly and your color is accurate to reference.
In practice: point the camera at a color chip chart or a known neutral gray and watch the vectorscope. If it’s centered, your white balance is correct. If it’s shifted toward blue or orange, adjust white balance accordingly. For productions with multiple cameras, matching vectorscope readings ensures consistent color across all cameras before you shoot.
Focus Peaking — Confirm Critical Focus
Focus peaking highlights the edges of in-focus elements in the frame with a colored outline — typically red, green, or white depending on your preference and the content. When you’re focused on your subject, their face edges and eye detail will show peaking highlights.
This is the most practical focus tool for handheld and manual focus work. Rather than relying on your depth of field intuition or squinting at a small LCD, peaking gives you an immediate visual confirmation that your critical focus point is sharp.
For shallow depth of field work — portrait interviews, product shots with subject isolation — peaking is indispensable on a 5 or 7-inch monitor where you can actually see the fine detail the highlight is indicating.
Zoom Assist — Pixel-Level Focus Check
Zoom assist (sometimes called focus zoom or punch-in) magnifies a portion of the image to pixel level on the monitor — typically 2x or 4x magnification. This is the definitive focus check tool: zoom into the subject’s eyes before a take, confirm sharpness at pixel level, zoom back out for the actual shot.
Unlike peaking which gives you a high-confidence indication, zoom assist gives you absolute certainty. The trade-off is that you can’t run zoom assist during a take — it crops the view and removes the normal frame. It’s a pre-roll check tool, not a continuous monitoring tool.
LUT Support — Monitor in Your Intended Grade
Log footage from cinema cameras (Sony S-Log, Canon C-Log, ARRI LogC) is deliberately flat and desaturated at the capture stage to preserve maximum dynamic range. Monitoring flat footage makes it difficult to judge framing, exposure, and color accurately because nothing looks the way it will after grading.
LUT support on the Shinobi lets you load a 3D LUT — a color transform file — that converts the flat log image to a graded look on the monitor in real time. You’re still recording the flat log signal (or whatever the camera is recording), but you’re seeing the intended grade while you shoot.
This is how professional cinema productions have been working for years — the camera assistant monitors a technical flat image while everyone else watches a transformed version that represents the intended look.
Anamorphic De-squeeze
Anamorphic lenses capture a squeezed, narrow image that gets expanded horizontally in post to produce the ultra-wide cinematic aspect ratio. Monitoring a squeezed anamorphic image during shooting makes framing nearly impossible — subjects look tall and thin.
Anamorphic de-squeeze on the Shinobi expands the image in real time on the monitor, showing the final intended framing while you shoot. The camera is still recording the squeezed signal — but you’re monitoring the correct aspect ratio.