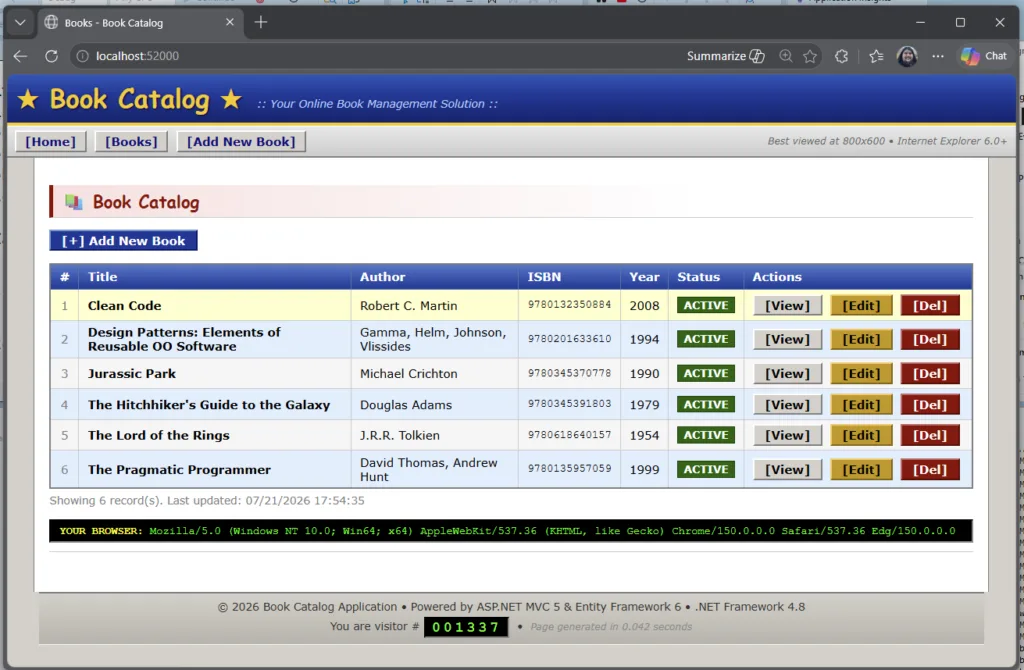
Today I will modernize a .NET Framework application to .NET 10 using the GitHub Copilot modernization tooling built-in to Visual Studio.
The tooling helps us upgrade applications running on legacy versions of .NET and also migrate them to Azure. Today we’re going to focus on the upgrade portion.
And, the tooling will do all the work for us! But it doesn’t do everything at once, and that’s good. It introduces checkpoints into the .NET upgrade process to tell us what it has been up to we can then guide it towards the outcome we want. And at each of those checkpoints it creates a markdown file that we can check in to source control – in other words, a record of both what came out of and what went in to the upgrade process.
The app we’re modernizing
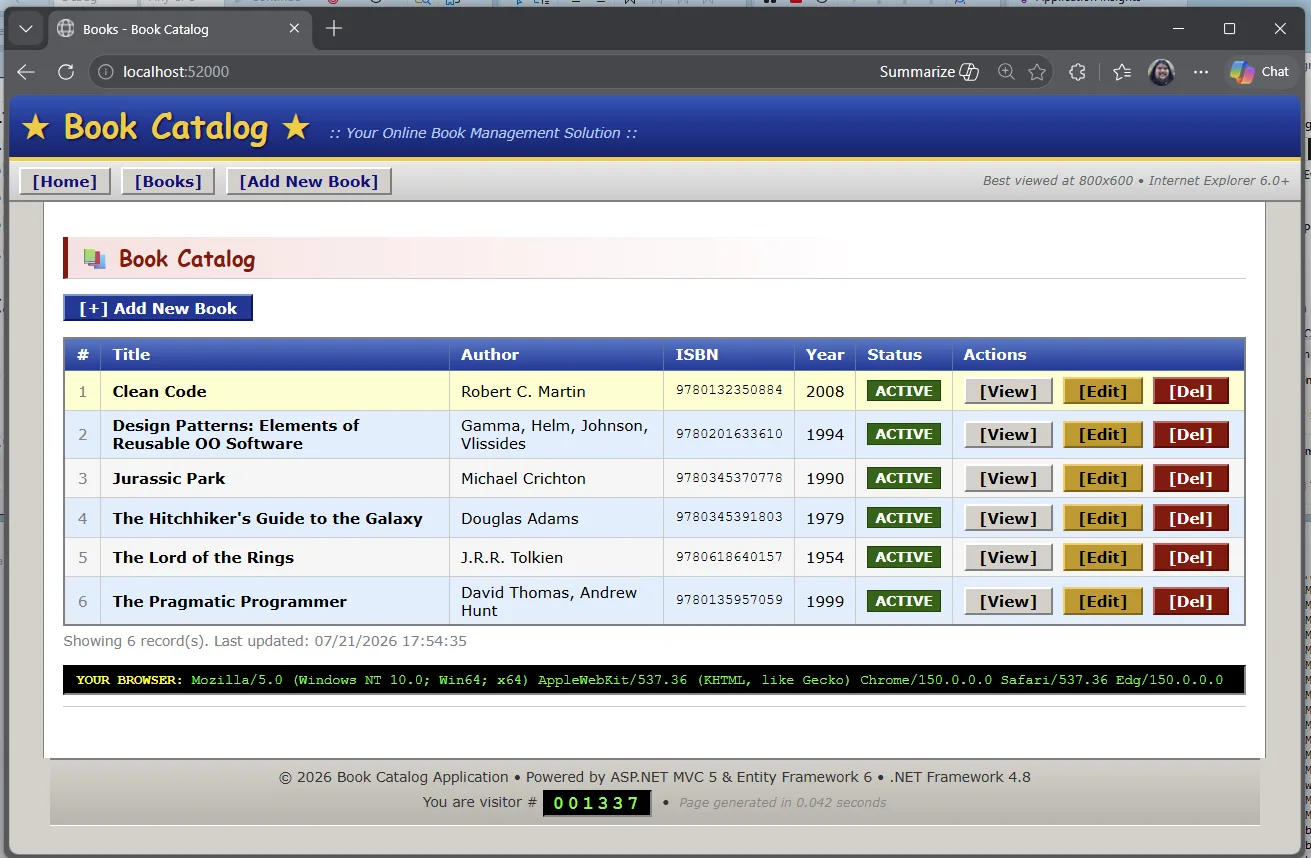
BookCatalog is a simple .NET Framework forms-over-data app. You can list books, add one, edit, delete.
Step 1: Open the sample
shared-legacy-app/.
-
git clone https://github.com/microsoft/dotnet-modernization-for-beginners.git - Open BookCatalog.sln in Visual Studio 2022+ from the shared-legacy-app in the folder you cloned.
Step 2: Start modernization
In Visual Studio, right-click the project or solution and select Modernize. You can also start from Visual Studio with @Modernize.
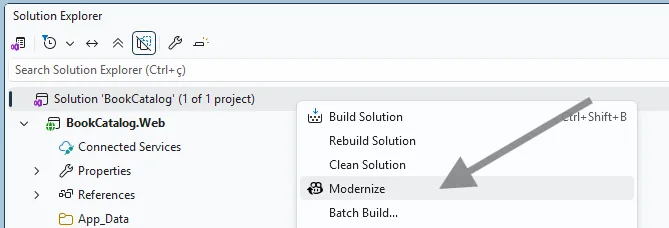 That opens the GitHub Copilot chat window with a customized modernization agent / experience loaded up. This agent is specifically tuned to go through the process of modernizing applications.
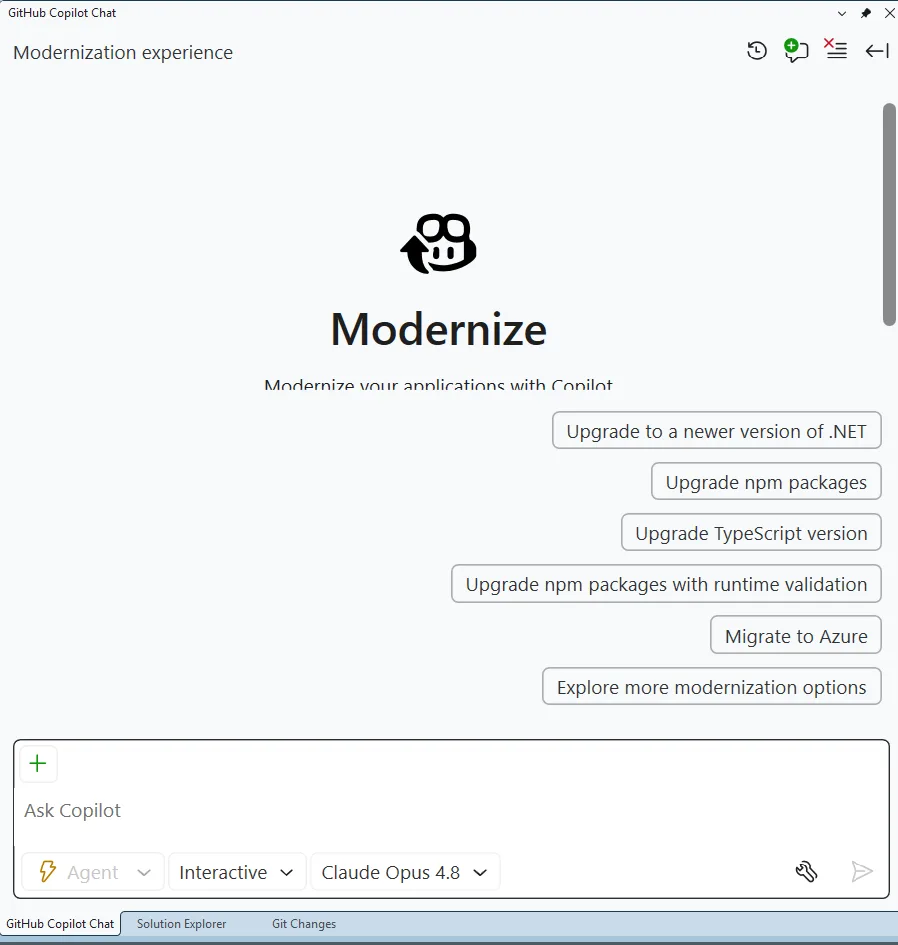
It provides several sample prompts, but you can also tell it what to do in natural language.
But for today, pick the top suggested prompt Upgrade to a newer version of .NET.
The agent will then ask you 2 questions. The first is which target framework to upgrade to – pick .NET 10.
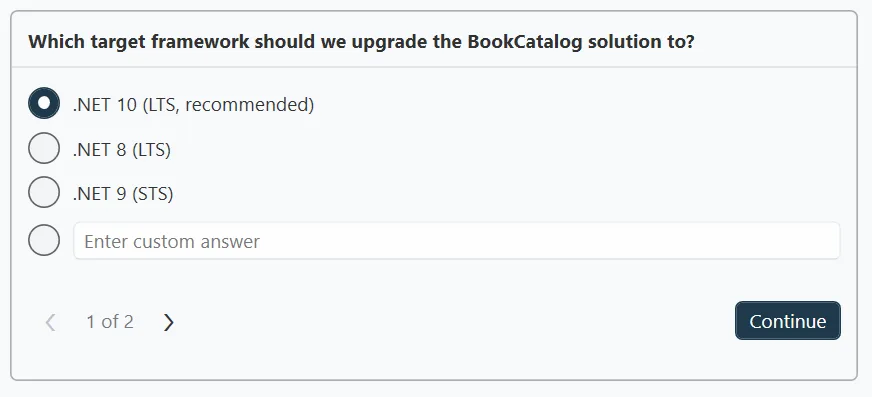
And then the flow mode. Remember when I said the modernization process would stop at checkpoints along the way – well, it’ll only do that if we pick Guided so pick that.
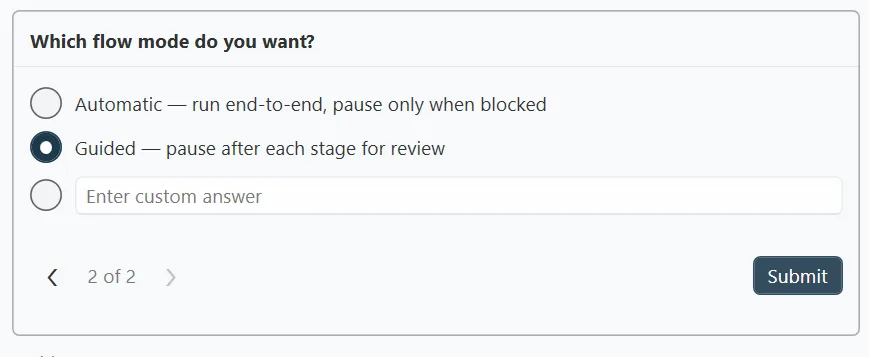
What Guided is going to do is it will pause and let you check its work.
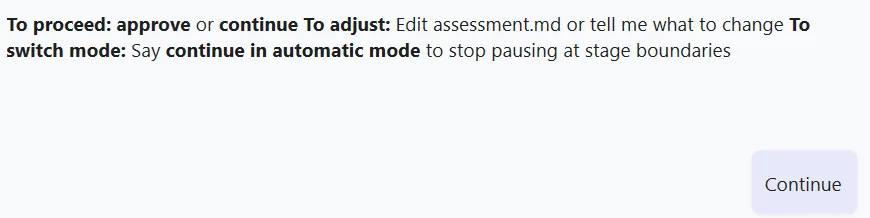
The agent will first assess our project and create a report. The guided mode allows us to review that report and make any changes to it. And … we can check that report in to source control. (It looks good – show it to your boss you’ll look super productive! 😉)
Then it will create a plan to fix any issues and do the upgrade. Guided mode lets us review and update that plan should we want to. Guided mode shows us a step-by-step execution of the upgrade itself. You get the picture.
Step 3: Review the assessment
The first thing it rolls through is the assessment. The assessment helps separate blockers, warnings, and informational findings before the upgrade itself starts to run.
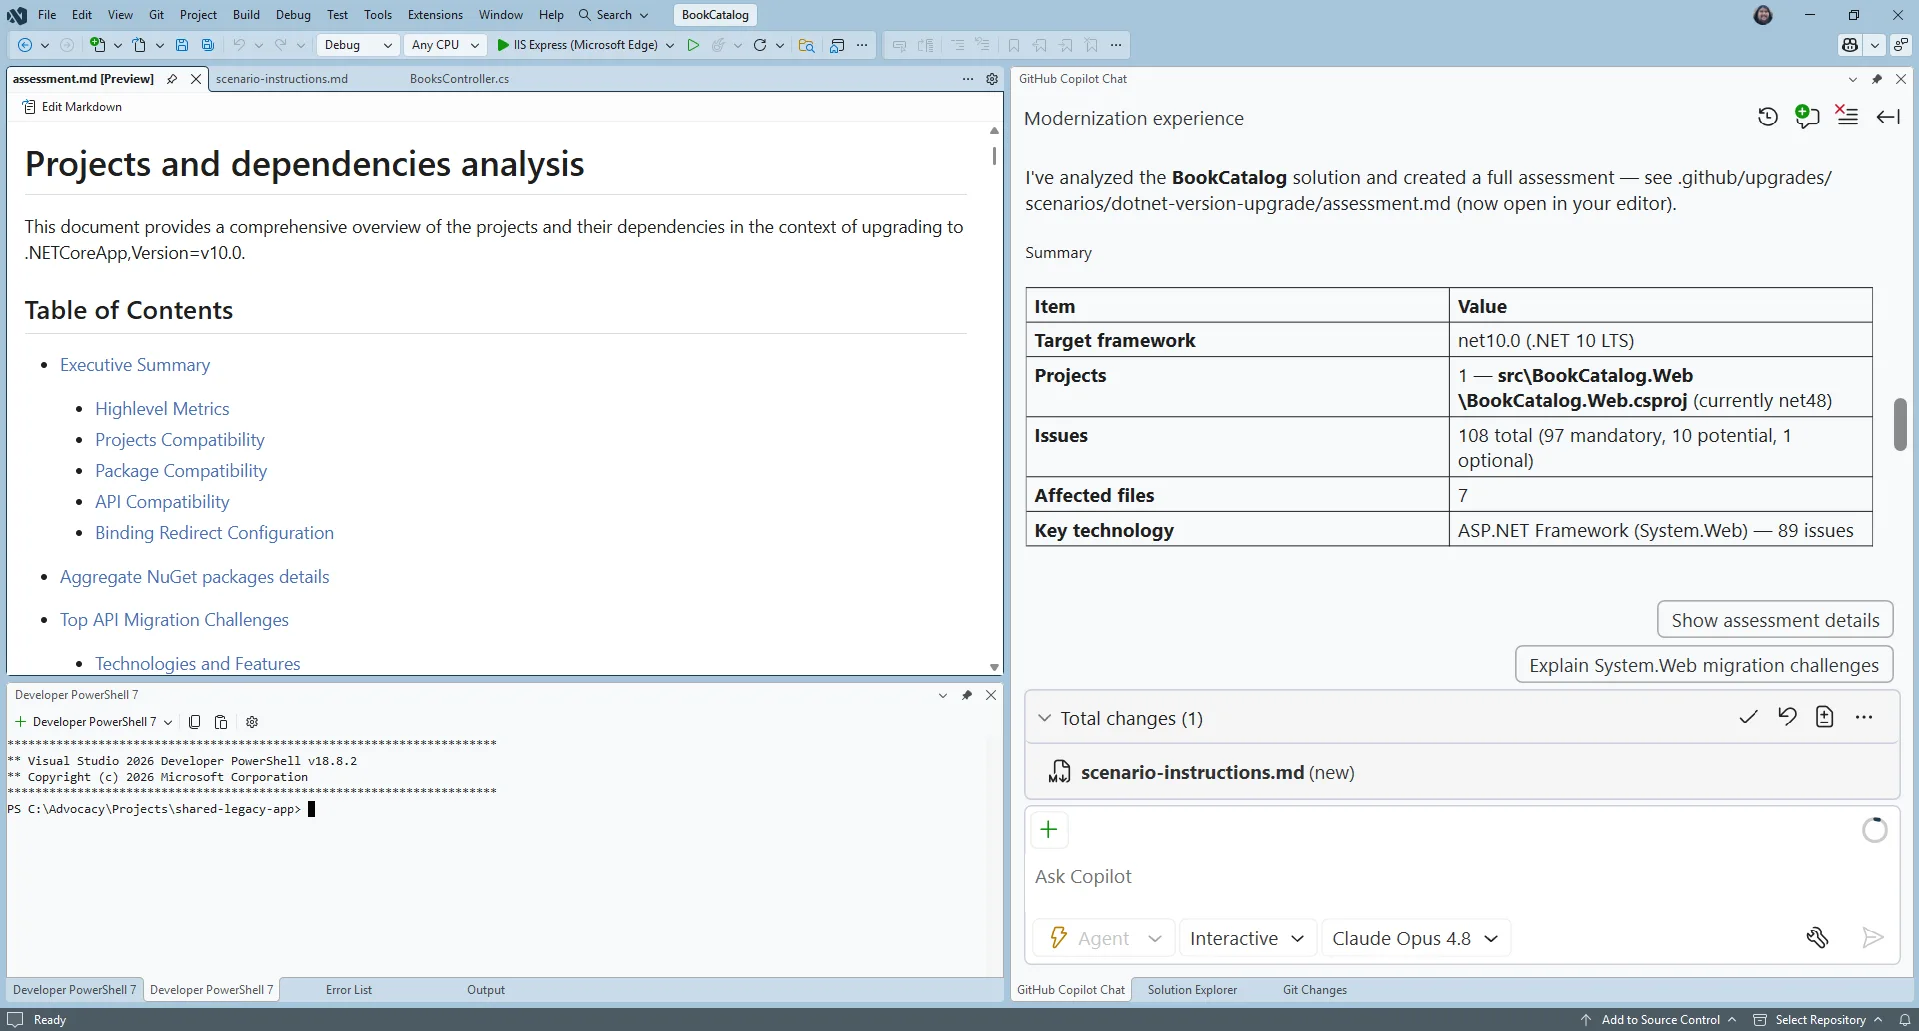
The assessment helps you understand what must change first. In this sample, the modernization work includes moving from System.Web.Mvc patterns toward ASP.NET Core equivalents and moving the data layer from Entity Framework 6 to EF Core.
Step 4: Review the upgrade plan
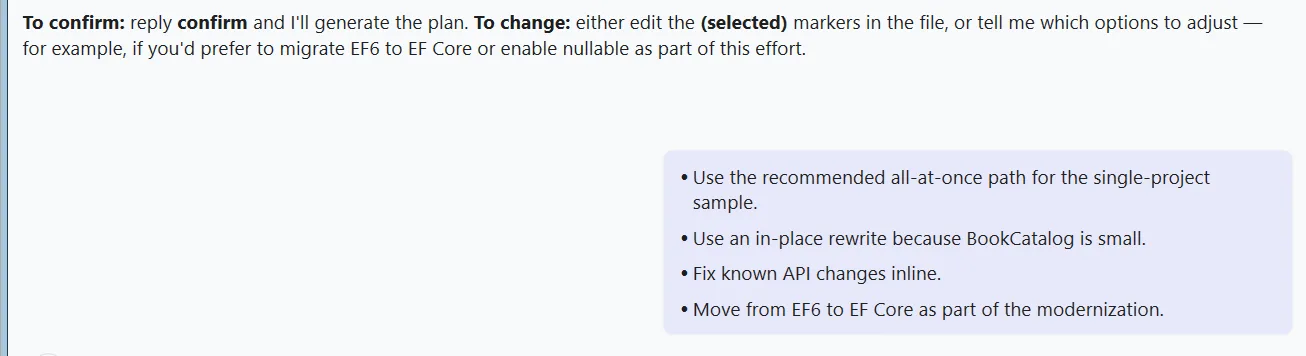
Once you approve the assessment, the agent will start to create a plan on how it will do the upgrade and it’ll present you with some options on how it can do it.
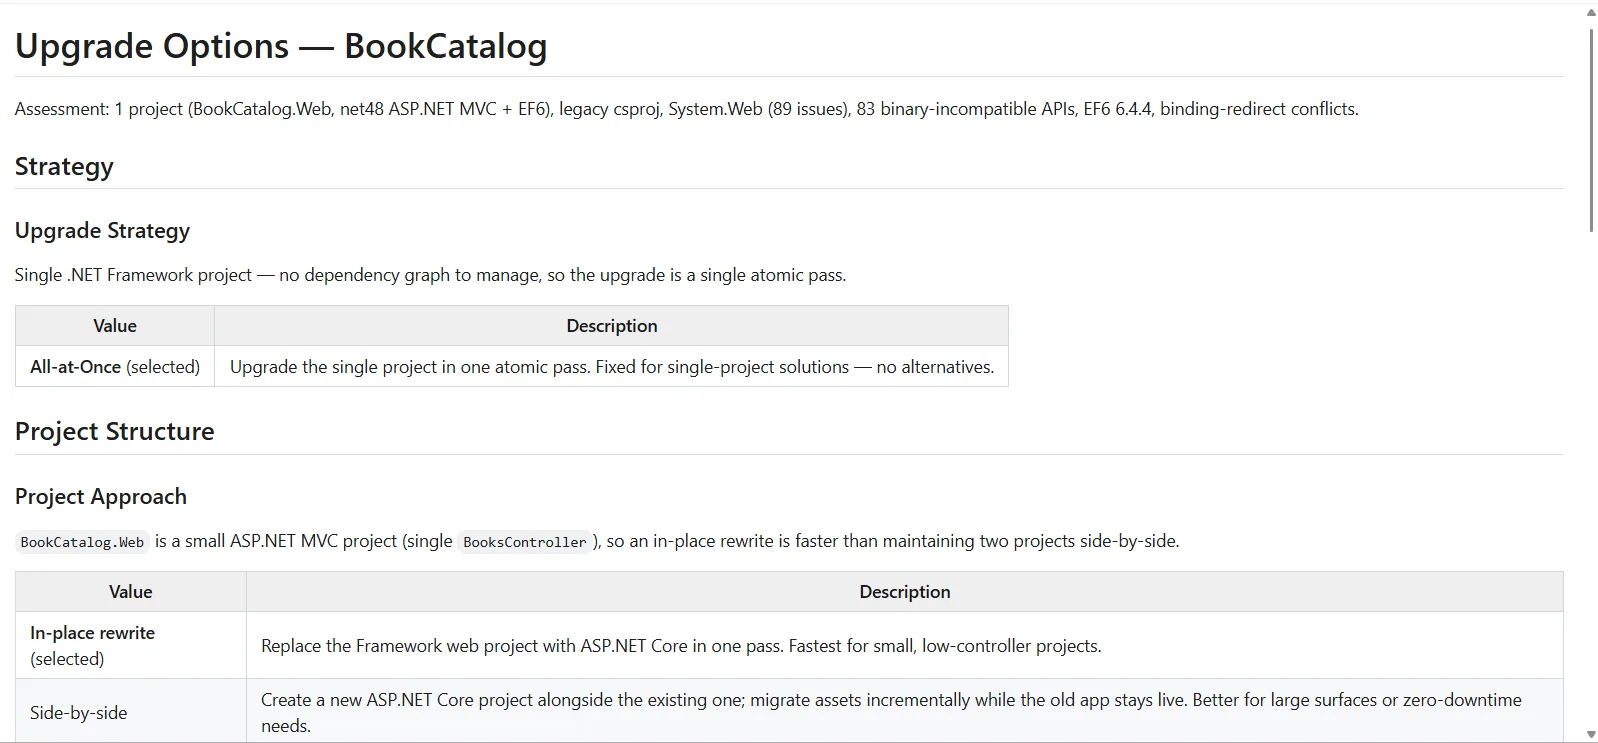
We could modify the options of how the agent creates the upgrade plan, but we’ll take the default.
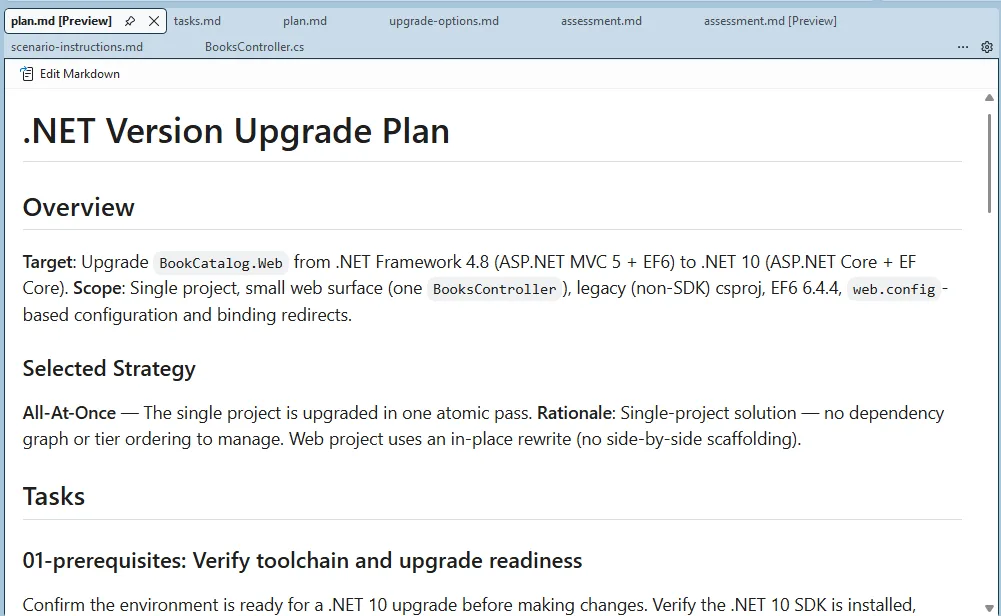
Then it produces the plan. It’s a good idea to read that through. This forms the basis of how the agent will upgrade the app.
Step 5: Upgrade!
Approve the plan and the agent starts working through the tasks one at a time.
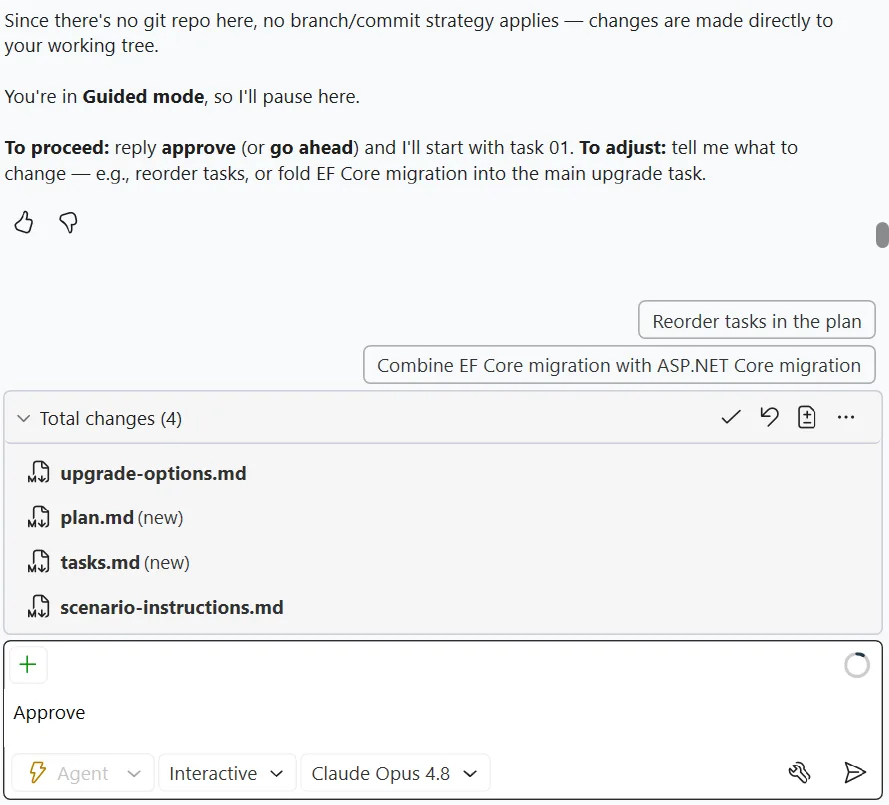 Guided mode will pause between the tasks so you can check on its work.
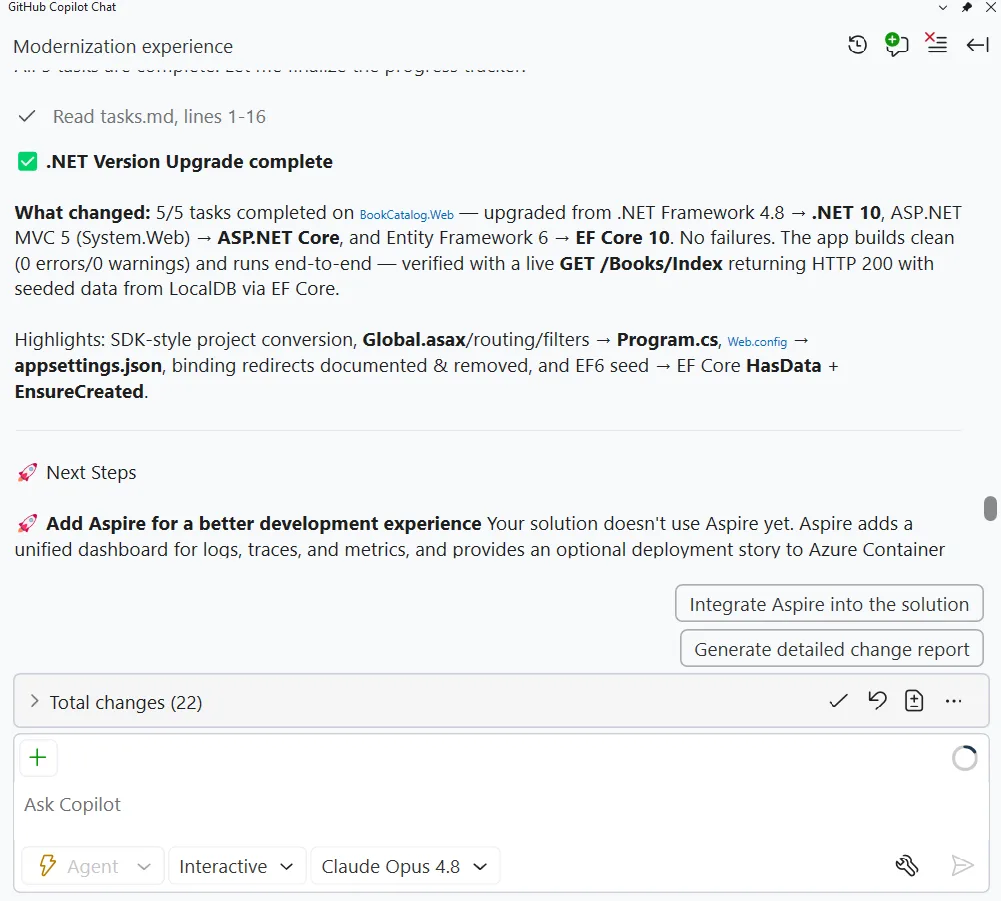
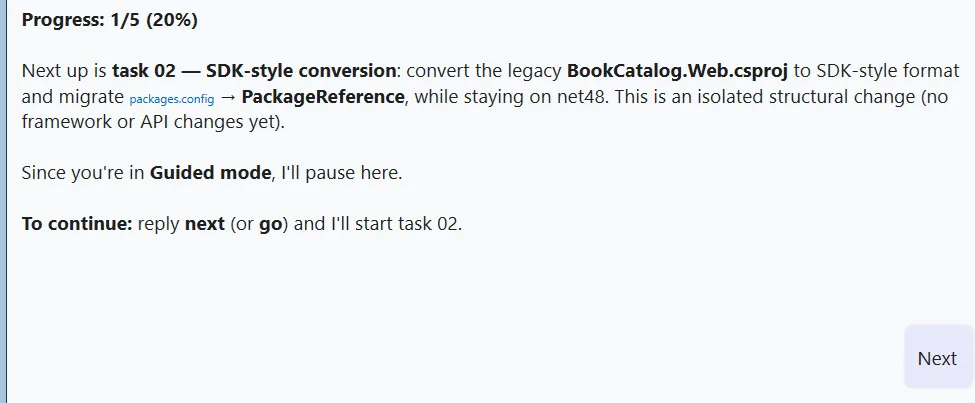 Five tasks later, it’s done!
Verify it
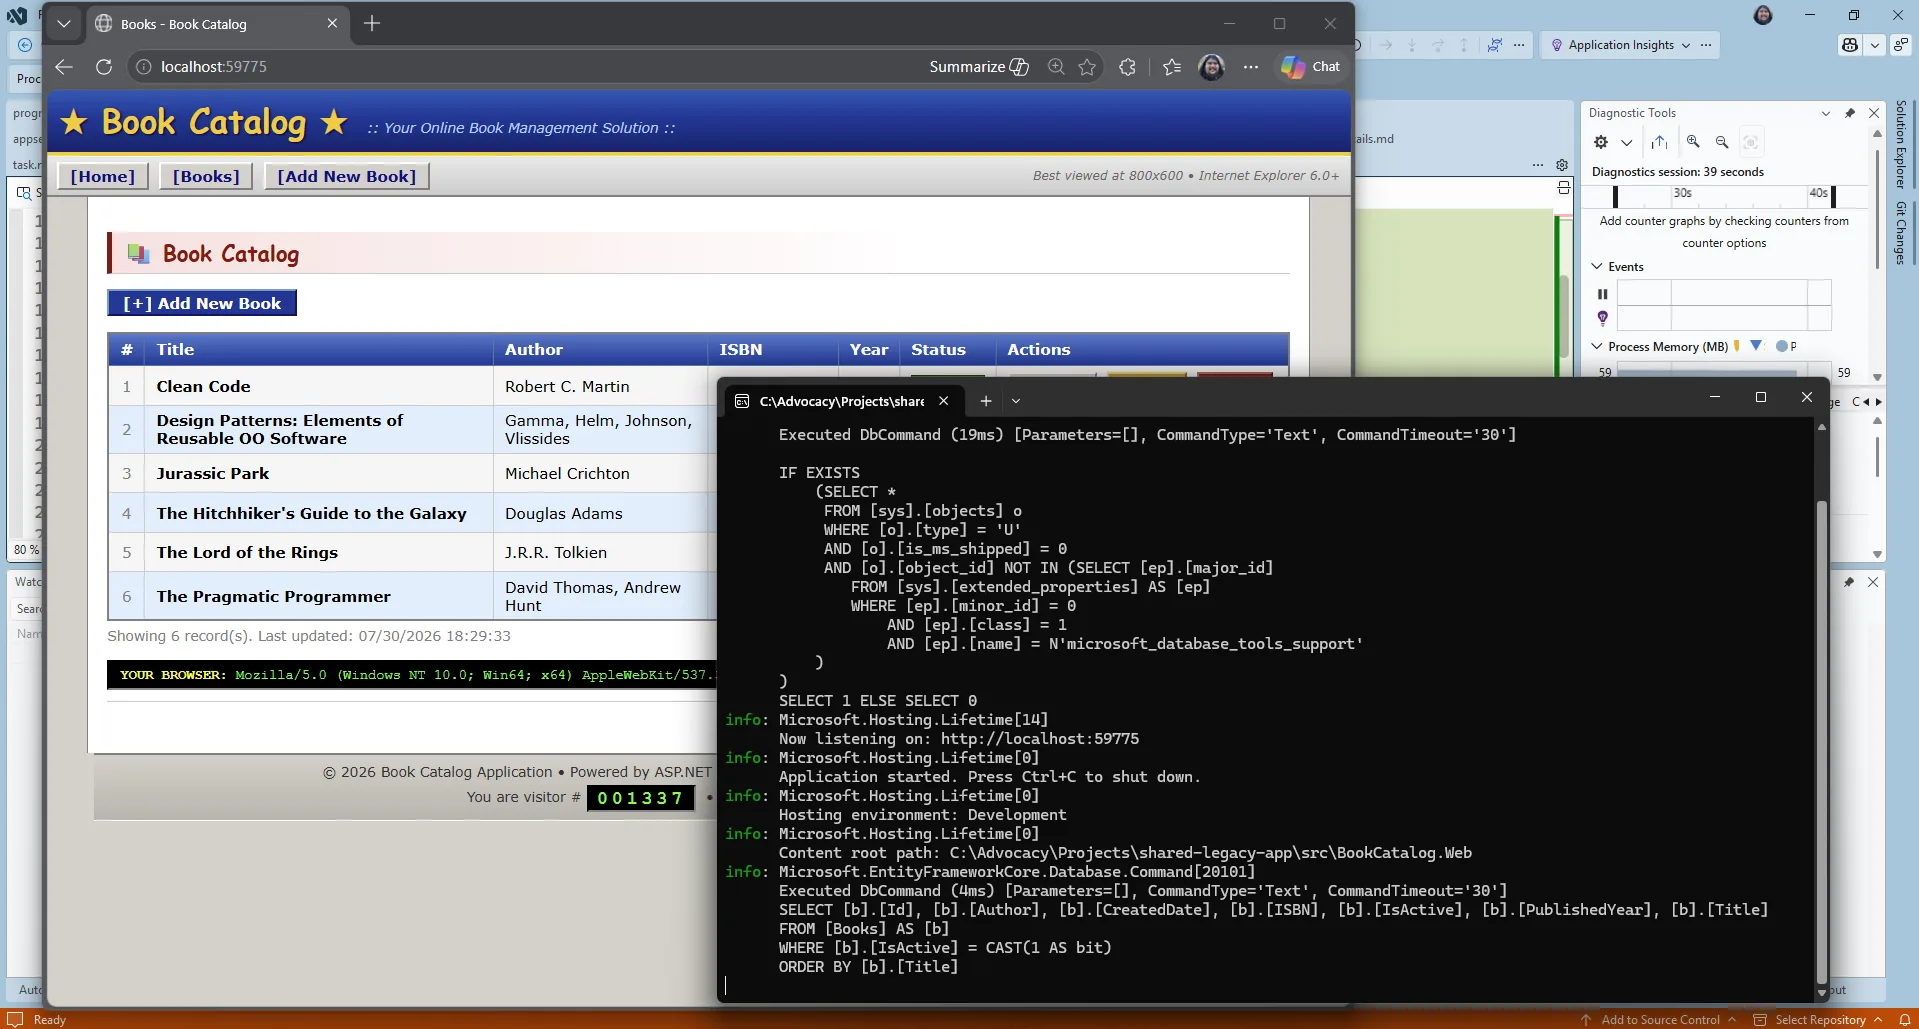
F5 the application and it should start up. Now, of course AI did the work. And it may not have worked the first time through. You never get the same thing twice with AI. In that case, use Visual Studio’s GitHub Copilot debugging features and you should get it up and running very quickly.
And once the app does start up… it looks exactly the same! The modernization agent doesn’t upgrade the UX for you – that’s for you to vibe on your own.
Wrap-up
The app is upgraded to .NET 10. If you want you can use the GitHub Copilot modernization for .NET tooling to migrate it to Azure too.