MOCORO and MSTRETCH Express Tools: Tuesday Tips With Frank | AutoCAD Blog


Reading this blog series, you might get the idea that I’ve used AutoCAD all of my professional life. Well, that’s close, but not entirely true. There were others, and most had some cool feature that I really liked and recall fondly.

When I left college, I immediately got a job using CAD that was required by the U.S. Navy programs we were working on. I have no clue what the software was, but I used a Tektronix 4014 during my second shift work. It was unbelievably slow, and the software itself was unremarkable, but the thing I remember most is the built-in cursor controls.

About 15 years later I took a job that required me to use a CAD software called VisionAEL. It ran on UNIX workstations, and had a really cool feature that I later reproduced with AutoLISP. When you copied something, after designating the second target point, you’d have the option to rotate it in 15* increments by using the arrow keys on your keyboard. So cool!

What’s my point? There are some great ideas that you can incorporate into your AutoCAD work. Fortunately, Autodesk has already created some of these, and they come packaged as the Express Tools in AutoCAD.

Today, I’m going to discuss a couple of favorites. One that packages multiple functions together, and another that extends the functionality of the original command. You’ll find them in the Modify panel of the Express Tools tab of the ribbon.

Screenshot of Express Tools in AutoCAD ribbon

MOCORO

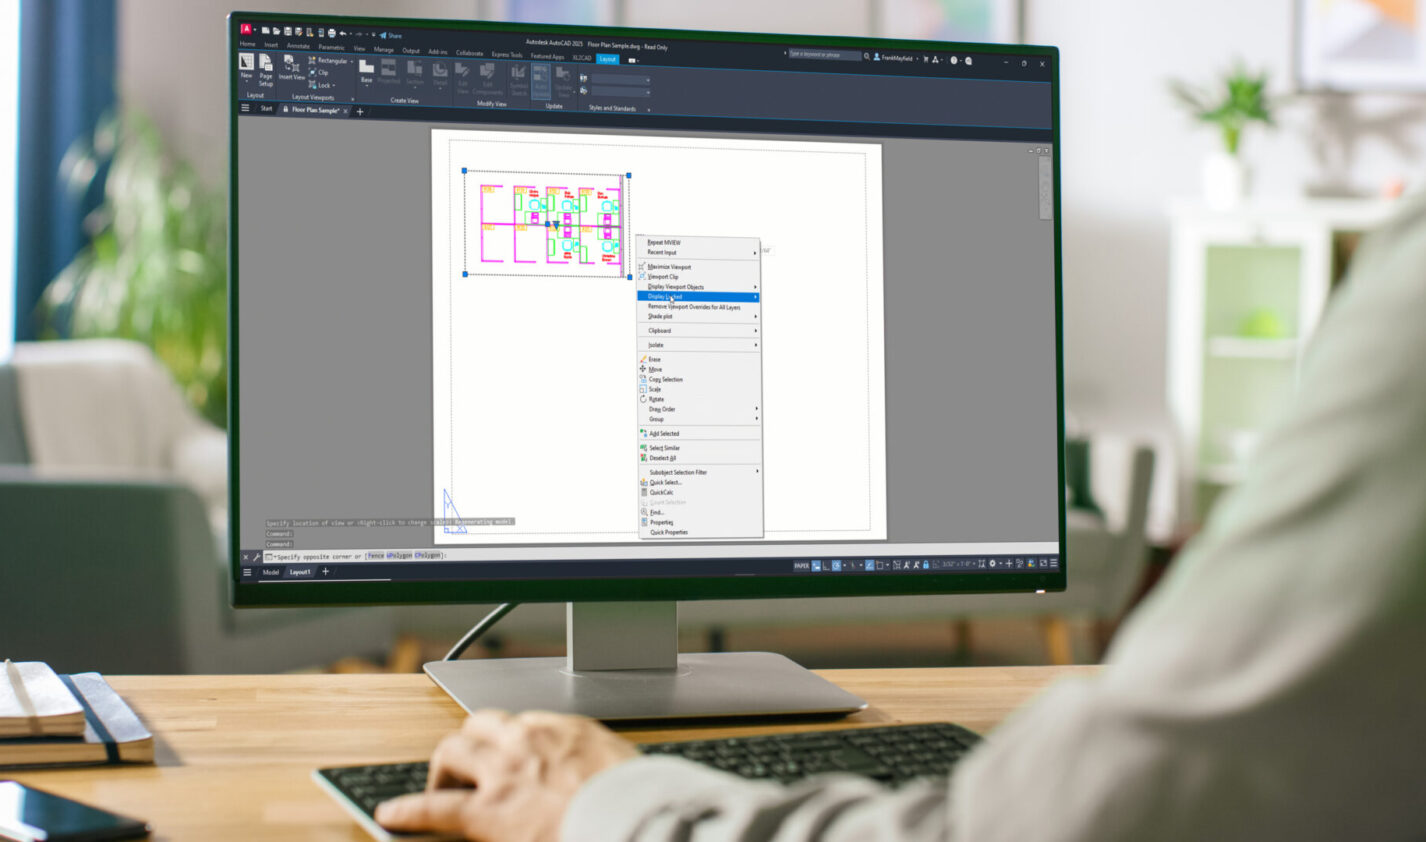
The first is officially called MOCORO, short for MOve – COpy – ROtate. I alluded to it back in a post I did about Insights, but I never explained it, so here it goes. First of all, it’s slightly mis-named. It also lets you change the Basepoint and Scale, but I imagine the powers that be thought the way MOCORO rolls off the tongue is better than MOCOROBASC.

In any regard, below you can see an animation of how it works. Let’s say our task is to copy the furnishings from Arnold Green’s office number 6073 into the empty 6100 office, but aligned for the upper left corner. Your conventional move might be to copy the desk, chair, and equipment into the new office space, then rotate them, and then move them to the corner.

That’s way too much work for this lazy old drafter. Let MOCORO help you out. After each operation, you’ll get a drop-down menu (as long as you have Dynamic Input turned on) where you can choose your next function. Below, I launch MOCORO, select the objects, specify the corner, choose the rotate function next, and position it accordingly.

Each time I complete an operation, the options reappear, enabling me to choose another operation using the same selected object and basepoint. If needed, however, I can change the basepoint by selecting the Base option. Select Exit when you’re done.

MOCORO

MSTRETCH

Next up is MSTRETCH. This command enhances the stretch command by allowing you to select multiple objects to stretch. To demonstrate, I’ll use three rectangles that all need to be stretched by the same amount. We’ve all learned from our early days using AutoCAD that the Stretch command requires a crossing selection.

Short of remembering the CP selection option, stretching these three rectangles would require three stretch operations. The animation below will show you how the Stretch Multiple tool can help out.

MSTRETCH

Final Thoughts

AutoCAD has plenty of cool features sprinkled throughout the Express Tools. Way back in my first year of writing these Tuesday Tips, I wrote about finding them (and more). Don’t forget to expand the five panels in the Express Tools tab that have additional tools in their pull-down menus. Until next time!

More Tuesday Tips

Check out our whole Tuesday Tips series for ideas on how to make AutoCAD work for you. 

AutoCAD Potpourri: Tuesday Tips With Frank | AutoCAD Blog


All of us here at Tuesday Tips Headquarters love getting feedback from our readers. It may take the form of expanding on a tip or maybe explaining how they utilize it at their job. Of course, we get plenty of suggestions for tips (lots of great ideas have made their way into the blog.)

We also get a lot of readers looking for a solution to a particular problem they’re having. Much like Santa at the North Pole, we try to answer as many as we can, but there’s just not enough time. So, occasionally, we like to open up the old mailbag and pick out a few that deserve attention but may not warrant an entire blog post. We like to call it AutoCAD Potpourri because you never know just what you’ll get.

Murray from Minneapolis writes:

I have a co-worker who’s driving me crazy by forgetting to set their newly created Layout Viewports as being locked. Is there an automated lisp routine or something to help me with this? I don’t know how many times the zoom or scale has been messed up because of this.

Hi Murray, instead of that, how about you just make an easy change in your workflow? From the blue contextual Layout ribbon tab, you’ll find an Insert View tool in the Layer Viewports panel. This will let you insert any named view as a viewport. You don’t even have to use named views to use it. If you don’t have any views, it will go directly into New View mode, where you can select an area of your model. When you’re satisfied with the selection, hit enter, and you’ll return to your layout, where you can now drop in the viewport.

AutoCAD will do its best to scale it correctly for you, but you can always change it. And, best of all, it will automatically be locked after you insert it using this method. Viola! Problem solved.

Utilize Activity Insights

Emily from Chicago asks us:

Is there an easy way to know who did what in our drawings? In particular, who was working on it, who saved it, and who managed the Xrefs in it?

Emily – you didn’t mention what version of AutoCAD you are using, but if you’re on 2024.1 or higher, you sound like a perfect fit for the new Activity Insights palette. You’ll find it in the View tab of the ribbon. It’s the only icon in the History panel. Turn it on, and you’ll get a palette view of various activities, telling you who did what and when they did it. Click on any entry to get more info on it. Just follow this link to learn more about it.

Screenshot of Activity Insights in AutoCAD

Use Paste Special to Insert Image Files

Louie from New York wants to know:

We don’t use externally referenced drawing files in our work, but we do insert numerous images into our drawings. Of course, this references the image, which, in turn, creates problems for our users who aren’t used to working with the image paths. In other words, the path is often broken. Is there a way to attach an image so that it’s not externally referenced (thus pathed?)

Louie, in a word, yes! It’s a simple three-step process. First, open the image file in MS Paint® or pretty much any graphic software. Next, select “all” and perform a clipboard copy. Finally, in AutoCAD, do a “paste special” (not a regular paste) to place the image directly into your drawing. Baddabing! No more lost image files.

Screenshot of AutoCAD Paste Special

Reset Overridden Dimension Strings

Bailey from Cincinnati asks:

Let me start by saying that I work with that co-worker. The lazy drafter who prefers to override dimension text instead of just doing it right to begin with. Of course, there’s no way to know if it’s been overridden or not (I wish they would get flagged similar to Anno Monitor). Do you have any suggestions for me?

Yes, Bailey, I do! There’s an Express Tool called DIMREASSOC. You can type it into either the Dynamic Input Box or the Command Line. You can also find it as “Reset Text” in the Dimension panel of the Express Tools tab in the ribbon. To use it, select an area of dimensions or just type in ALL since the command filters out anything that’s not a dimension.

Any dimensions that have overridden text will immediately be highlighted for you. Just hit Enter to end object selection, and Boom! All the overridden dimensions now read accurately.

How’s that for an easy fix? I just wish we could do the same with your co-worker!

Screenshot in AutoCAD

Coming Clean

If you were paying close attention, you may have noticed a pattern in our questions. They were all from fictional characters in classic TV sitcoms.

That’s right, there’s no actual mailbag full of letters that we pulled from. That’s shocking here in 2025, I know. But we do hear from a lot of you via emails or comments, so we also have plenty of shorter tips to share, so this is always a fun way to get them out there.

I hope to do another AutoCAD Potpourri post someday, so please make sure you keep those letters and questions coming!

Celebrity Guest Stars:

Murray Slaughter – The Mary Tyler Moore Show

Emily Hartley – The Bob Newhart Show

Louie De Palma – Taxi

Bailey Quarters – WKRP in Cincinnati

More Tuesday Tips

Check out our whole Tuesday Tips series for ideas on how to make AutoCAD work for you. 

Quick Tip: Using an Image as a Hatch in AutoCAD | AutoCAD Blog


Contributed by Autodesk Community member Deepak Maini

With AutoCAD widely used in infrastructure projects, one thing that I get asked about is an easy way to insert an image inside a complex area.

This is where the Express Tools > Super Hatch command is convenient, as it allows you to use an image as a fill pattern, as shown below. 

Screenshot of Hatch and image in AutoCAD

You can select the image, define its placement point, and then click inside the region for the image to crop to the shape of that region.

It’s as easy as that!

Learn More

Enjoyed this article? Then check out the Autodesk Community for even more great content from talented users across Design and Make industries.