Pick, manage, and get the most from your models


You open the model picker, scroll past a dozen options, and pause. How are these models different? Which one should you actually use? And once you’re a few hundred messages deep, how much capacity is even left before things start dropping off?

We’ve all been there. These are the kinds of questions Visual Studio now makes a little easier to answer. Here’s a closer look at how you can see, compare, and get more from the models you already have.

A model picker that works the way you do

The model picker presents a long list of models you’ve needed to scroll through every single time. Starting in 18.9 Insiders 1, you can better focus on the models you care about most. Pin the models you actually reach for and they stay right at the top. Expand to see the full list, and collapse to hide the ones you never touch to send them out of your way.

What’s left is a short, familiar list that looks like your workflow, not the full catalog. It’s a small change you’ll feel every day.
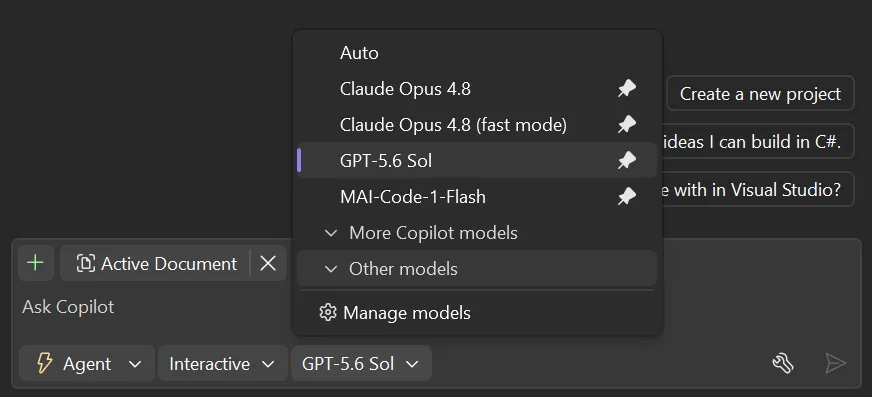
 updated model picker imageScreenshot of updated model picker with pinning and collapsed models

The full story on every model

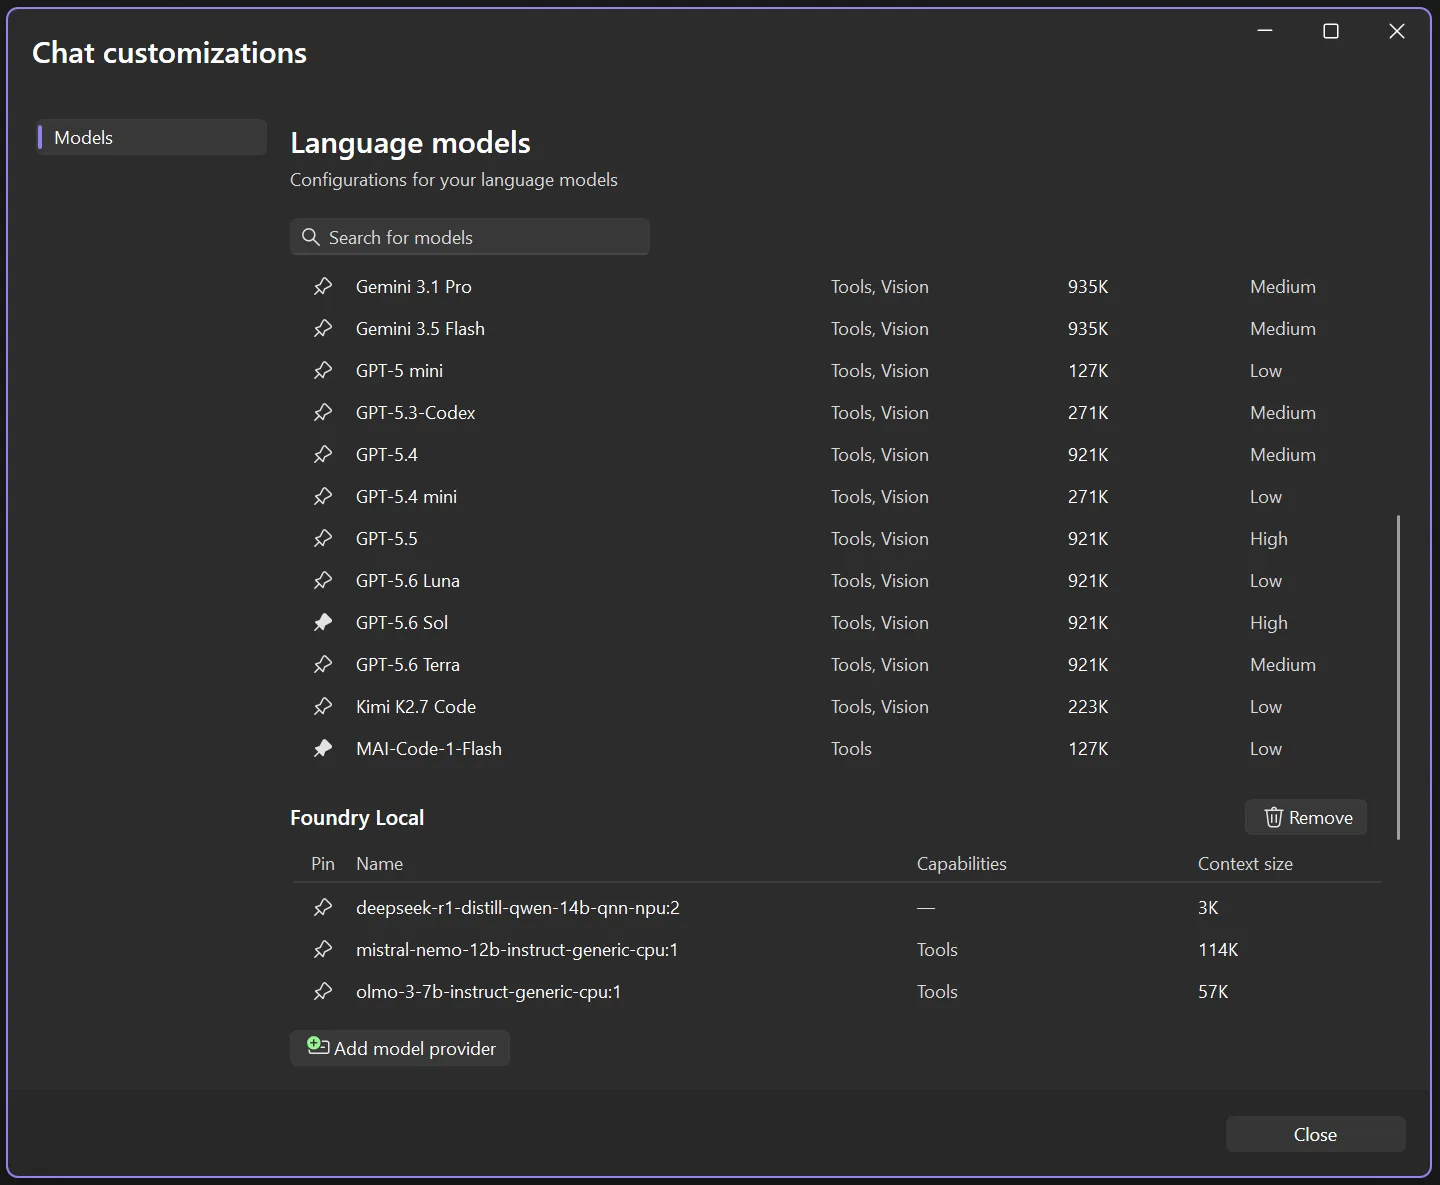
But sometimes the model picker isn’t enough. You might want to take a closer look at the model details, and compare specs. Select Manage models and the new language models view opens up with everything laid out side by side: what each model is capable of, how big its context window is, and what the cost level is. No more guessing whether a model supports vision, or which one gives you the most space to work.

Your own models live here too, right alongside the Copilot lineup. Pin them, review their capabilities, or wire up a new provider, all without leaving the view.
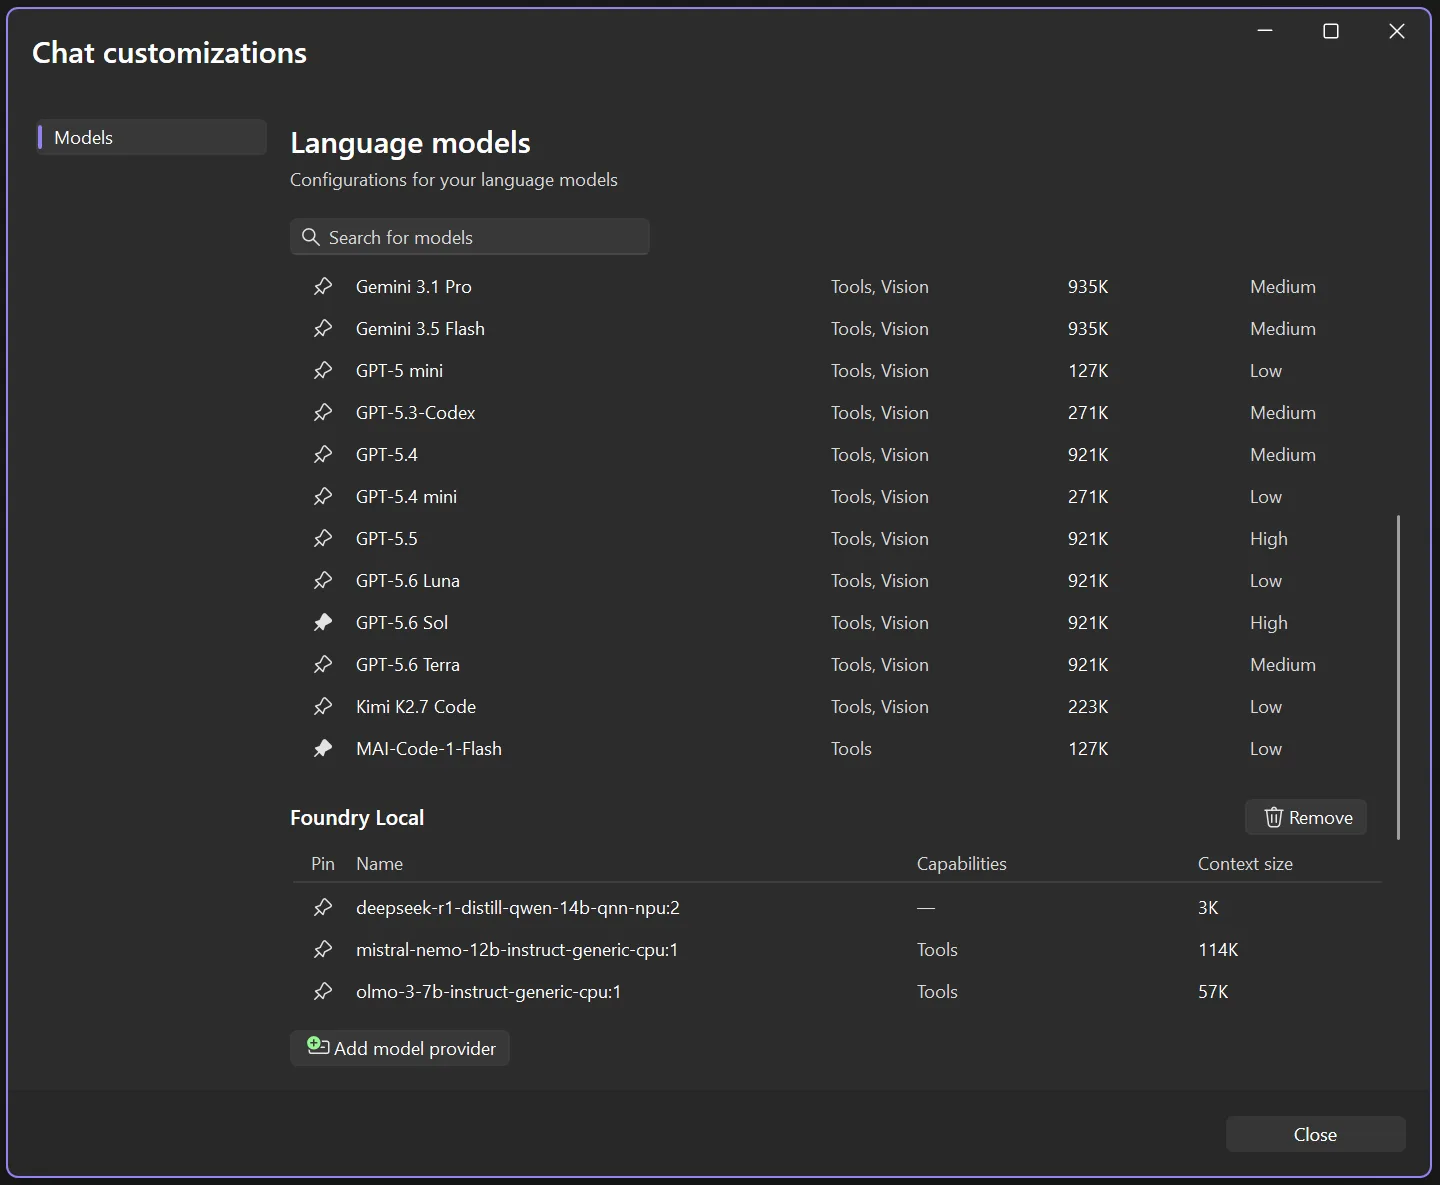
The new model management view

See how much capacity you’ve got left

Knowing a model’s context window size is one thing. Knowing how much of it you’ve used is what really matters when a conversation runs long. So as you work, Visual Studio shows you how full your context window is getting, no math required. In 18.6.0 and onward, click the donut chart icon in the upper right corner of your prompt box to see your context window usage for the current thread.

When you’re brushing up against the limit, you’ll see it approach 100% and you can decide when it’s time to summarize the conversation, start a new thread, choose a model with a higher context size, or make any other adjustments.

In 18.9 Insiders 1 onward, you’ll also catch a glimpse of an additional button to open the Copilot Usage window and see your full Copilot plan usage, so nothing sneaks up on you. The Copilot Usage window can also be accessed in earlier versions from the Copilot badge menu dropdown.
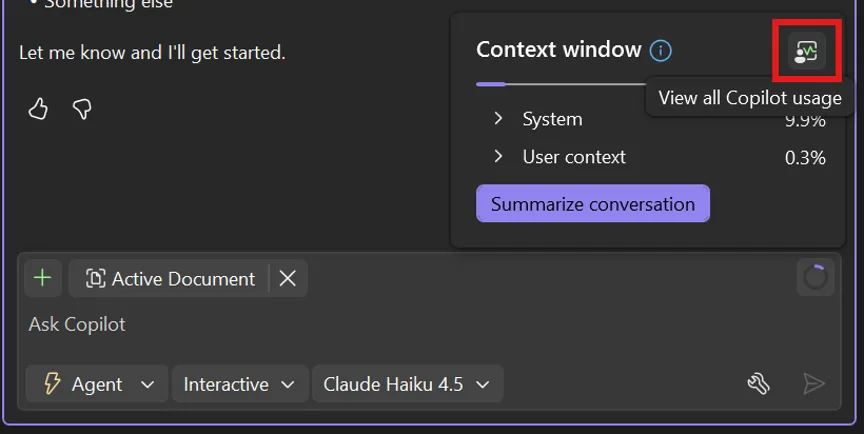
Context window indicator

Work with more confidence

Picking a model, checking what it can do, keeping tabs on your context window: none of it should slow you down or leave you guessing. These updates are all about giving you a little more clarity in the moments that matter, so you can spend less time wondering and more time building.

And we’re just getting started, so keep an eye out for more updates coming soon!

Give it a try in the latest Visual Studio Insiders and let us know what you think.
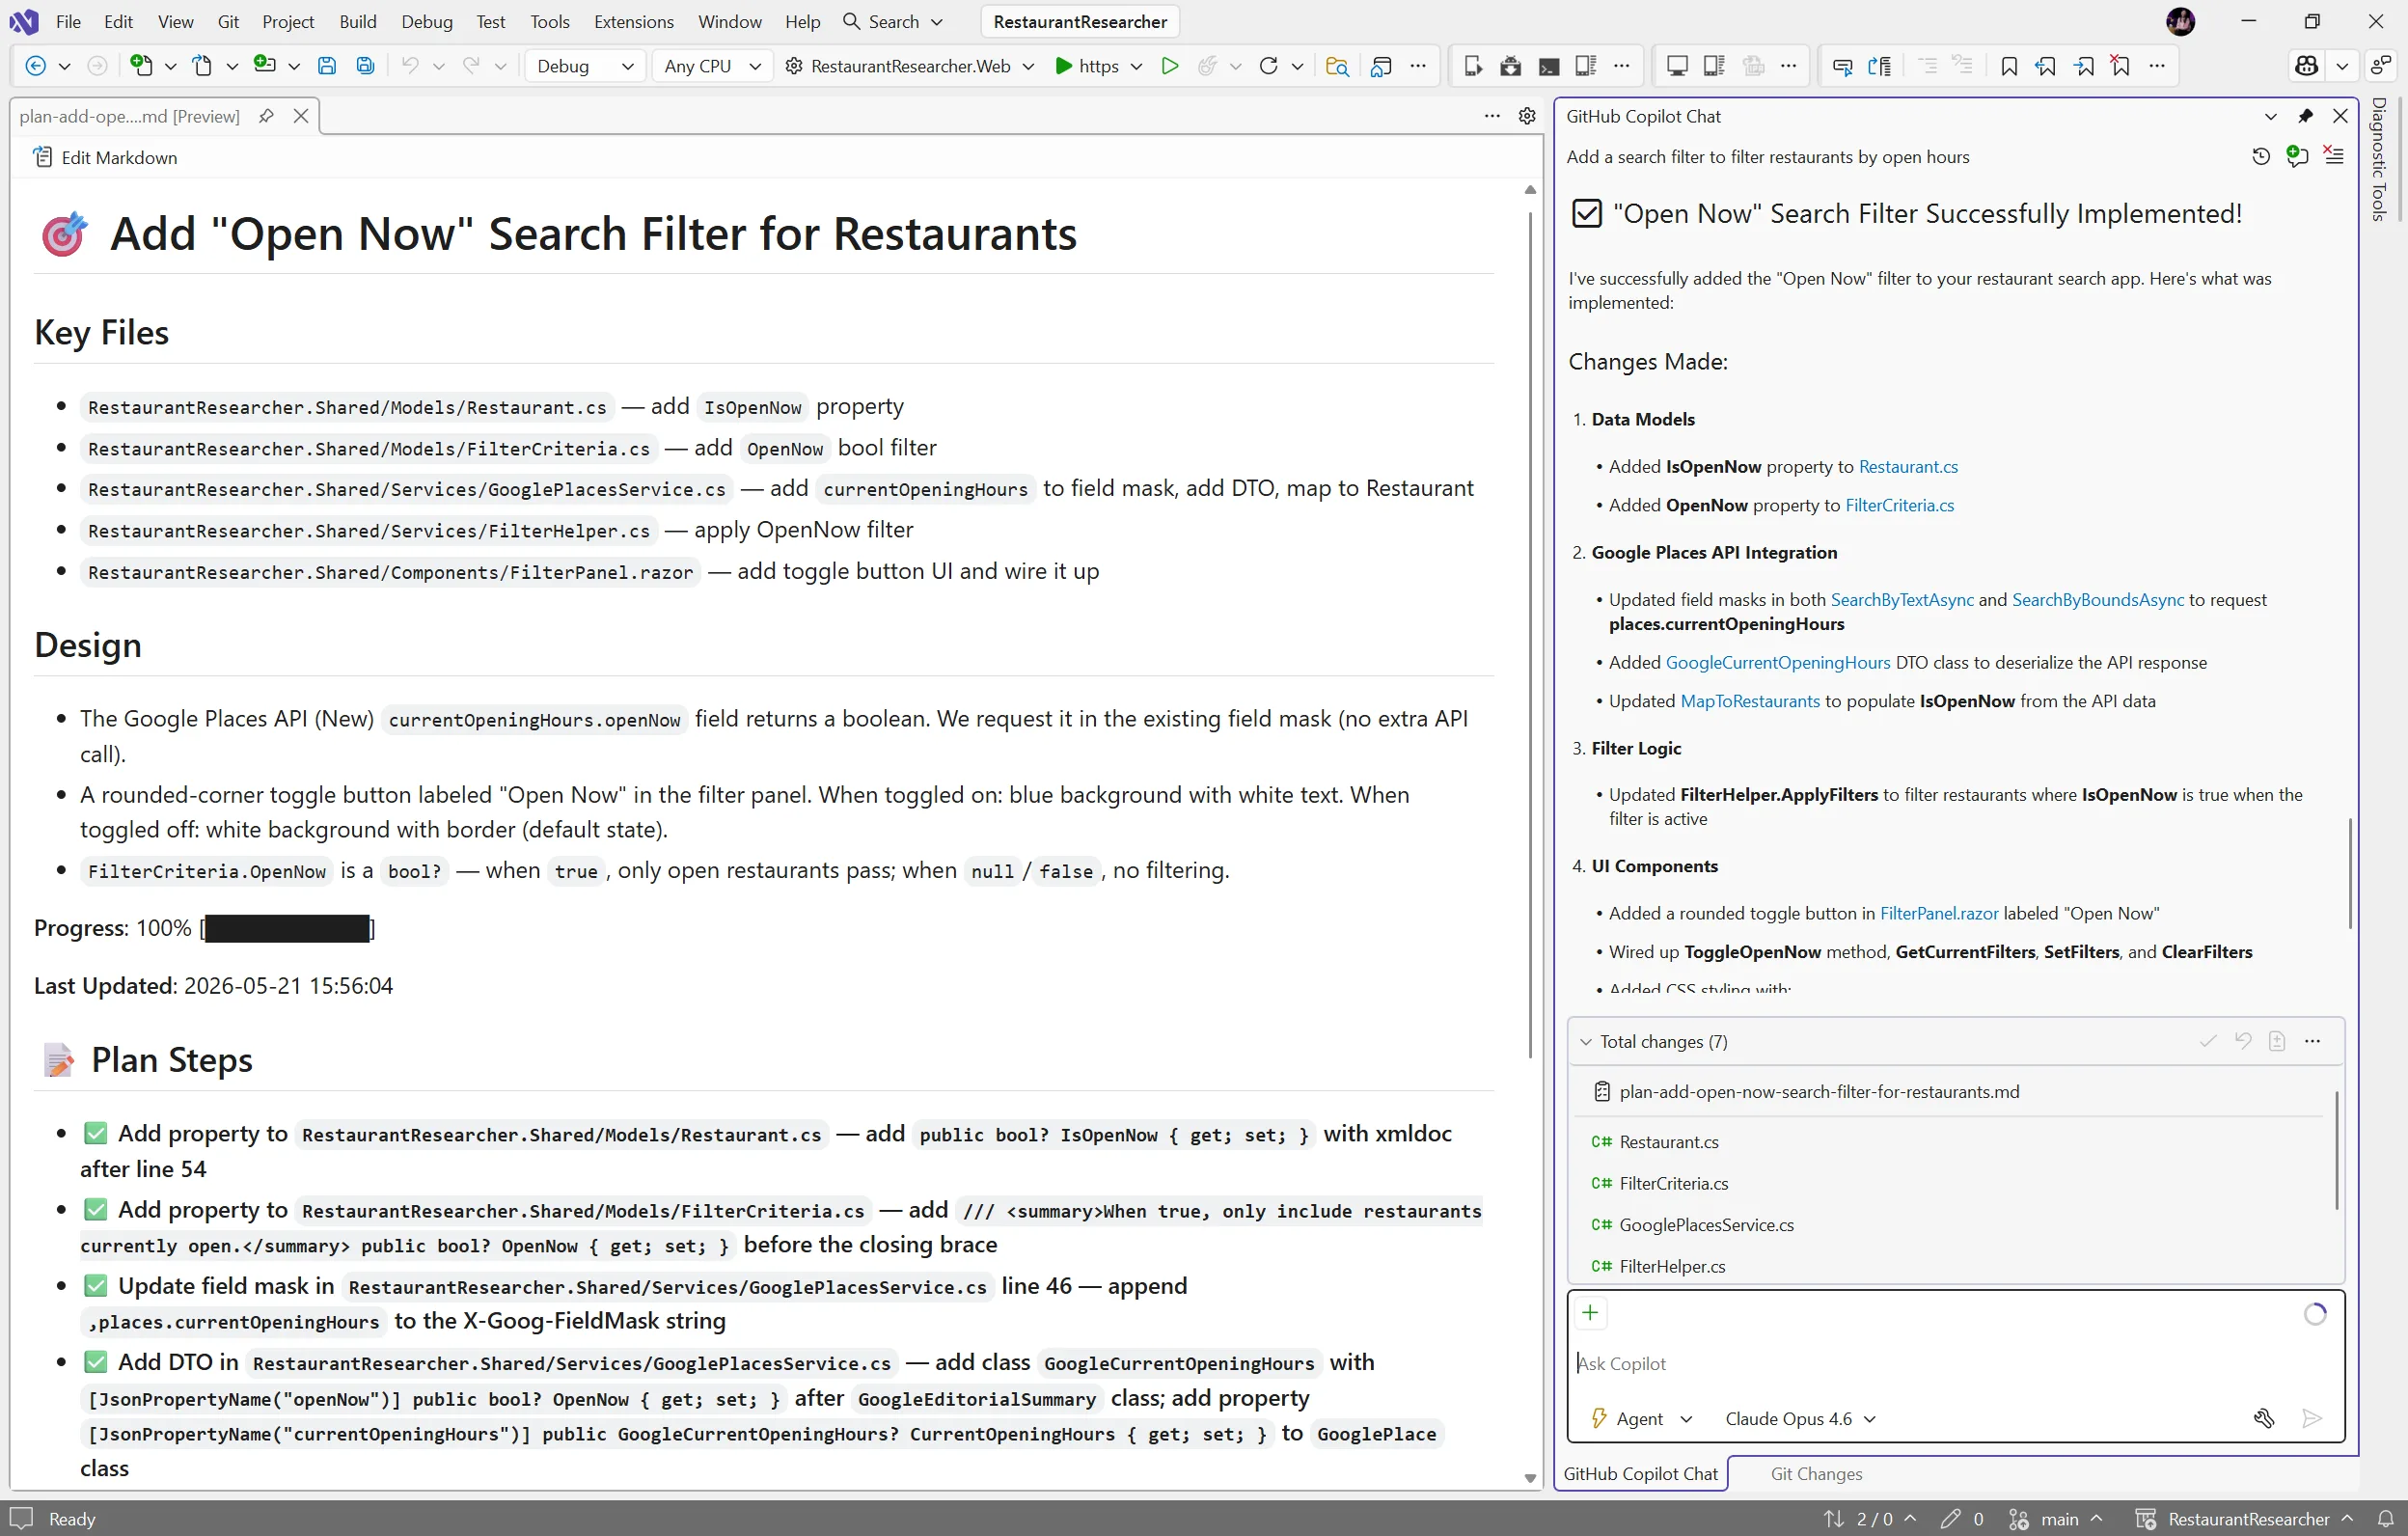
Plan Before You Build: Introducing the Plan agent in Visual Studio


You ask Copilot to tackle something big, it gets to work, and a dozen file changes later you realize you had a completely different approach in mind. The code isn’t wrong… it just isn’t what you were going for.

Last year, we introduced planning as a feature in Agent mode to help with exactly this. Since then, you’ve told us you wanted more control over when planning happens, the ability to edit plans directly, and a way to save and share them. Your feedback shaped what came next: the new Plan agent.

Instead of jumping straight into implementation, the Plan agent starts with a deeper understanding of what you’re trying to build: asking questions, clarifying your intent, and enabling you to iterate on the plan before making a single change.


How it works

Here’s how it works:

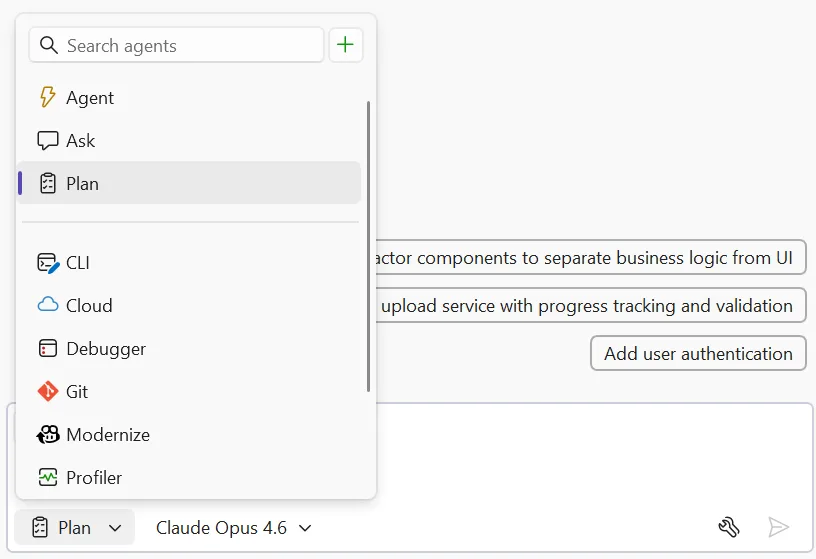
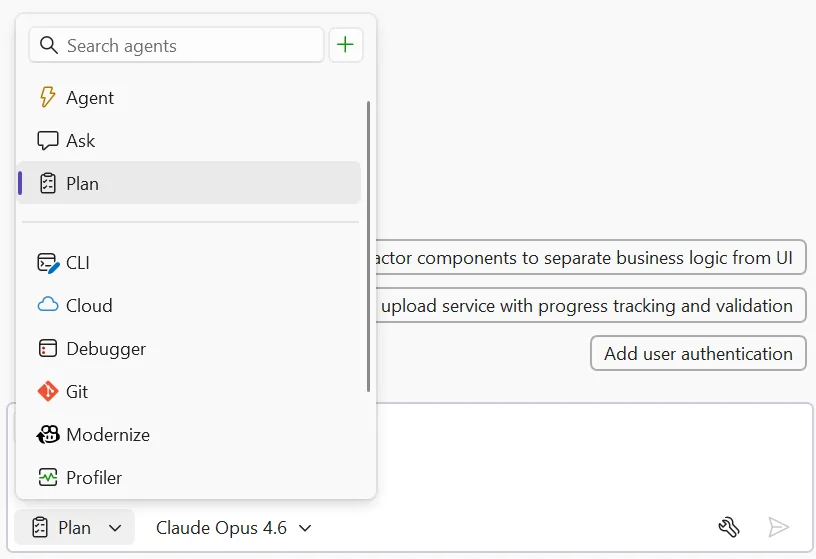
  • Select the Plan agent and describe what you want to build — Choose Plan from the agent picker in Copilot Chat, then tell Copilot what you’re trying to do. You can be as broad as “add authentication to this app” or as specific as “refactor the payment module to support multiple providers.” The more context you give, the better the plan.

plan selected in agent picker image

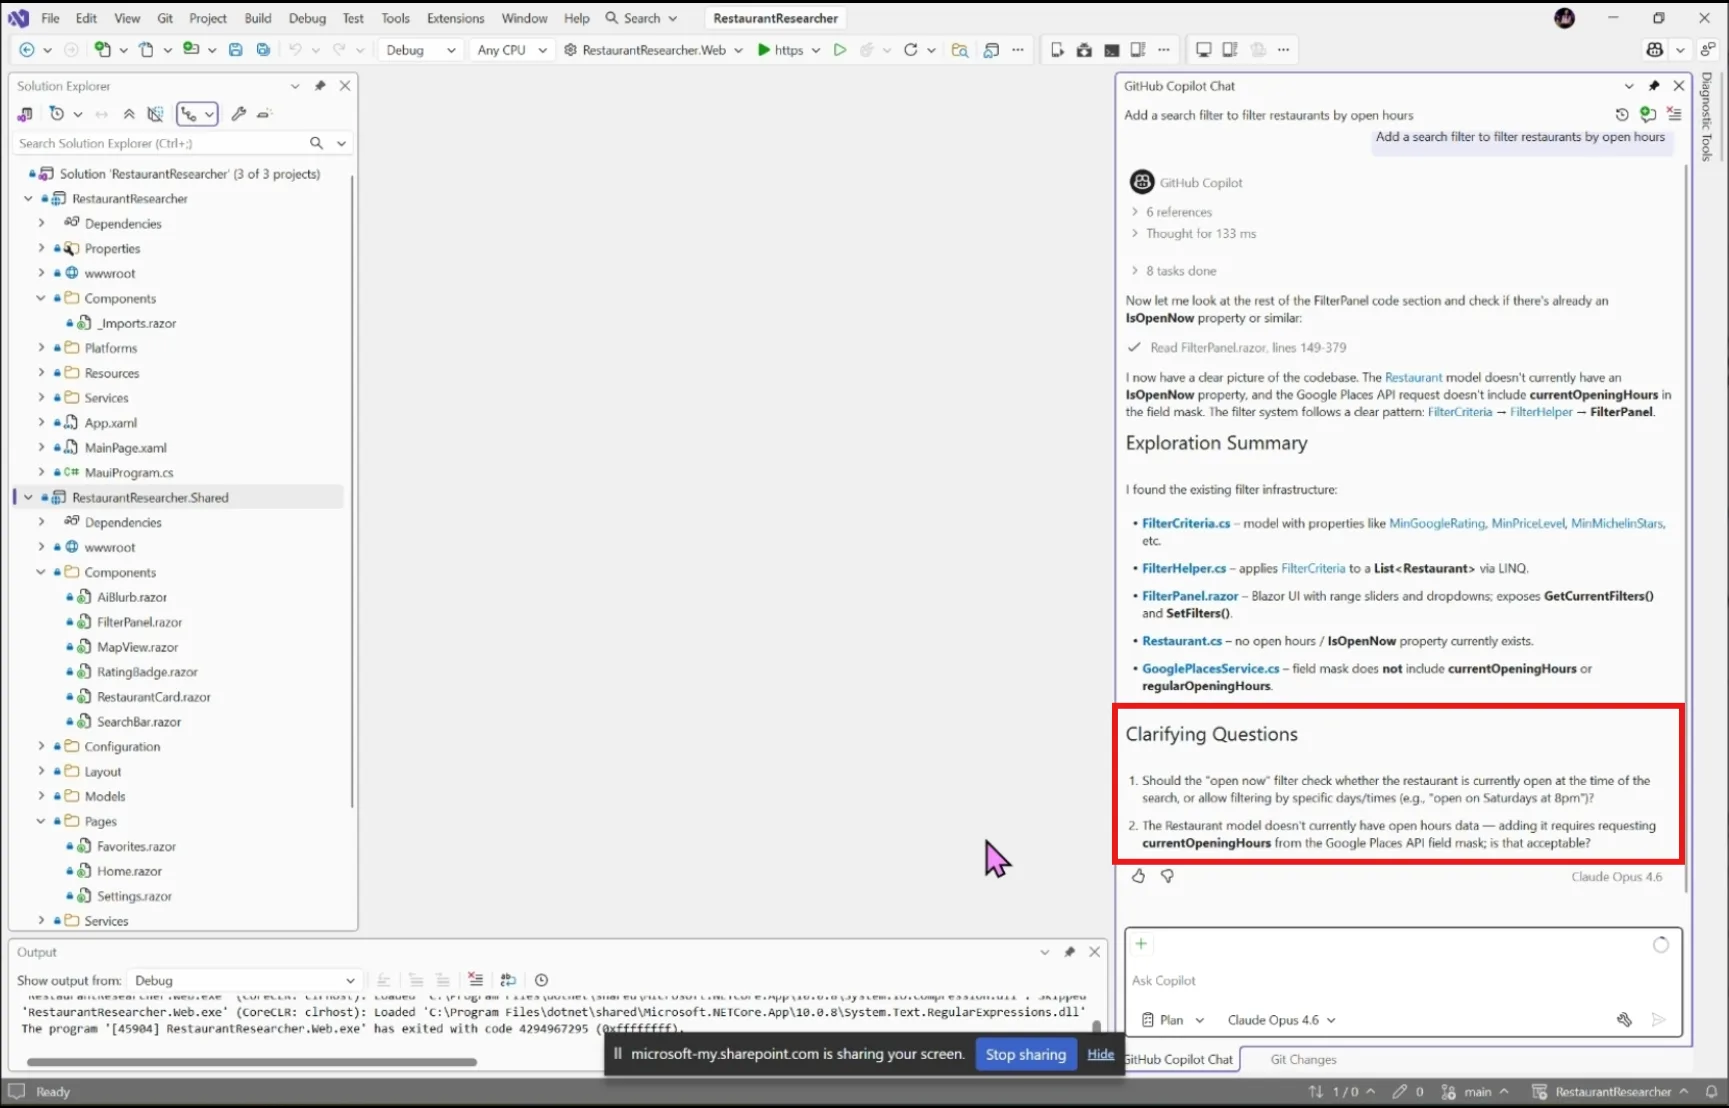
  • Explore and clarify — Copilot scans your codebase using read-only tools and asks clarifying questions when something is ambiguous. Answer these to help Copilot understand what you’re going for. For straightforward tasks, it moves straight to drafting.

plant agent clarifying questions image

  • Draft and refine — Copilot creates a detailed implementation plan you can review together. Ask it to rethink an approach, add edge cases, split a step into smaller pieces, or reconsider which files to touch.
  • Edit the plan directly — Every plan is saved as a markdown file at .copilot/plans/plan-{title}.md. Edit it in your editor, refine it through chat, or share it with your team for review. Copilot picks up your changes and keeps everything in sync.
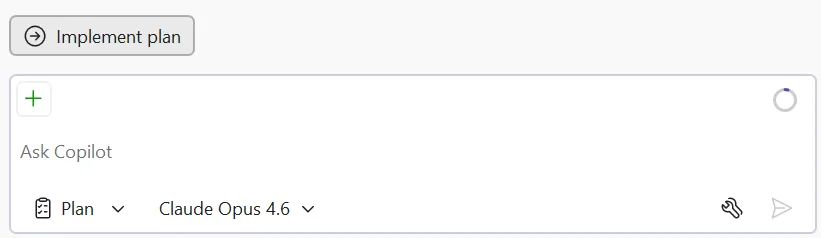
  • Implement — When you’re satisfied, click Implement plan to hand it off to Agent mode to build. No code changes happen until you say so. Copilot works through the plan step by step, creating and editing files while you watch the progress in real time.

plan agent implement plan button image

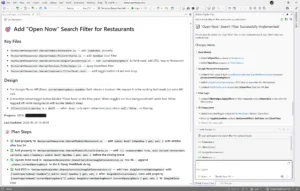
plan implemented image

Try it today

The Plan agent helps you figure out what to build before you start building it. Give it a try on your next feature or refactoring task, and let us know how it goes!

Share your feedback on Developer Community and let us know what’s working, what’s not, and what you’d like to see next!

Custom Agents in Visual Studio: Built in and Build-Your-Own agents


Agents in Visual Studio now go beyond a single general-purpose assistant. We’re shipping a set of curated preset agents that tap into deep IDE capabilities; debugging, profiling, testing alongside a framework for building your own custom agents tailored to how your team works.

Each preset agent is designed around a specific developer workflow and integrates with Visual Studio’s native tooling in ways that a generic assistant can’t.

  • Debugger – Goes beyond “read the error message.” Uses your call stacks, variable state, and diagnostic tools to walk through error diagnosis systematically across your solution.
  • Profiler – Connects to Visual Studio’s profiling infrastructure to identify bottlenecks and suggest targeted optimizations grounded in your codebase, not generic advice.
  • Test – (when solution is loaded) Generates unit tests tuned to your project’s framework and patterns, not boilerplate that your CI will reject.
  • Modernize (.NET and C++ only) -Framework and dependency upgrades with awareness of your actual project graph. Flags breaking changes, generates migration code, and follows your existing patterns.

Access them through the agent picker in the chat panel or using ‘@’ in chat.

The presets cover workflows we think matter most, but your team knows your workflow better than we do. Custom agents let you build your own using the same foundation—workspace awareness, code understanding, tools accessed by your prompts, your preferred model, and your tools.

Where it gets powerful is MCP. You can connect custom agents to external knowledge sources internal documentation, design systems, APIs, and databases so the agent isn’t limited to what’s in your repo.

A few patterns we’re seeing from teams:

  • Code review that checks PRs against your actual conventions, connected via MCP to your style guide or ADR repository
  • Design system enforcement connected to your Figma files or component libraries to catch UI drift before it ships
  • Planning helps you think through a feature or task before any code is written. Gathers requirements, asks clarifying questions, and builds out a plan that you can hand off

The awesome-copilot repo has community-contributed agent configurations you can use as starting points.

Get started

Custom agents are defined as .agent.md files in your repository’s .github/agents/ folder:

your-repo/
└── .github/
    └── agents/
        └── code-reviewer.agent.md

A few things to note:

  • This is a preview feature; the format of these files may change over to support different capabilities
  • If you don’t specify a model, the agent uses whatever is selected in the model picker
  • Tool names vary across GitHub Copilot platforms- check the tools available in Visual Studio specifically to make sure your agent works as expected
  • Configurations from the awesome-copilot repo are a great starting point, but verify tool names before using them in VS

Tell us what you’re building

Share your configurations in the awesome-copilot repo or file feedback here.