How do you take a hardware product from concept to commercialization? In making plans and visions turn into reality, it can be a challenging process, yet fulfilling once done. Turning the hardware plans into making it in the market and being ready for the competitive environment meant that it is a success. When comparing software and hardware, a lot of things should be considered when this is the path that a client or a company wants. It boils down to analyzing every possible physical material, to what manufacturing companies are suited for, which also includes the testing of production and logistics. It is a rigorous path to take that can be a lot for any company, and as such, there are a lot of things that should be taken care of.
The time, cost, planning, and decision making are some that need to be focused on. If a company or the client is leaning towards making any hardware products turn into something useful and functional, it is very important to understand and comprehend the process to increase the possibility of success. In Cad Crowd, you can hire an experienced freelance CAD professional to deliver quality designs that satisfy project demands with flexibility and affordability.
🚀 Table of contents
The following are the guides that can be used throughout every stage that can be learned.
1. Begin with clear idea and vision
Think of any problem that you would want to solve, or such by bringing a product into life can make the problem be solved in an attainable manner. It also must be taken into consideration that when a problem is being thought of, make sure to include who has this kind of problem. Are there any solutions present solution that could solve the issue, or are your solutions much better and efficient than what is already existing?
It is crucial that when having the idea and vision, make sure that it is attainable despite the problems. Having a simple yet clear idea guarantees a successful product that can be really reliable and functional in the market. Targeting a goal which is going to be the best hardware product available can solve many problems – the result can also be trusted by potential buyers, where it can avoid difficulties in the development process. Setting a clear idea can reduce the possibility that the product will not be effective.
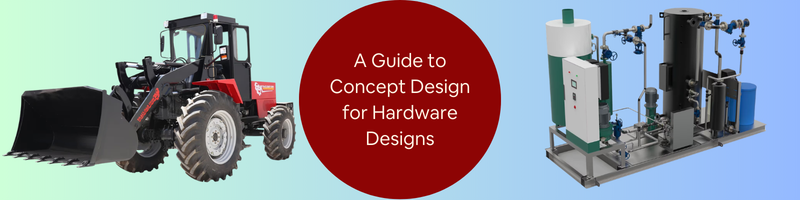
RELATED: A Startup Guide to Concept Design for Hardware with Product Design Services Companies
2. Validate the idea as soon as possible
Before the manufacturing and production process, where a lot of investment takes place, it is important to make sure and validate that the product is aligning to what the goal and objective is. Guarantee first that the product is what the clients and customers would like to buy and use it for a specific problem. Through the validation of ideas, it can lead you to creating a better plan that could improve the hardware product.
Some ways to validate:
Have a talk to potential buyers and users
In order to achieve this, it is a must to identify the target users for the product, may it be a student, a parent, a gamer, or someone who is working in various fields. To gain some of their knowledge or problems that you would want to solve, ask open-ended questions about the frustrations that they are experiencing towards the problem. It’s a clear indication that your concept has potential if a lot of people are complaining about the same problem.
Create simple sketches
Make a sketch about the plan that you would like to see. Having this visual can make it easier to understand the idea that you are pitching, may it be a simple sketch or a 3D model. When someone can see something rather than merely imagining it, people respond more effectively. Have a habit of checking if these people really understand the idea, you can make it more functional and useful.
Conduct surveys and polls
Following interviews and the collection of data and information from the individuals you wanted intakes. Create a survey to quickly get input from a larger number of people. By doing this, you may reduce all of the possibilities and answers to specific decisions that will support the present ideas you have.
There are a lot of outlets to be able to conduct the surveys and polls, such as google forms, facebook groups, and servers. Through the numbers being gathered, this can be used as data to ensure that it supports the idea that you have in hardware product that is efficient and practical in use.
By doing the above actions, you can increase the likelihood that consumers will trust the product you are developing, which could result in a successful product.
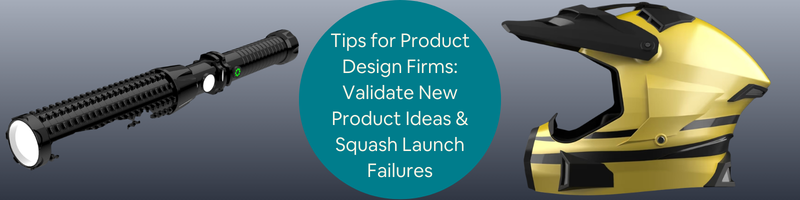
RELATED: Tips for Product Design Firms: Validate New Product Ideas & Squash Launch Failures
3. Design and create a prototype
Aside from the sketches made, a prototype design is one thing that could show you that a product will work in real life. It gives you the view as to how ideas are brought to life, you can also be able to see things that are not inclined to what you are designing and making for. By having a prototype guarantees that even before the production starts and the releasing of hardware products into the market, it is already been improved and better.
RELATED: From Sketch to Prototype with Product Design Services for Companies at Cad Crowd
There are different types of prototypes that you can make use of. It can be a low-fidelity prototype that only focuses on simple sketches, models that are in cardboard, they can be created in a short period of time, also there is a mid-fidelity prototype that leans on 3D prints where it can be more detailed than the low prototype. On the other side, there is what they called high-fidelity prototype that is more centered on making it into the final phase of the drafting, this is much more detailed and usually looks like the final product.

Moreover, a hardware prototype serves as a bridge between all of the ideas and conceptualization and reality. Doing so ensures that the designs and the product itself can be ready for the manufacturing stage.
4. Design for manufacturing (DFM)
In this phase, it is more on improving the designs for it to be passed on to the manufacturing stage process. The selection of the materials to be used in the product must be finalized already, whether it is plastic or metal, and what methods of manufacturing should be used to make the product. It is also important to see the cost per unit as it will help you stick on the budget and resources you have. One thing that should not be forgotten is how a product can be assembled, because if it is hard and difficult to do so, it may cause delays which you would not want.
Having a design that is leaning on the resources you have, and sticking on the goals and objectives you have can make your product succeed in the market. Whereas having a product or materials used that are expensive does not guarantee that it may work properly, it also does not make a product succeed if it is expensive.
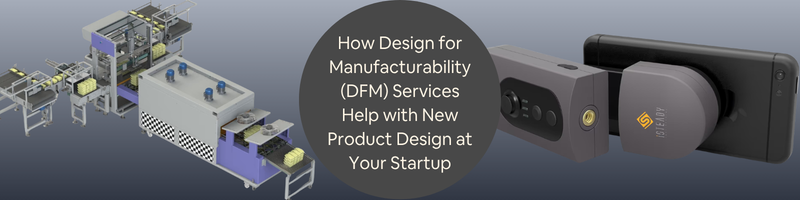
RELATED: How Design for Manufacturability (DFM) Services Help with New Product Design at Your Startup
5. Building and testing
Making and building a product is not easy, and it cannot be done on first try. It might be working yet it may also be imperfect and might have flaws. By doing this stage, you can be able to improve the designs and can focus on the durability of the product. Not only that but by repeating this cycle of testing can make it possible to look out for the safety and performance of the hardware product that will be utilized by the buyers and users.
It is a must to have testing when building a product because it makes it more effective that the product is usable. It also keeps on making the ideas and concepts be able to succeed. Testing catches problems as early as possible because if these flaws and problems are seen at a later time, it can be more expensive to solve.
6. Coordinate compliance and certifications
Protocols need to be followed. It allows that safety is being safeguarded not just by the one who is making it, but also with the potential users. It is necessary that certain certifications are being followed such as electrical safety and regulations process because it ensures that credibility is at stake, and also the customer trust is being accessed. In addition, legal risks are being reduced which is crucial because it guarantees safety. Compliances and certifications do vary per location and country, yet it must be observed.
7. Make sure to plan the supply chain
Supply chain is how the product is being able to be manufactured and produced. It is important to seek and invest in the services that would not waste all of your efforts and resources on the product you are making. Having suitable suppliers, packaging providers of the product as well as the logistics and shipping partners makes it possible that the products are being delivered and given to you safely without compromising the quality of the products.
If you and these people who give services have a miscommunication it makes it difficult to attain an efficient product, such it will just give you a hard time. It is important that partnerships are built before, during, and after the product is being made as you will gain a provider that can really help you achieve your plans on the product.
8. Calculate prices and expenses
Before releasing a product, it is important to price it at the most suitable price, it should not make you lose your profits but rather you should be able to gain from it. In making sure that prices are put in the right place, think of all of the expenses such as the materials used, the manufacturing process and services, the logistics and shipping, the packaging and designs, the marketing used, as well as the taxes and fees that need to be complied with. Make your pricing that customers and users will be able to fully buy your product without compromising your costs and resources. One tip is to make use of the surveys you have already done to identify the price range for customers who are willing to buy a product.
The basic formula to determine a company’s total manufacturing cost is to add up the expenses for direct materials, labor, and overhead incurred during a given production run.
Direct materials
The volume of raw materials required to manufacture the desired products is known as direct material.
The formula is as follows:
| Direct material cost = existing direct materials + purchased direct materials – remaining direct materials |
Direct material cost fluctuates not only with the volume of production, but also the volume of purchases. Buying raw materials in bulk often means lower prices overall. All things equal, higher manufacturing output increases direct material cost, and lower output decreases it.
Direct labor
Depending on company size, there can be a lot of other employees hired in positions not directly related to the manufacturing services, such as those in legal and marketing departments. They must be excluded in the direct labor cost calculations. The only company expenditure that contributes to direct labor cost is the salary and wage along with incentives as well as benefits for employees who work in the manufacturing department.
Direct labor cost is typically calculated by the unit of product. But first, you need to know how much the company pays for the direct labor hourly rate and direct labor hours.
| Direct labor hourly rate = (hourly pay rate + payroll taxes + fringe benefit costs) ÷ number of hours worked in the pay period |
| Direct labor hours = units produced ÷ labor hours |
Now that you have the results for direct labor hourly rate and direct labor hours, determine the overall direct labor cost using the following formula:
| Direct labor cost per unit = direct labor hourly rate x direct labor hours |
Similar to raw materials, direct labor cost per unit can also change depending on the number of workers and production volume.
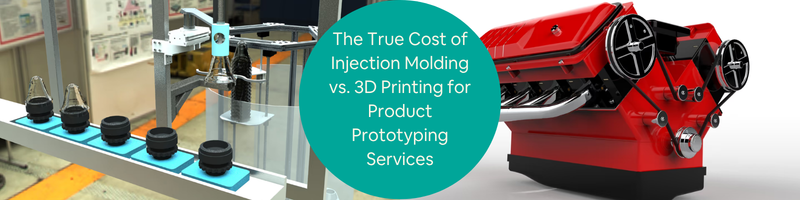
RELATED: Prototype Cost Vs. Production Cost – Prototyping Services Rates and R&D Pricing for Firms
9. Production preparation
After laying out the pricing, it is important to have the final designs and make sure that all of the agreements and contracts are already done. By doing this step, it will help you catch factors that can be solved at an earlier stage. It is also crucial to have a pilot run, as it will help you save money, and identify risks that could happen. Taking this one ensures that all are prepared for the production of the product.
10. Develop your marketing plan and brand
Even if the product is functional, at the right price and is visually pleasing without advertisement design, it will just make your product go to waste. You will not sell if the target markets are not being reached. For efficient target marketing, you have to craft your own identity on the market, logo, and the brand. Make use of the advancing technology, like the presence of social media, which makes it easier to advertise without cost, you just have to make the right and suitable content that people would like. In addition, try platforms that can help your product boost, create a story behind it, and thus, you can be able to sell a lot of your product.
11. Product launching

Since you have already finalized the brand, product launching process is the way to go. To not be overwhelmed, you can post and have a pre-order or soft launch the product first. Promote through ads, build partnerships, as well as, engage with the customers. Doing this makes it easier to reach the goal and the target. Accept criticisms because it will lead you to a successful product, even if the reviews are bad. If these reviews are not being taken care of, potential buyers will not be able to buy your products.
12. Scale and improve
After launching, make sure to focus on it. Build a partnership with the customers, as they are the ones who will make your product reach the goal. If these buyers are seeing errors and risks, make sure to fix and improve it quickly knowing that word of the mouth spreads quickly. When a customer that already bought your product and is not satisfied with it can just easily tell others to not buy your product as it is not functional and just a waste of money.
Constructive criticisms must be taken lightly because the improvements start here. When taken into consideration, target sales are achieved and so people will continue to purchase and they can refer your product to others who can also buy your product. When a customer is heard, probably they will be satisfied with the way you handle the problem, and so they will keep on buying and trusting your product.
Making a product is a process and a journey that one should embrace, may it be from small problems up to the big ones. When taken into the positive side, it will be manageable as well as the help of the aforementioned steps can make it really easy for you to create your plans to turn into reality. Give your product every opportunity to succeed, from the initial spark of a concept to full-scale production.
RELATED: Product Development Guide: How an Industrial Design Company Develops Your Idea
How can Cad Crowd be useful in taking a hardware product from concept to commercialization?
Cad Crowd is a big help that takes a role that can really ease you up when making a hardware product turn it into reality. Cad Crowd is a place where you can seek help from the massive pool of experts even if you do not have the internal team to do so. Cad Crowd can connect businesses with the specialized talents to make it easier to find the right freelancer to create a hardware product that is launchable in the market successfully. Top-tier experts at Cad Crowd are certain to be well-screened and prepared to take on and complete your projects.
There are steps on how Cad Crowd can be a help, and these are the following:
- It can make your idea into a real life design – Sometimes we may think of our idea impossible to happen, but with the right experts and professionals all of the worries are taken care of. Cad Crowd allows you to have the connection with the different experts, they are specialized at their own field may it be from sketches design to 3D models. Having these experts makes it easier to comprehend the designs as we all know that a design is the foundation of every plan because once this is finalized all follows.
- Makes prototyping fast – Delays can happen even if designs are being finalized already. Through Cad Crowd, you can just hire professionals that can make your prototype fast with improvements. By having professionals that are already knowledgeable minimizes errors and risks to happen. It can also smoothen the development process. Prototypes make it easier to see if there is still anything that needs to be improved, and so having a prototype makes the process of development fast.
- Engineering and technical expertise – Hardware products frequently call for specific expertise. With Cad Crowd you can have the freedom to choose what experts you need, whether it is in the field of product design, mechanical engineering services, or those who are experts in simulation and testing. Rather than hiring a full time team or staff into your company, you can just hire them whenever you need them, and by that you can build a partnership with them.
RELATED: Why Your Business Needs Product Engineering Services to Innovate & Accelerate
- Iteration and continuous improvement – As what have stated before, first try does not mean it is already perfect. With the use of Cad Crowd it allows one to revise and make changes on the product based on the feedback given by those who already bought the product. In addition, everything makes it simple because collaboration takes place with various experts who can solve every problem or errors found. With the help of taking feedback positively, it improves performance throughout the products durability and functionality.
- Cost efficiency – When choosing a staff that works for a firm for an extended period of time might be costly, but choosing experts based solely on needs, can save you money and resources. Since you can only pay for each task, you can decide on a budget depending on what you have already discussed with the expert. Cad Crowd can be a help to those who are still starting in the field as they may have limited funds as well as Cad Crowd offers flexibility.
- Access to global talents – As a massive pool of talents can be found from all over the world, you are not just limited to local experts and talents. Cad Crowd have different specialists that have different specializations in various fields. Having experts and professionals that can help offers diverse ideas and perspectives that could enhance the product’s overall performance. The utilization of global talents that are found in Cad Crowd improves the quality of the products, which could lead to a success.
Bringing a hardware product to market requires planning for scale from the beginning and creating clever, intentional iterations. You have to make sure your idea is viable and easy to attain, so that all the effort put into it does not go to waste.
Cad Crowd is a lifesaver, and one must be thankful for it because this platform exists. One can use Cad Crowd in their development processes, as it has a team that can work remotely and virtually without the need to hire someone who must be in the company for a long period of time, even without involvement. Having someone who has the knowledge of doing their work in a specific field can reduce a lot of errors, risks, and costs. For example, if the professional you hired is not passionate, does not really know the way, and does not understand your plan, errors might occur. These errors can be costly and difficult to resolve once they are not identified earlier.
Conclusion
A journey of trying to be involved into the competitive market. It can be a lot to take, it can be overwhelming at first but with the right ones who will make the ideas, visions, and dreams into reality it can be bearable. The hardware product development process is not just a one phase, it is not a straight line that once you started it, it follows the ending.
Cad Crowd is the answer to all of the problems being faced during the development process and even before starting. Cad Crowd helps close the division between vision and reality by giving you access to skilled professionals who can turn ideas into practical designs, enhance prototypes, and ensure your product is ready for the real world.
How Cad Crowd can help
Working with the right experts makes the dream work. Having clear communication and collaboration is a step toward making a product successful. With suitable and right deliberation, communication, and support, any simple idea can be turned into a fully made product that customers will trust and be happy to buy. Contact Cad Crowd today and start bringing your ideas to life with a free quote.